

How to Send Wallet Passes From Salesforce (In Five Steps)
 By the Kemicard team
If your members, customers, or attendees are already Salesforce records, you're five steps from putting a live pass on their phones. This is the Salesforce to wallet pass process, condensed.
The five steps
- 1. Install — the managed package from AppExchange; the Salesforce wallet pass setup takes about an afternoon.
- 2. Design — one template in Kemicard Studio renders for both Apple and Google Wallet.
- 3. Map — bind template fields to any standard or custom object; from Salesforce data to wallet passes with clicks.
- 4. Issue — one record via a button, thousands via Campaign Manager, or automatically: issue wallet passes (Salesforce Flow triggers on create, update, or milestone).
- 5. Distribute — smart links detect the device; distribute wallet passes (Salesforce sends them by email, SMS, or QR code).
What happens after
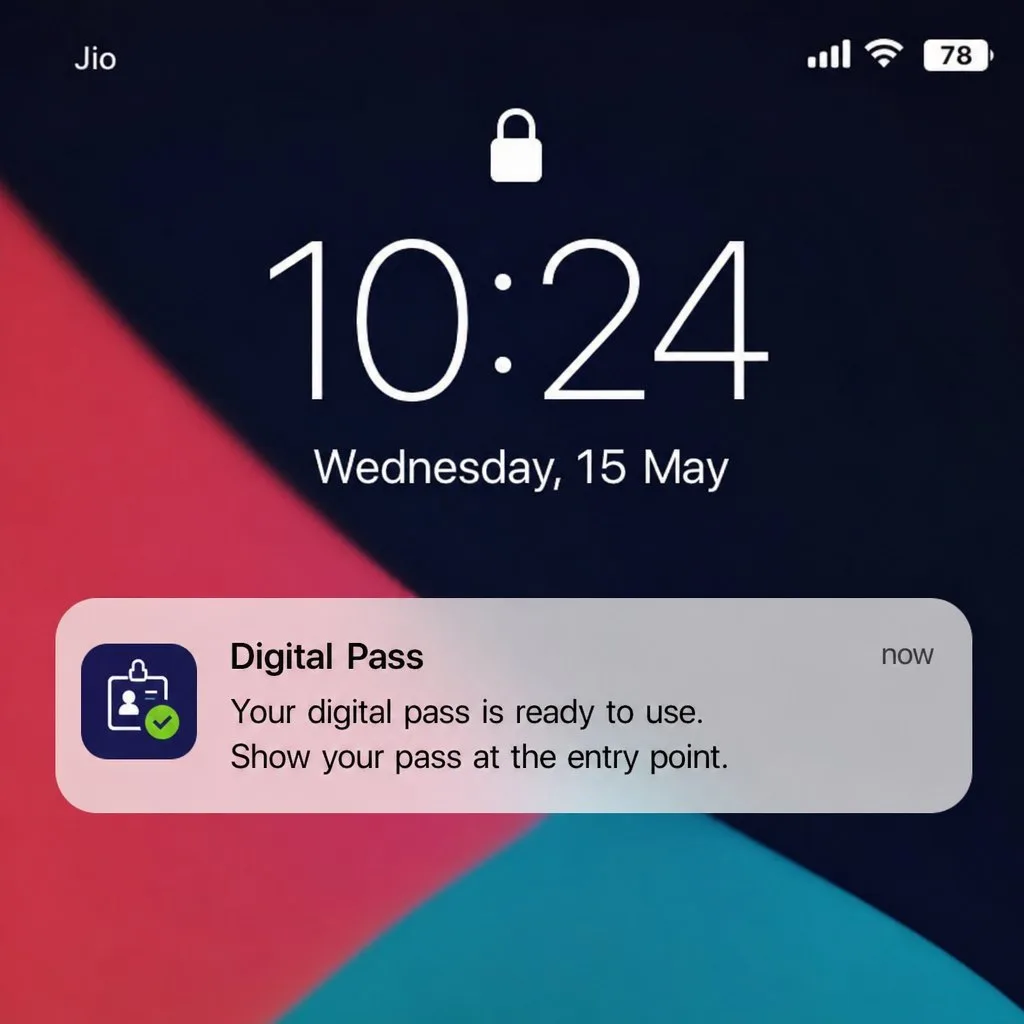
Record changes flow to the pass in real time, pushes land on the lock screen, and scans write attendance and redemptions back to the record. Salesforce wallet pass integrations with Flow, Apex, and Marketing Cloud are built in — see how it works for the full walkthrough.
Explore Kemicard
Product & solutions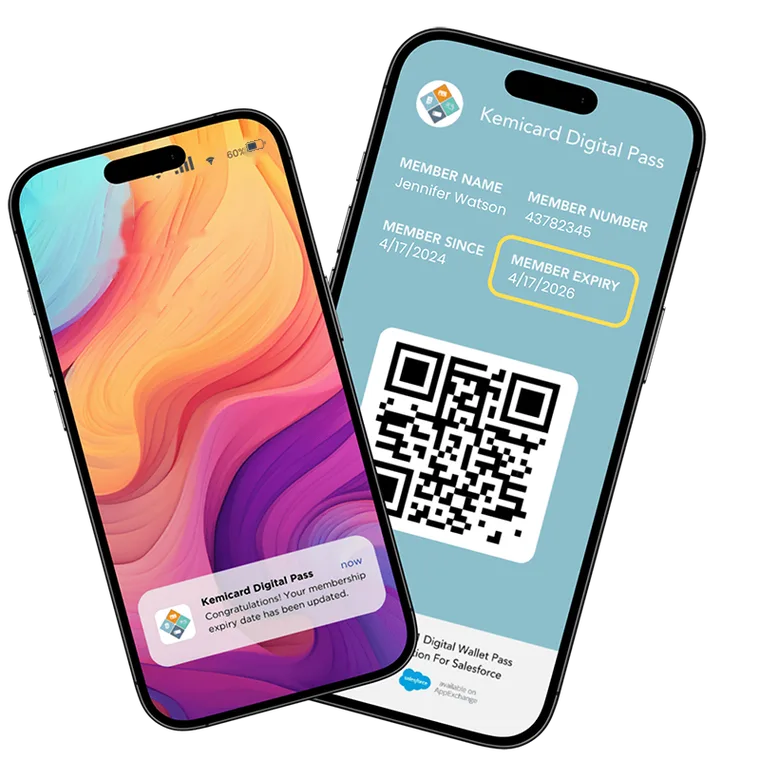

From Record to Wallet in an Afternoon
Book a demo, test drive Kemicard, or start a free 30-day trial.
 Start Free Trial