
Install the Kemicard managed package from the Salesforce AppExchange, authorize the backend, and get your org provisioned for Apple Wallet and Google Wallet. Time required: about 45 minutes plus provisioning turnaround.
Prerequisites
- A Salesforce org (Sales Cloud, Service Cloud, Nonprofit Cloud, NPSP, or compatible) with System Administrator access.
- Your production and sandbox Org IDs — required to provision licenses on the Kemicard backend. If an org is refreshed or changed, the Org ID changes and provisioning must be updated.
- A dedicated integration mailbox for the named credential user. Prefer a shared system-admin mailbox with non-expiring credentials over a personal account — this address also receives system alerts.
- A decision on which production user acts as the integration user. Enrollment emails send from this identity, so choose a branded, monitored address.
Step 1 — Install the managed package
Install from the AppExchange listing into your sandbox first, validate, then install into production.
- Open the Kemicard listing on AppExchange and choose Get It Now.
- Select Install in Sandbox, log in, and approve third-party access when prompted.
- Choose Install for Admins Only initially; widen access with permission sets after configuration.
- Repeat for production once sandbox testing passes.
Step 2 — Authorize the backend (named credential)
Your org calls the Kemicard backend through the Kemicard_App named credential. Enter the integration credentials supplied during onboarding:
Setup → Named Credentials → Kemicard_App
  → Identity: Named Principal
  → Username / Password: (provided at onboarding)
Most “pass URLs not generating” issues are authentication failures here — see Troubleshooting for status-code diagnosis (401 vs 409).
Step 3 — Configure email deliverability
- Verify your sending domain and set up DKIM for production sends.
- In sandboxes and scratch orgs with unverified domains, enable “Use a substitute email address for unverified domains” under Email Deliverability, or provision a DKIM key in DNS for the sandbox.
- Send a test enrollment email to multiple mail providers; check quarantine folders if a trial email doesn't arrive.
Step 4 — Verify the installation
- Open the Kemicard Templates tab and confirm the app loads with your license count.
- Create a test template against a sample Contact (see Getting Started).
- Generate a pass and install it on both an iPhone and an Android device.
- Change a mapped field on the record and confirm the installed pass updates.
Next steps
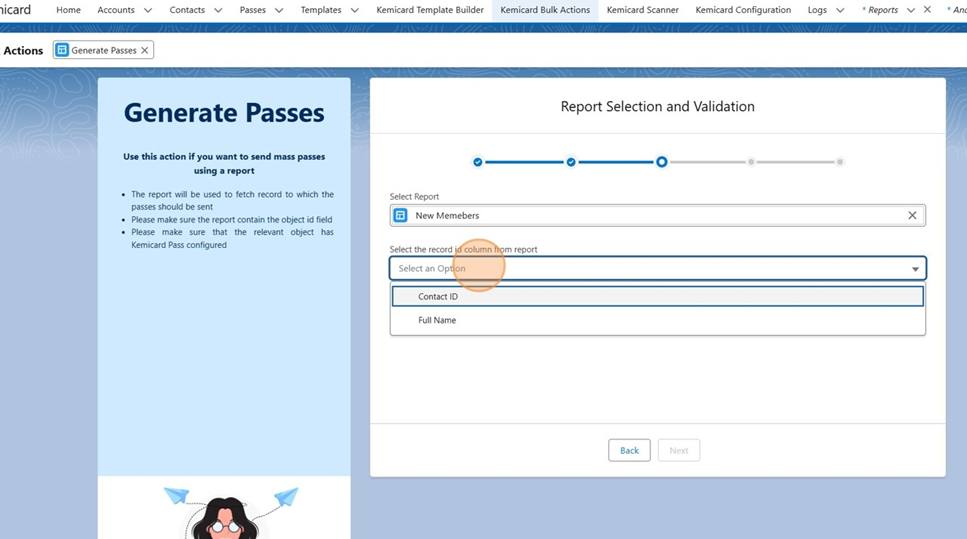
Continue to Getting Started to build your first template, then configure Bulk Actions for rollout and the Scanner for check-in.
Alternative: guided install via MetaDeploy
Kemicard can also be installed through Kemisoft's MetaDeploy installer, which automates package installation and optional sample data:
- Navigate to the Kemisoft MetaDeploy products page.
- Click the user icon (top right) and log in with the org — sandbox or production — you intend to install into.
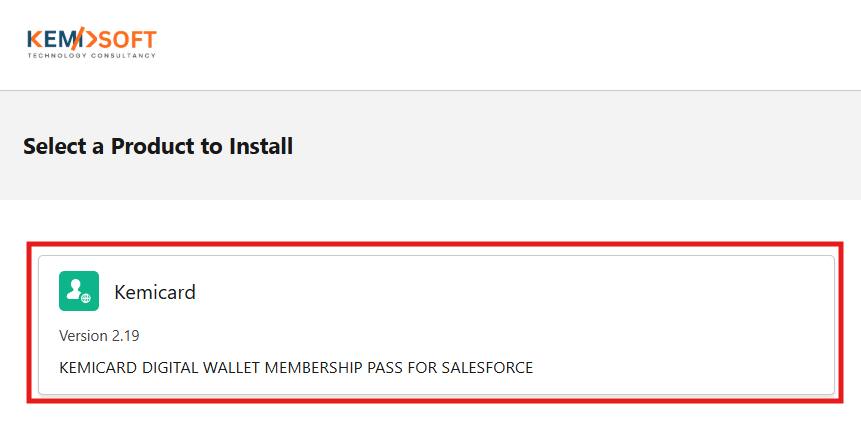
- Select the Kemicard tile, click Kemicard — View Details, then Install and wait for completion.
- Verify under Setup → Installed Packages that Kemicard Digital Pass is installed.
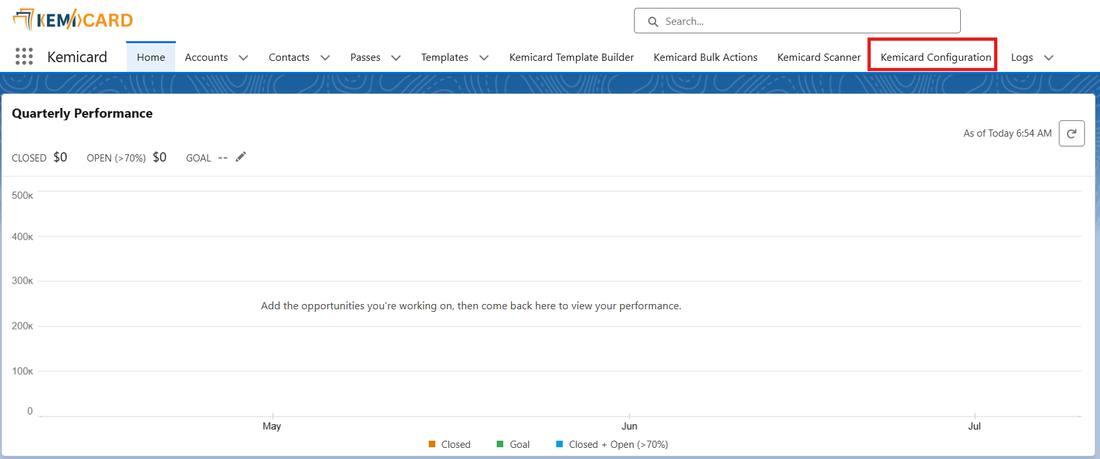
- Open the App Launcher → Kemicard (as a System Administrator or Integration User), go to Kemicard Configuration, click Authorize Kemicard User, and click Allow on the OAuth popup. A success screen confirms authentication.
Template Pass configuration — field reference
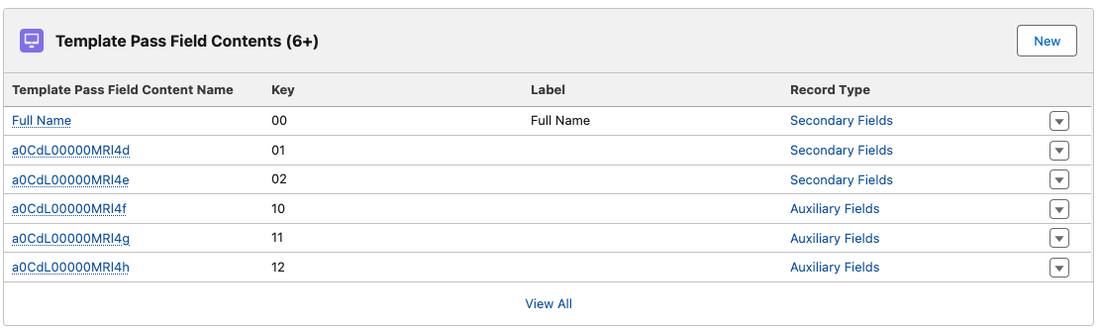
After installation, open the Template Pass tab. A sample template, Woofly Membership Pass, ships with the package for reference. The key fields:
| Field | What to enter |
|---|---|
| Name | The template pass name |
| Record Type | The record type name |
| Organization Name | Your company name |
| Email Template | API name of the email template used to send Apple passes to users |
| Background Color | RGB value for the pass background |
| Update Email Template | Developer name of the email template used when a Google Wallet pass is updated |
| From Email Address / ID | Sender address for outbound emails and the Organization-Wide Email Address ID |
Google Wallet fields
| Field | Purpose |
|---|---|
| Card Title | Header of the pass — usually the business name. Required; appears in the header row at the very top. |
| Header | The pass title. Required; appears in the title row of the detail view. |
| Subheader | Title label, such as where the pass can be used; appears above the title. |
| Language | Language of pass values. |
| Smart Tap | Conveys data between the device and an NFC terminal. |
| State | Controls display: inactive objects move to the wallet's "Expired passes" section; default is ACTIVE. |
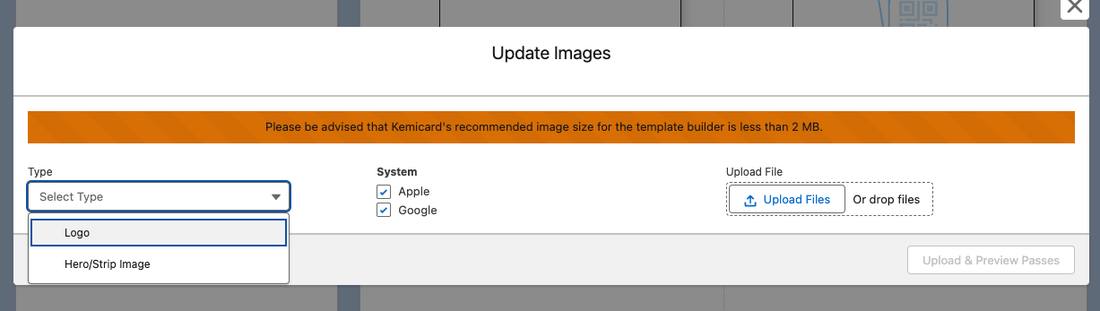
| Logo URL | Shown top-left in the detail view and on the thumbnail; without it, the first letter of the Card Title is used. |
| Detail Banner / Hero Image | Front-of-card imagery, displayed at 100% width. |
Apple Wallet fields
| Field | Purpose |
|---|---|
| Card Title | Text displayed next to the logo. |
| Description | Short description used by iOS accessibility technologies. |
| Expiration / Relevant Date | W3C timestamps (complete date with hours and minutes) controlling expiry and when the pass surfaces. |
| Foreground / Label / Strip Color | CSS-style RGB triples, e.g. rgb(100, 10, 110) — decimals are not supported. |
| Max Distance | Maximum distance in meters from a location at which the pass is relevant. |
| Sharing Prohibited | Removes the Share button on the back of the pass (iOS 11+). |
| Suppress Strip Shine | Displays the strip image without the shine effect (default true). |
| Grouping Identifier | Groups related event tickets/boarding passes in Wallet. |
| Wallet Resource ID | Content Document ID of a zip file containing all pass resources. |
Wire up Flows or Triggers
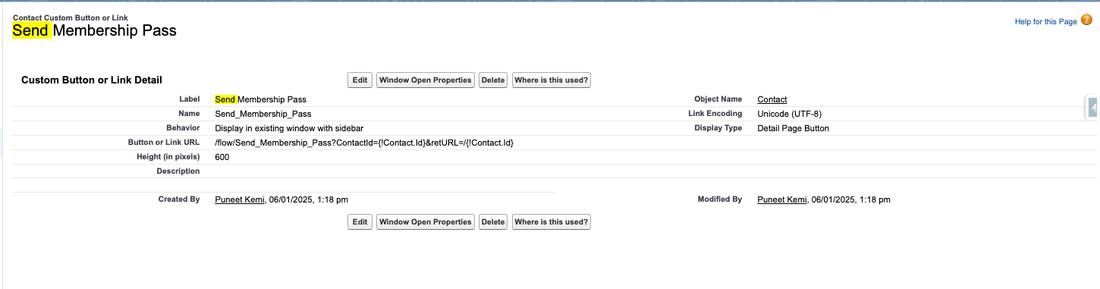
Two methodologies activate pass generation (full details in the Flow Integration guide and Architecture reference):
- Salesforce Flow — a record-triggered Flow on the relevant object (e.g., Contact) with a decision element, calling the Generate Pass Apex Action with
templatePassId,passDetails, andpassSendToEmails; capture the returned Pass ID and write it back to the record. - Apex Trigger — call
KemicardService.upsertPassesfrom your trigger handler with a fully-populatedPassRequest. IncludepassIdto update an existing pass instead of creating a new one.
Permission sets & user access
Kemicard ships permission sets that control who can design templates, generate passes, run bulk actions, and view pass records. Assign them deliberately:
| Role | Typical assignment | Can do |
|---|---|---|
| Kemicard Administrator | Salesforce admins | Templates, Configuration, named credential, bulk actions, licensing view |
| Kemicard Standard User | Membership / events staff | Generate passes, send messages from records, view pass status |
| Scanner User | Door and front-desk staff | Scan passes, record attendance and redemptions |
Object and field access always follows the running user's profile and permission sets — Kemicard never bypasses your sharing model.
Post-install checklist
- Named credential authenticates (generate a test pass URL)
- Email template set on the Configuration and a test enrollment email delivered
- Test pass installed on a physical iPhone and Android device
- Field change on the test record refreshes the installed pass
- Push notification received on both platforms
- Permission sets assigned to admin, staff, and scanner users
- Sandbox Org ID and production Org ID recorded with your account manager
Installation FAQ
- Do upgrades require reinstalling? No — upgrades install as new managed package versions over the top, preserving your templates and configuration.
- Can we install in a scratch org? Yes, for development. Note the email deliverability caveats above for unverified domains.
- Does a sandbox refresh break anything? A refresh changes the sandbox Org ID, so backend provisioning must be re-aligned — contact support with the new Org ID before testing resumes.
- What network access does the org need? Only outbound HTTPS from Salesforce to the Kemicard backend via the named credential; there are no inbound connections into your org.