
The customer administrator runbook for promoting Kemicard from sandbox to production. This guide details the formal process for upgrading Kemicard into a Salesforce Production environment, using Salesforce-native pathways to ensure configuration integrity as you move from a validated sandbox to a live production instance.
Who implements? Your internal Salesforce admin can follow this runbook end to end — or hand it to any of our SI partners or the Kemisoft Professional Services team.
Phase 1 — Pre-installation & prerequisites
Before initiating installation, verify that the following prerequisites are met to prevent integration failures.
1.1 Environment readiness
- Administrator access — ensure you have the System Administrator profile in the target production org.
- Validated sandbox — your sandbox configuration should be fully tested and signed off before promoting; see the Installation Guide and Getting Started.
- Production provisioning — production Org ID provisioned with Kemisoft and production named-credential access arranged during onboarding.
Phase 2 — Configuration & package installation
2.1 Install the managed package
- Access the production install URL: navigate to install.kemicard.app/products/kcard/latest.
- Click “Install Package Only (New Installs or Upgrades)”.
- Click the “Login into Start Pre-Install Validation” dropdown and select the appropriate org.
- Log in as a Salesforce administrator.
- Select Install for All Users and click Install.
- When prompted to Approve Third-Party Access, check “Yes, grant access to these third-party web sites” and click Continue.
- Wait for the installation process to complete.
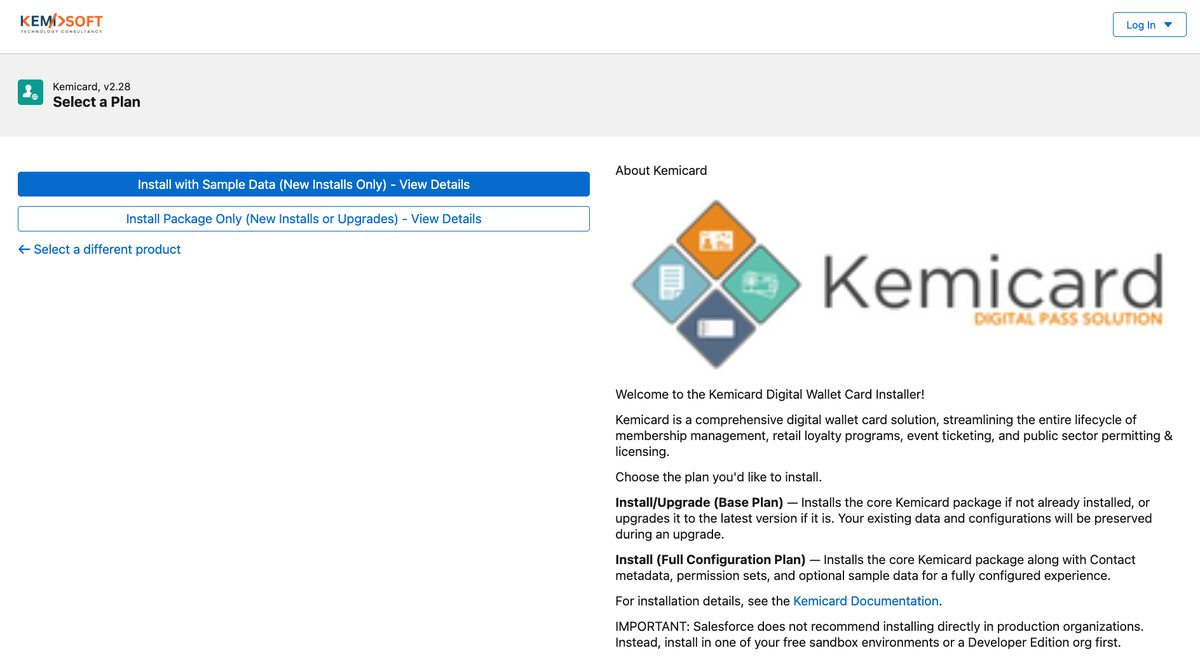
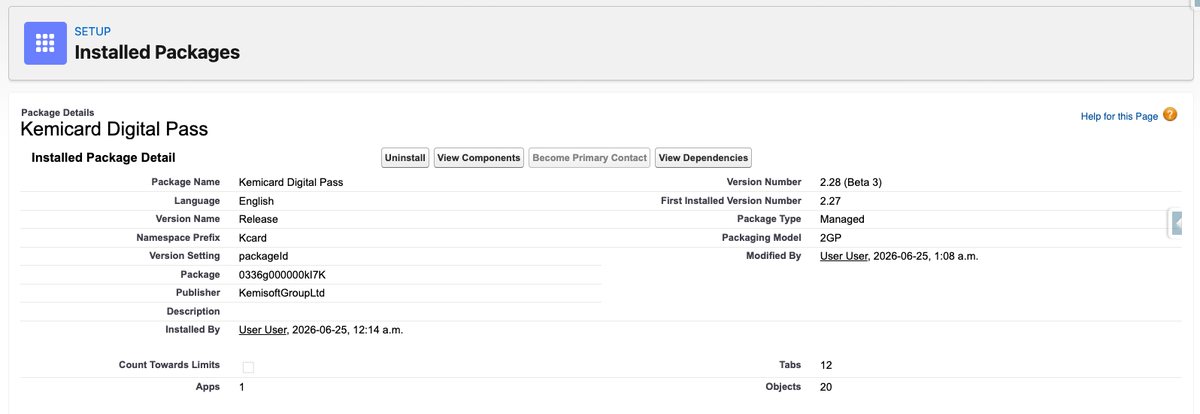
Verify the installed version matches the version shown on the installation page under Setup → Installed Packages.
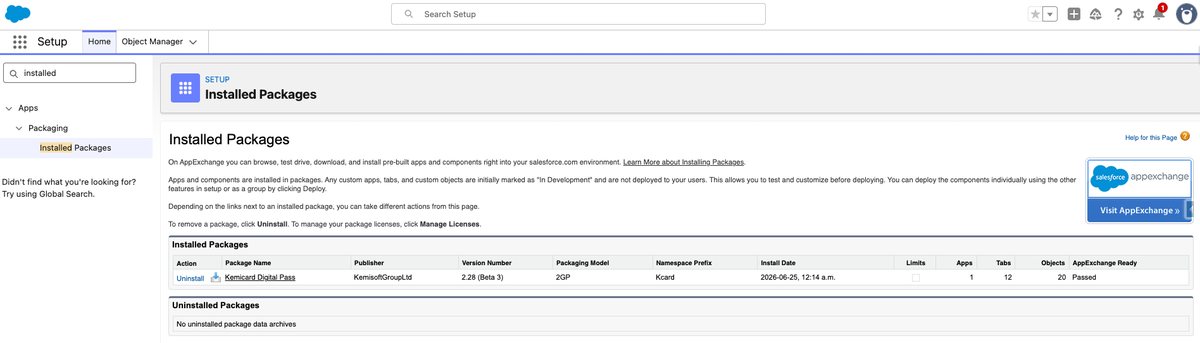
2.2 Apply package updates (Kemicard Console → Updates)
Required in release 2.28. Installing or upgrading the package does not, by itself, apply all of Kemicard's metadata and schema changes for the new version. After the package install or upgrade you must run the upgrade steps from the Console so they execute under your active administrator session — this avoids Salesforce's post-installation restrictions.
- In the Kemicard Console, open the Updates → System Upgrades area.
- The Updates card shows your Current Version (confirm it reads 2.28) and a What's New link.
- Review the System Upgrades (“Kemicard Package Upgrades”) panel: if it shows “Upgrade Pending”, a system upgrade is due — click Run Upgrade.
- The button is disabled while the upgrade is running — let it complete.
- When finished, the Last Upgrade Run Results panel lists each step with an Overall Status badge and Total Execution Time. Confirm every step succeeded.
- A successful run shows “System is Up to Date — All upgrade steps have already been successfully executed.”
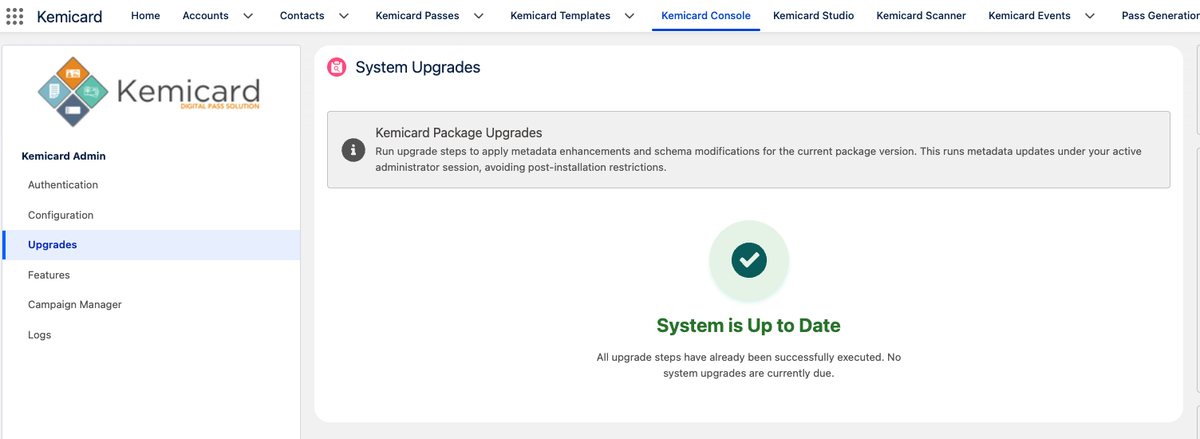
Do not skip this step on an upgrade (e.g., 2.27 → 2.28). Until “System is Up to Date” is shown, the org is running on incomplete 2.28 metadata and passes may not generate correctly.
Phase 3 — Post-migration validation
Conduct the following functional tests to sign off on the production environment.
- Integrity check — verify Named Credentials show a status of “Authorized”.
- Pass generation — pick a sample record and generate a digital pass.
- Rendering — confirm branding and QR codes appear correctly in Apple Wallet and Google Wallet.
- Flow execution — scan a pass with the Kemicard Scanner to ensure the scan flow triggers.
Where to go next
- Bulk Actions — roll passes out to your full production base.
- Release notes — what changed in the version you just installed.
- Troubleshooting & KB — including named-credential status-code diagnosis.