
Give every event its own image on an otherwise identical template, so recurring events stay recognizable in the wallet — the complete screen-by-screen transcript of the video guide.
Create Template - Kemicard Template builder
Click here to watch

This tutorial guides you through creating and configuring an event thumbnail template in Salesforce
1. Introduction
You will learn how to set up metadata, map fields, and customize the thumbnail appearance for your event passes.
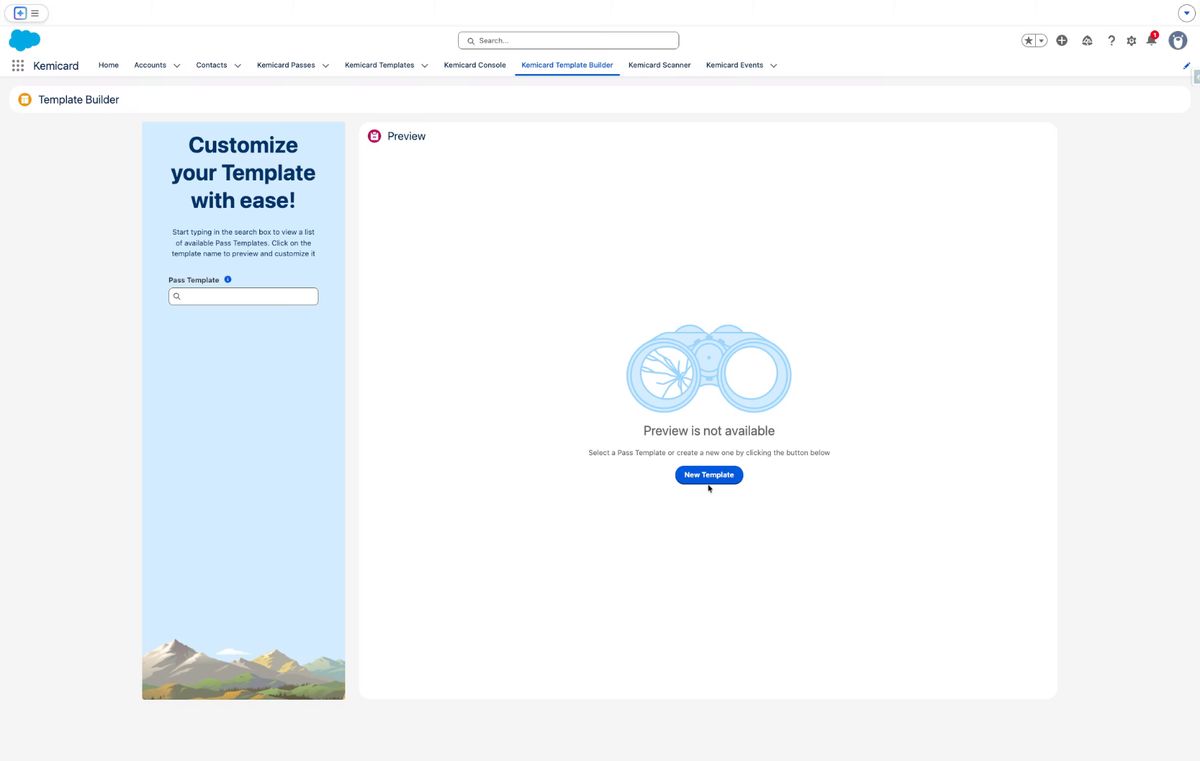
2. Click New Template Button
Click the New Template button to start creating a new event thumbnail template.
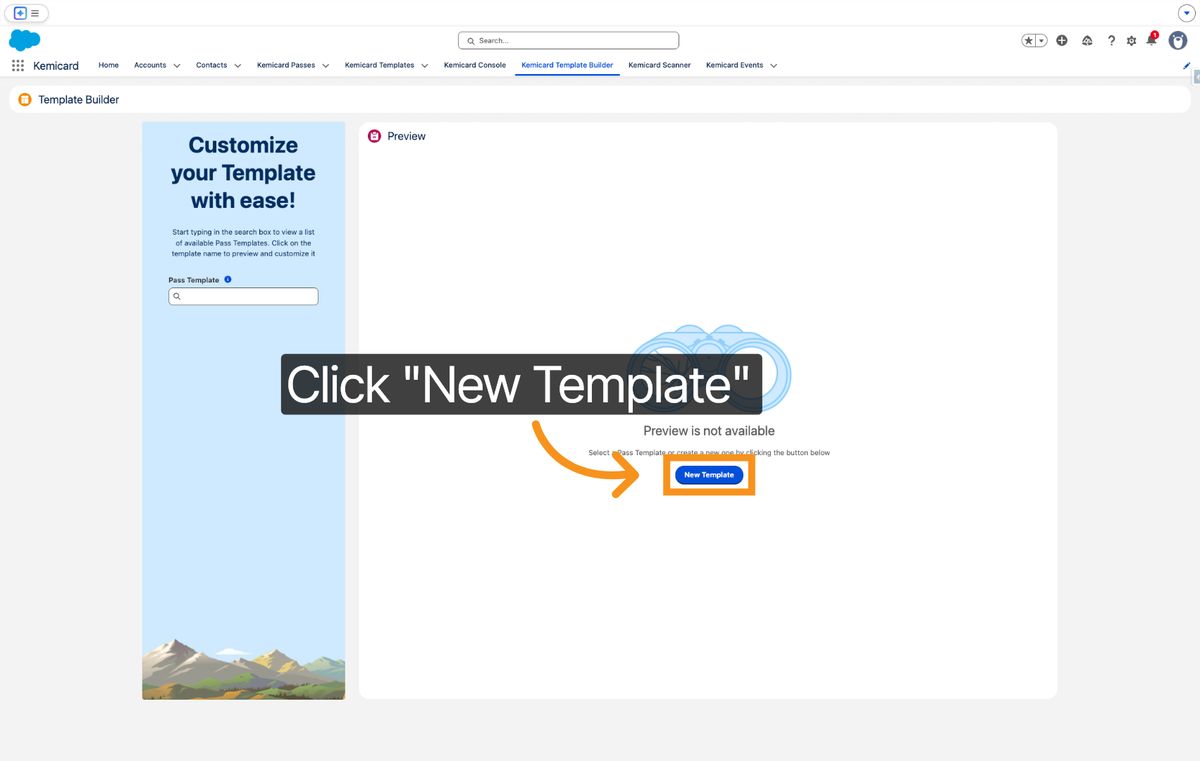
3. Select Template Pass Name Field
Click the Template Pass Name field to specify the name of your new template.
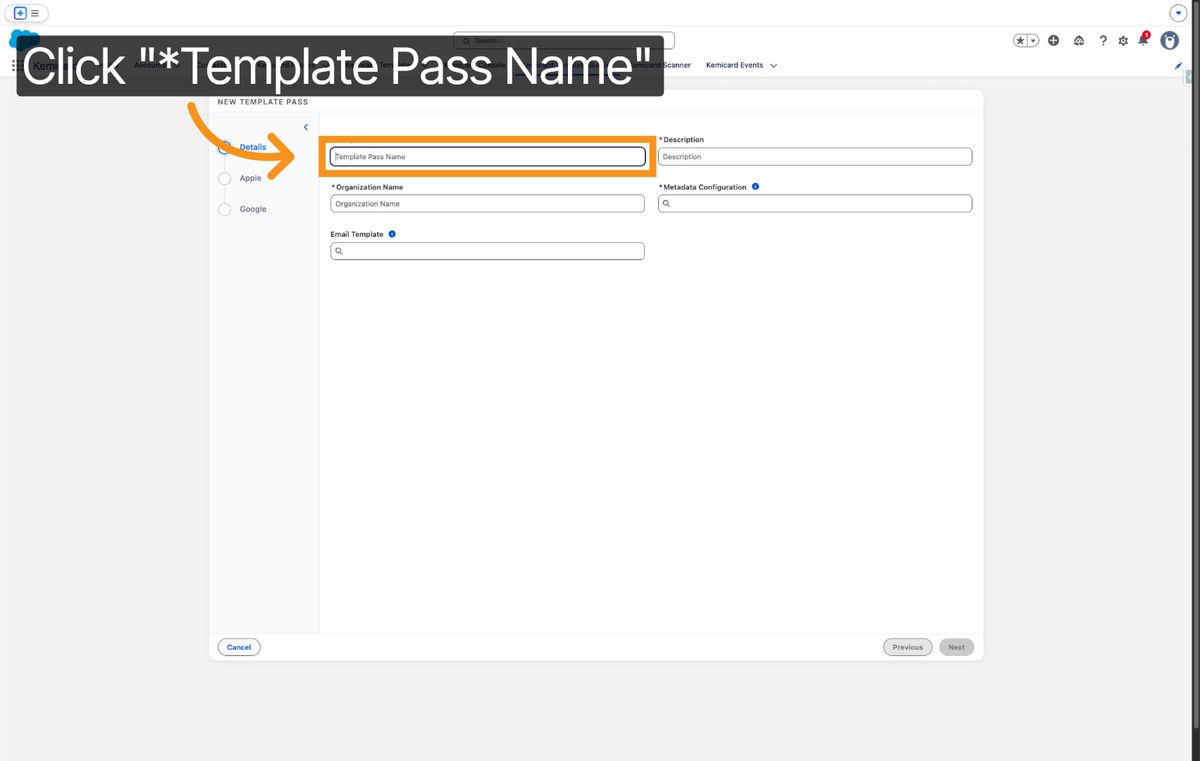
4. Enter Template Pass Name
Enter your template pass name to identify the event thumbnail template you are creating.
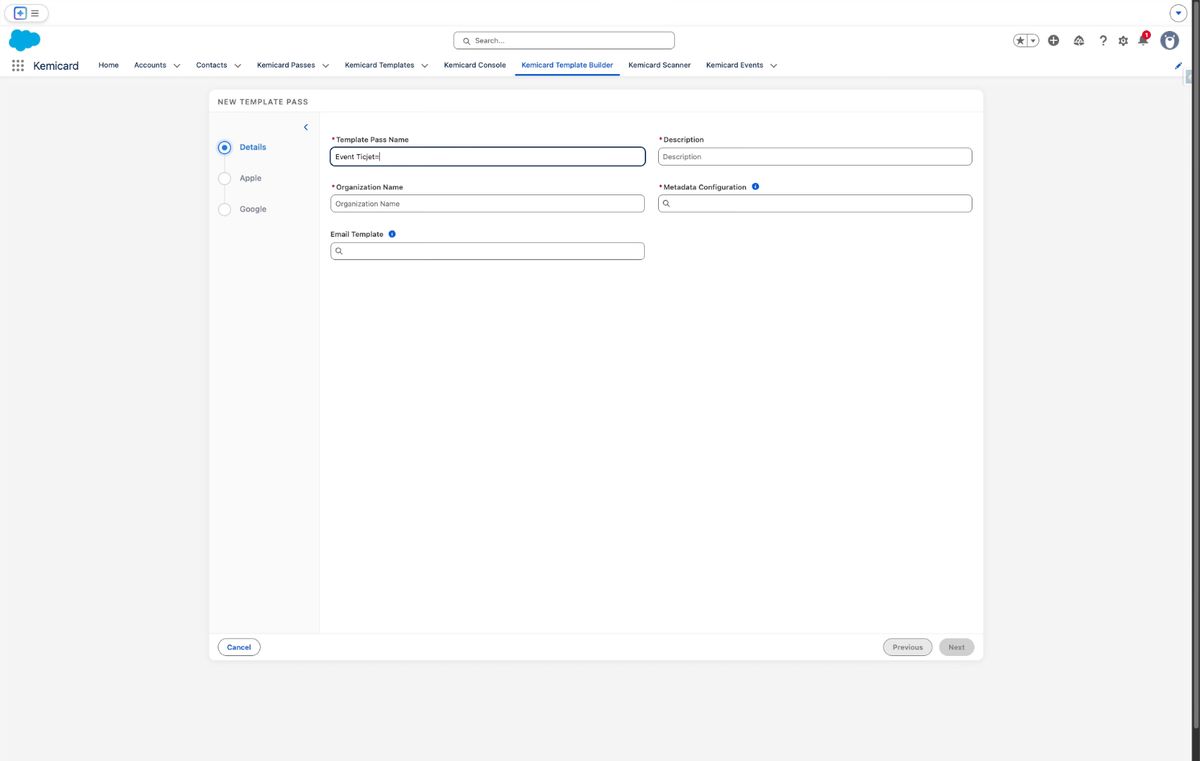
5. Select Description Field
Click the Description field to add a brief explanation of the template's purpose.
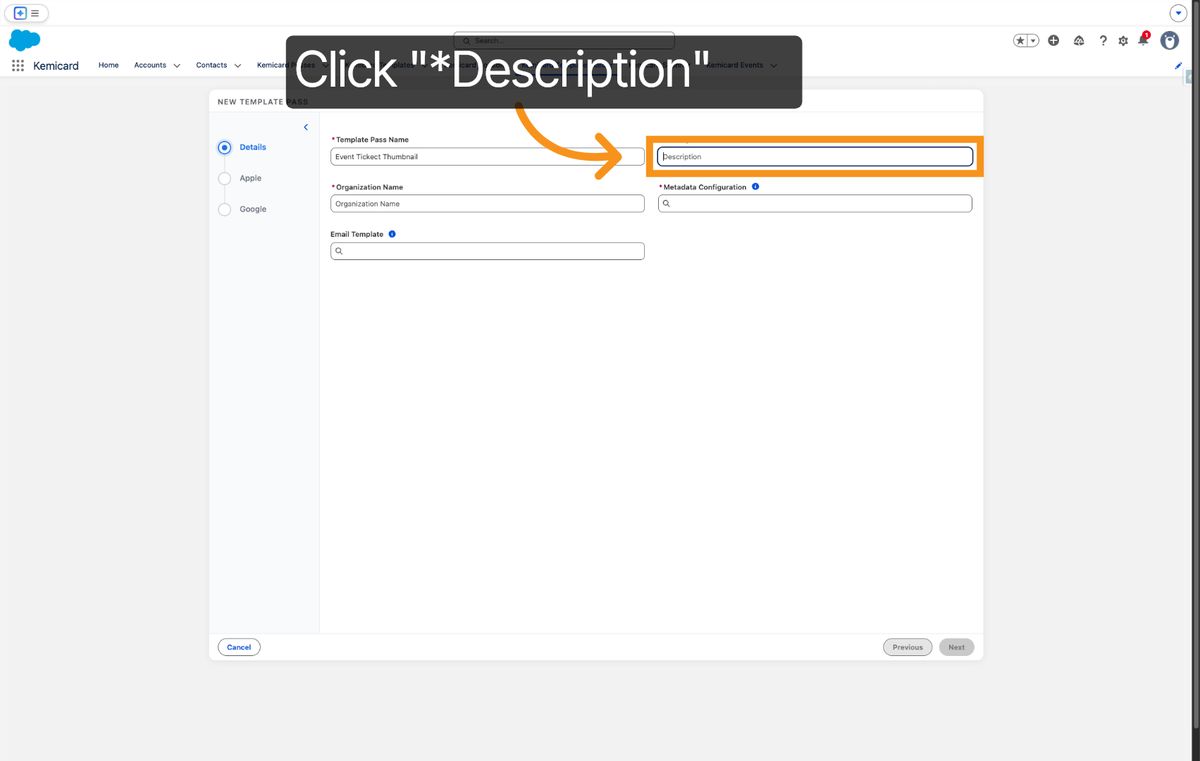
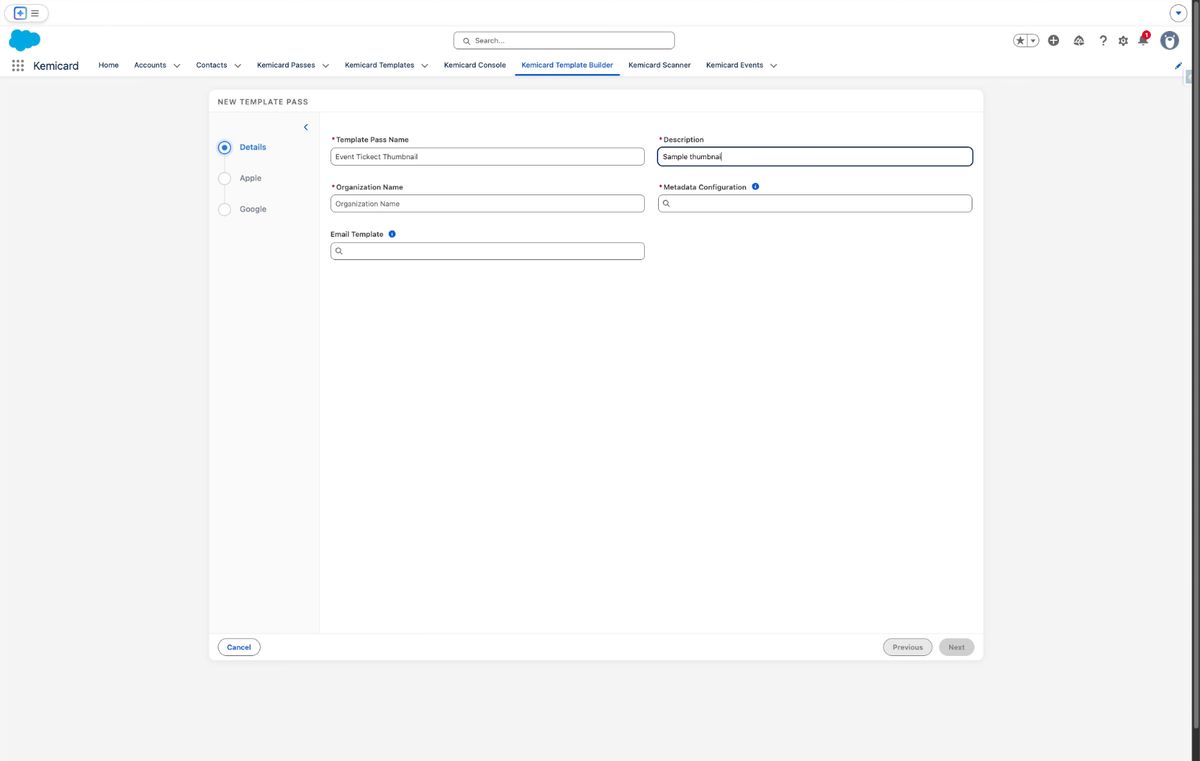
6. Enter Template Description
Enter a description for the template to provide context about its use, such as 'Sample thumbnail template'.
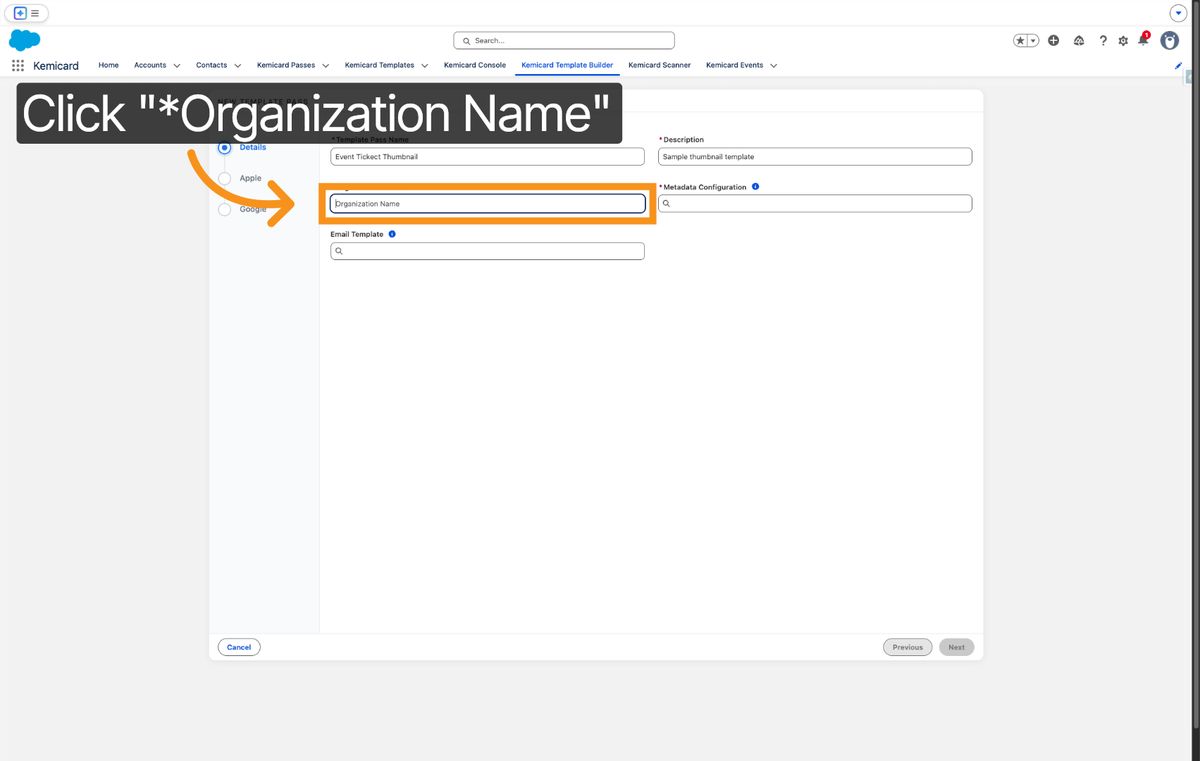
7. Select Organization Name Field
Click the Organization Name field to specify the organization associated with this template.
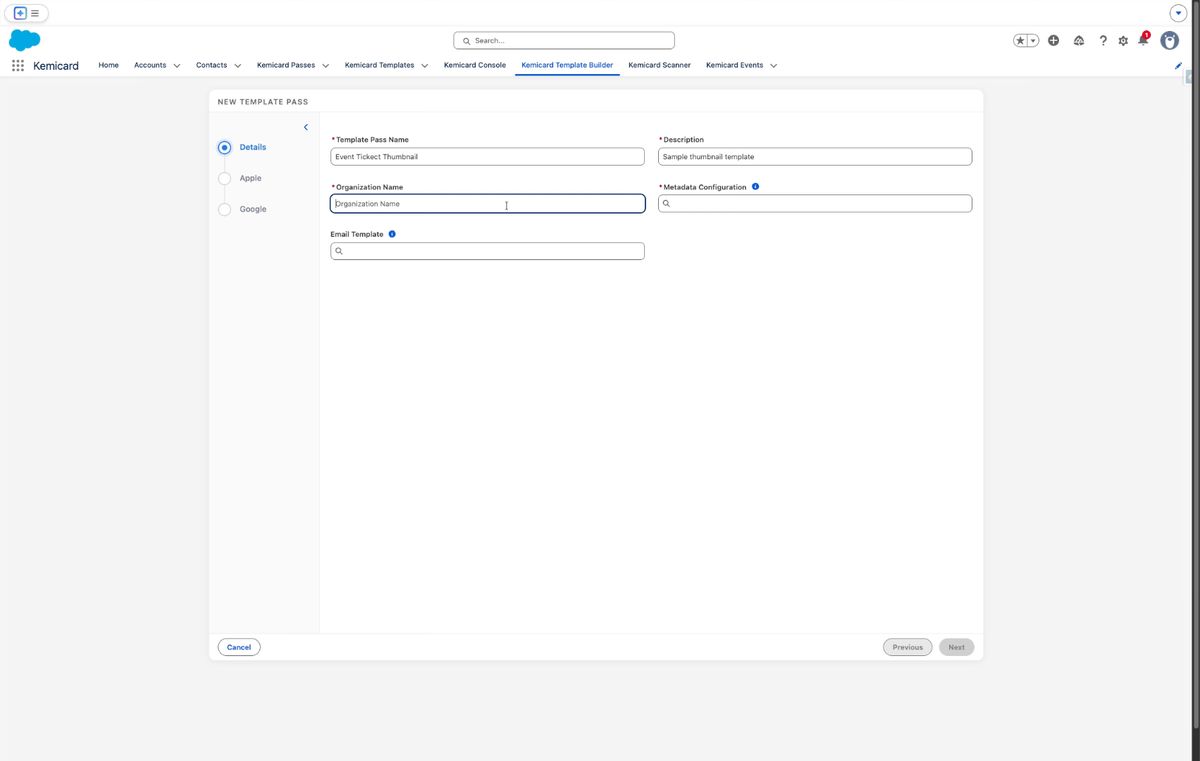
8. Enter Organization Name
Enter your organization name to link the template to your company or group.
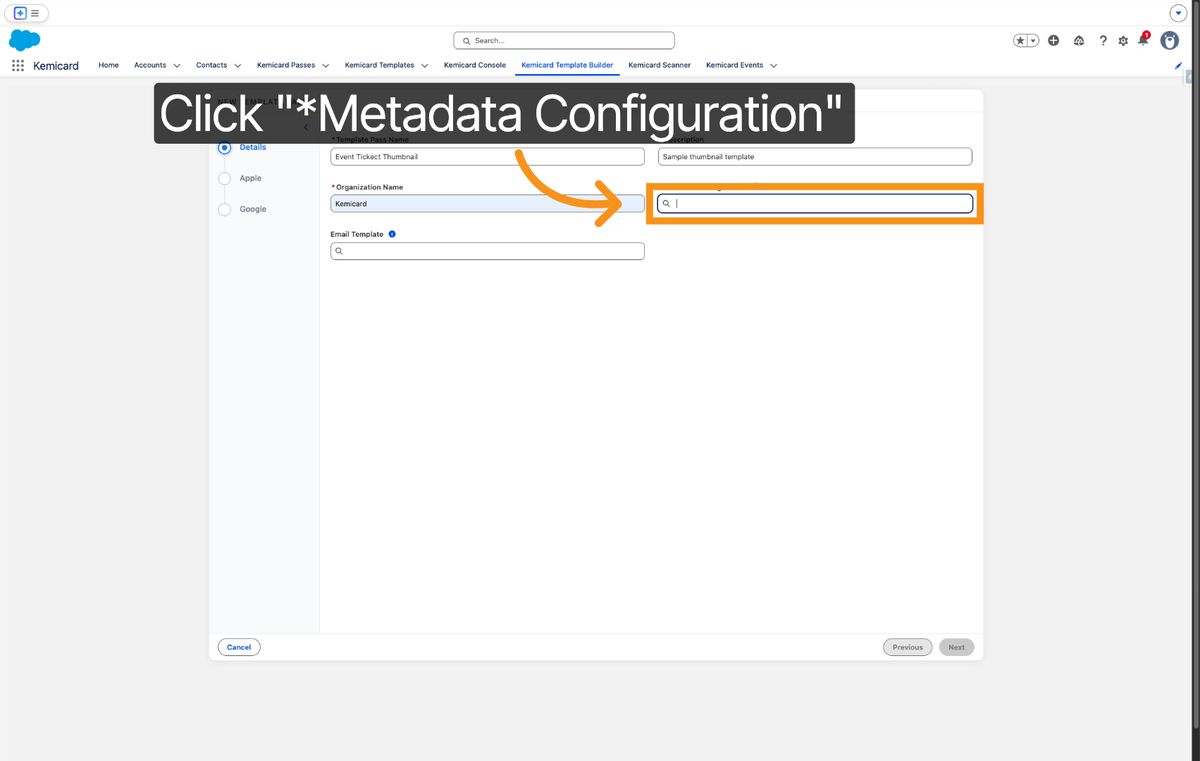
9. Select Metadata Configuration
Click the Metadata Configuration section to define the metadata settings for the event thumbnail.
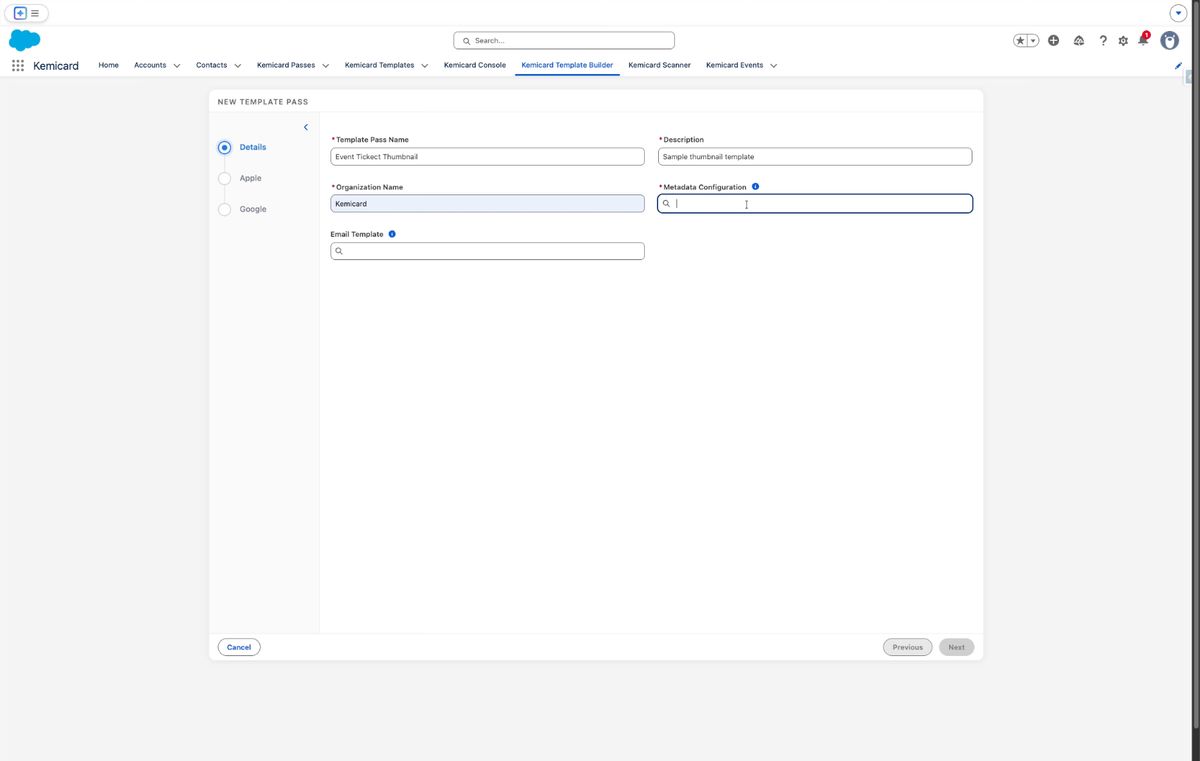
10. Enter Metadata Keyword
Enter a keyword such as 'contact' to configure metadata related to contacts for the event.
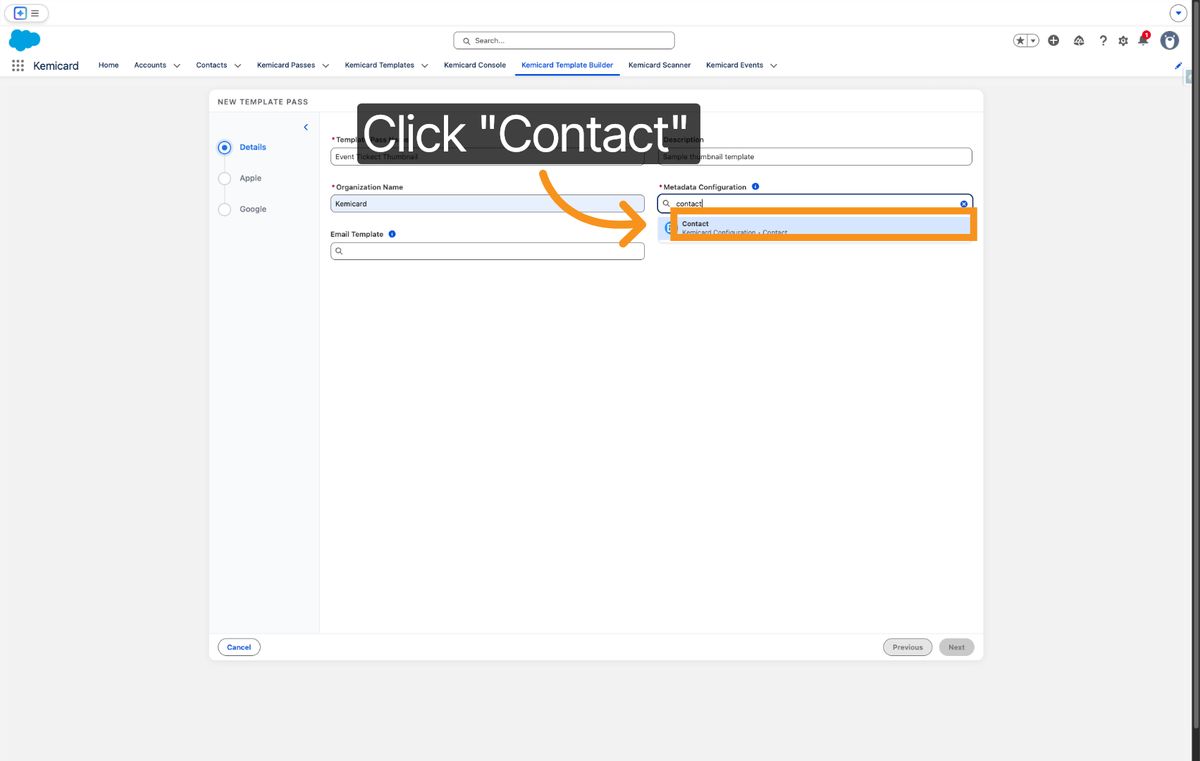
11. Select Contact Option
Click the Contact option to associate contact information with the event thumbnail metadata.
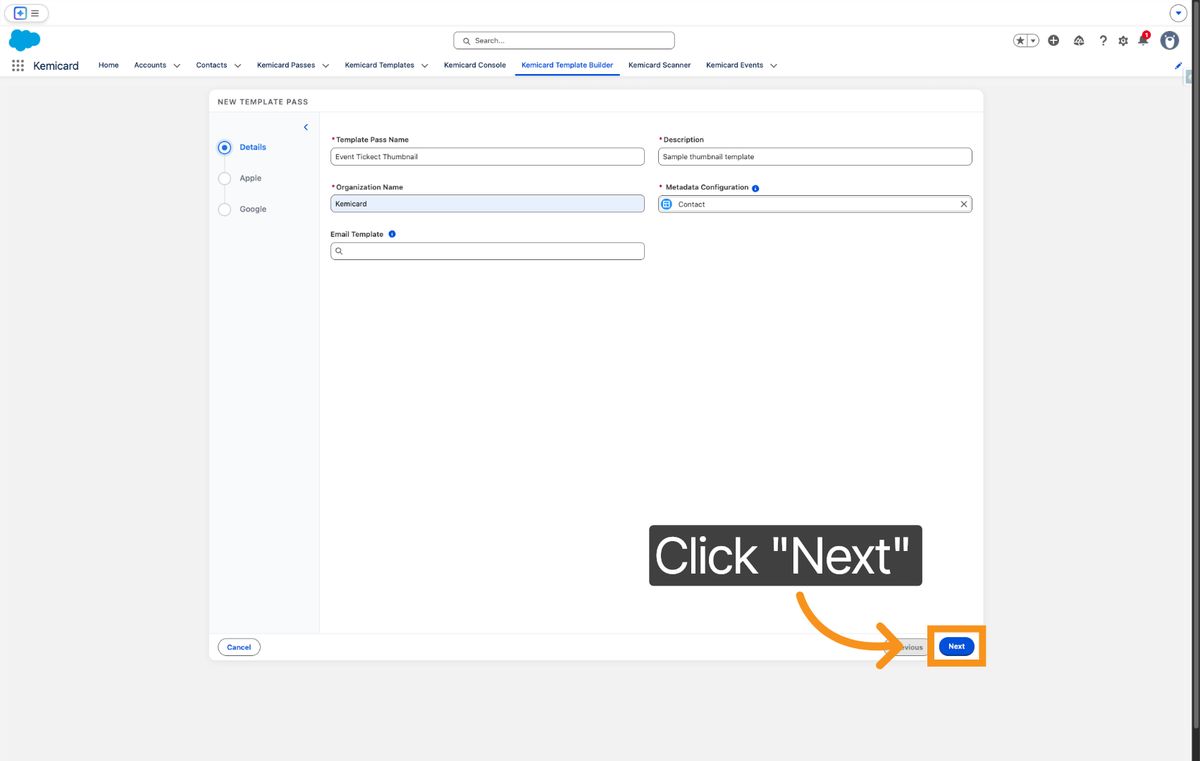
12. Click Next Button
Click the Next button to proceed to the next step in the template creation process.
13. Click Continue Here
Click here to continue with the template setup after reviewing the previous settings.
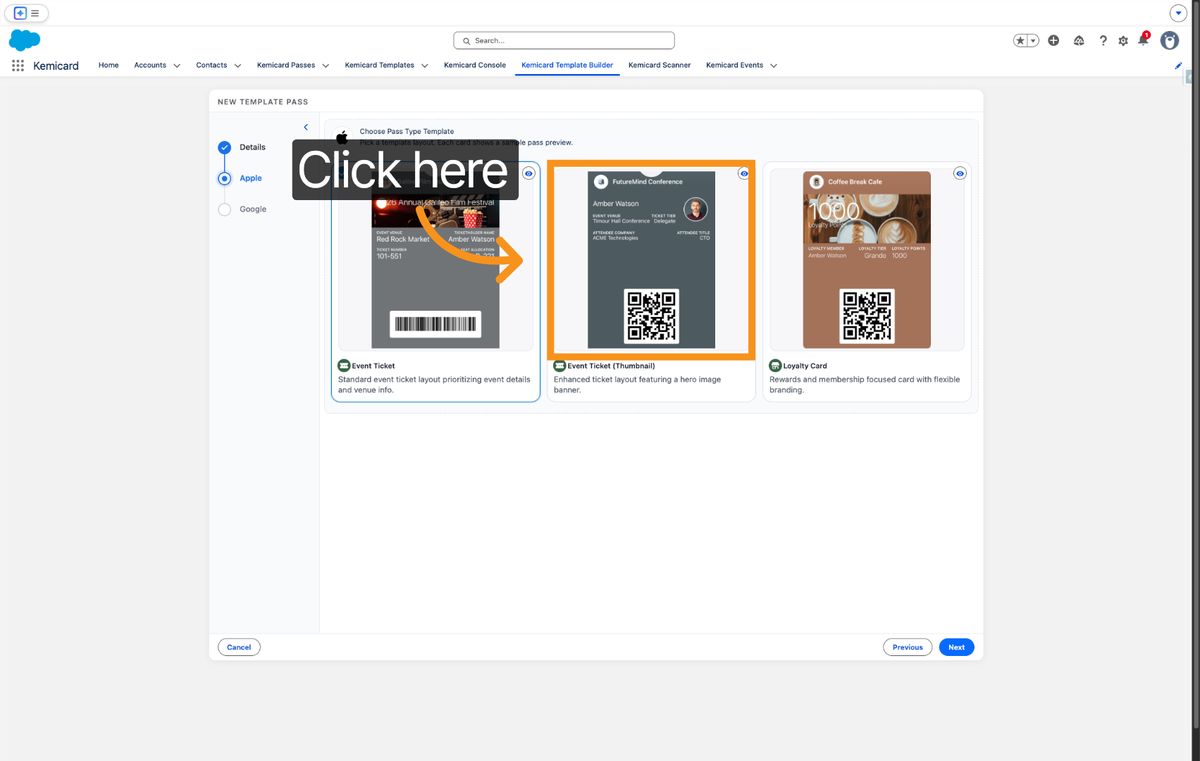
14. Click Next To Proceed
Click the Next button to move forward in configuring your event thumbnail template.
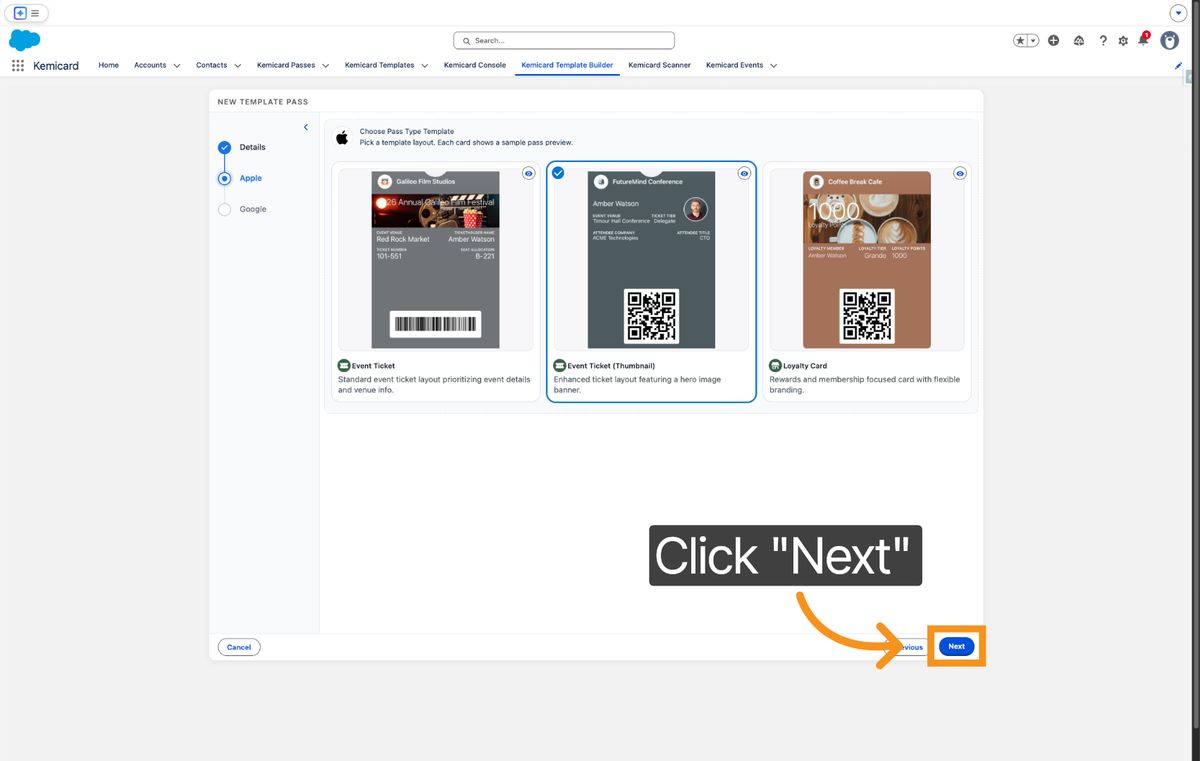
15. Click Save To Store
Click the Save button to save your current template settings and progress.
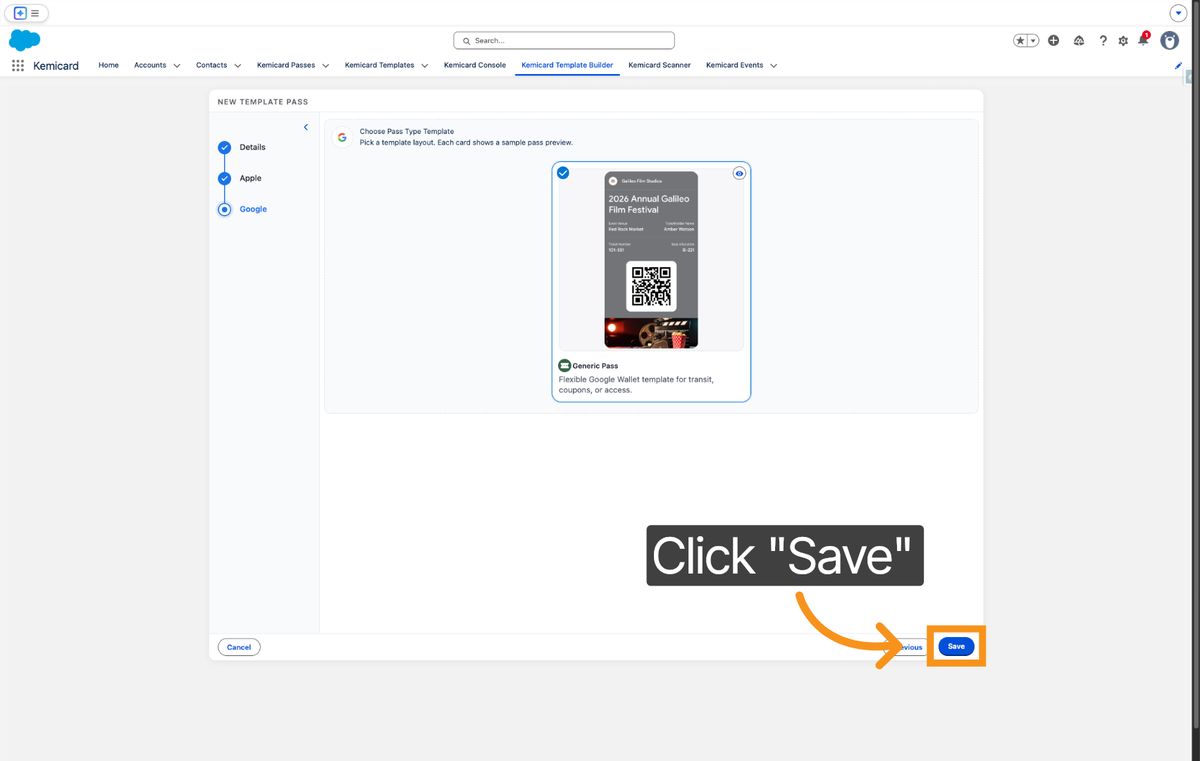
16. Click To Select Field
Click here to select a field that contains the thumbnail file ID for your event passes.
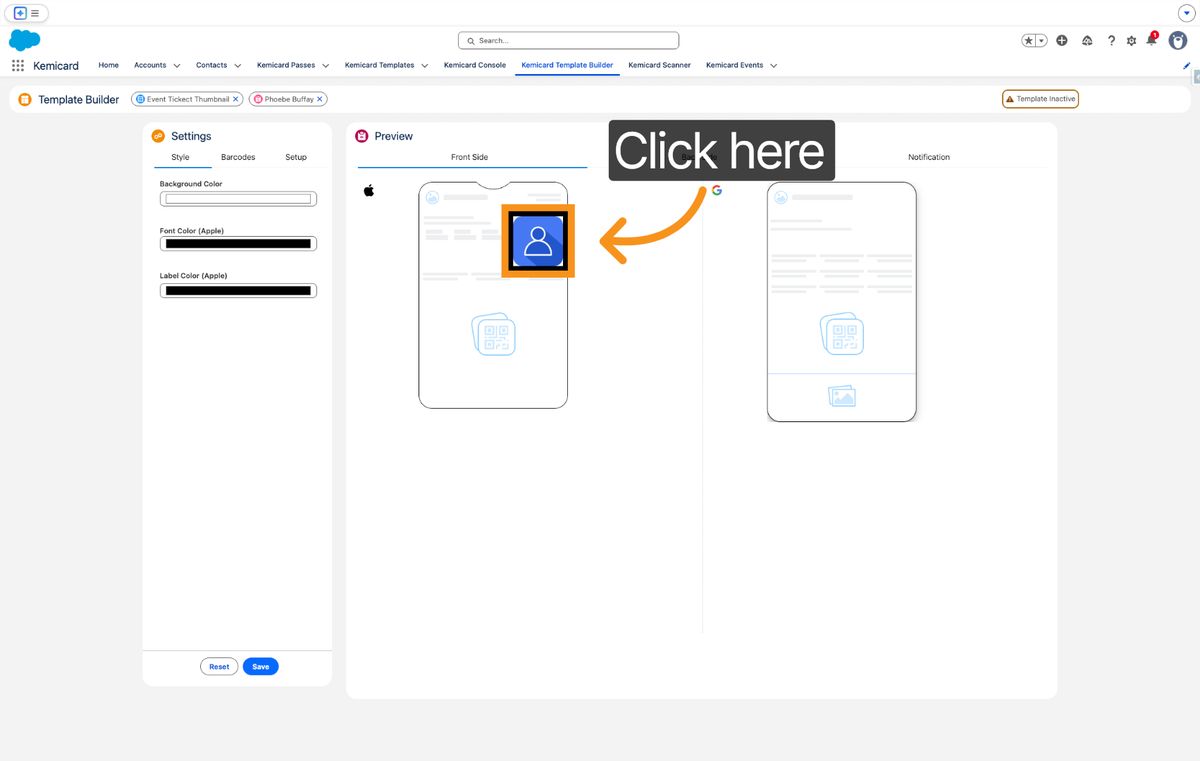
17. Select Thumbnail File ID Field
Click the option to select a field containing the thumbnail file ID to link images to your passes.
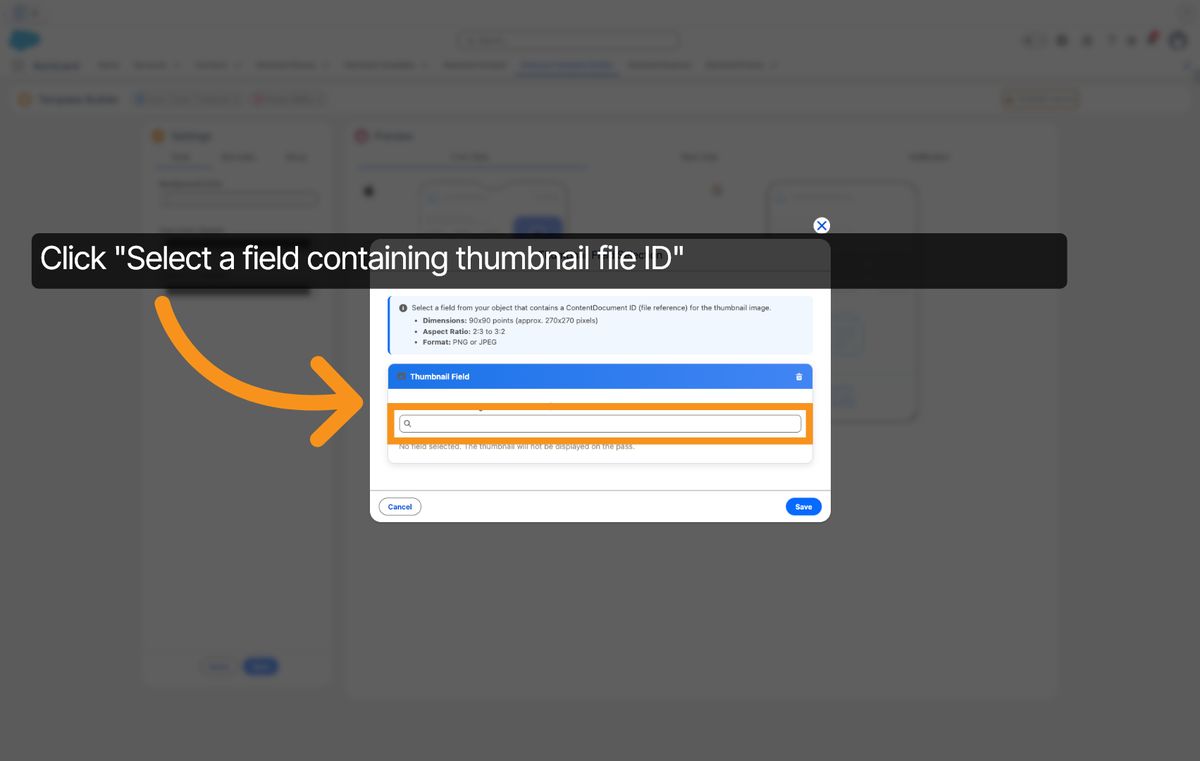
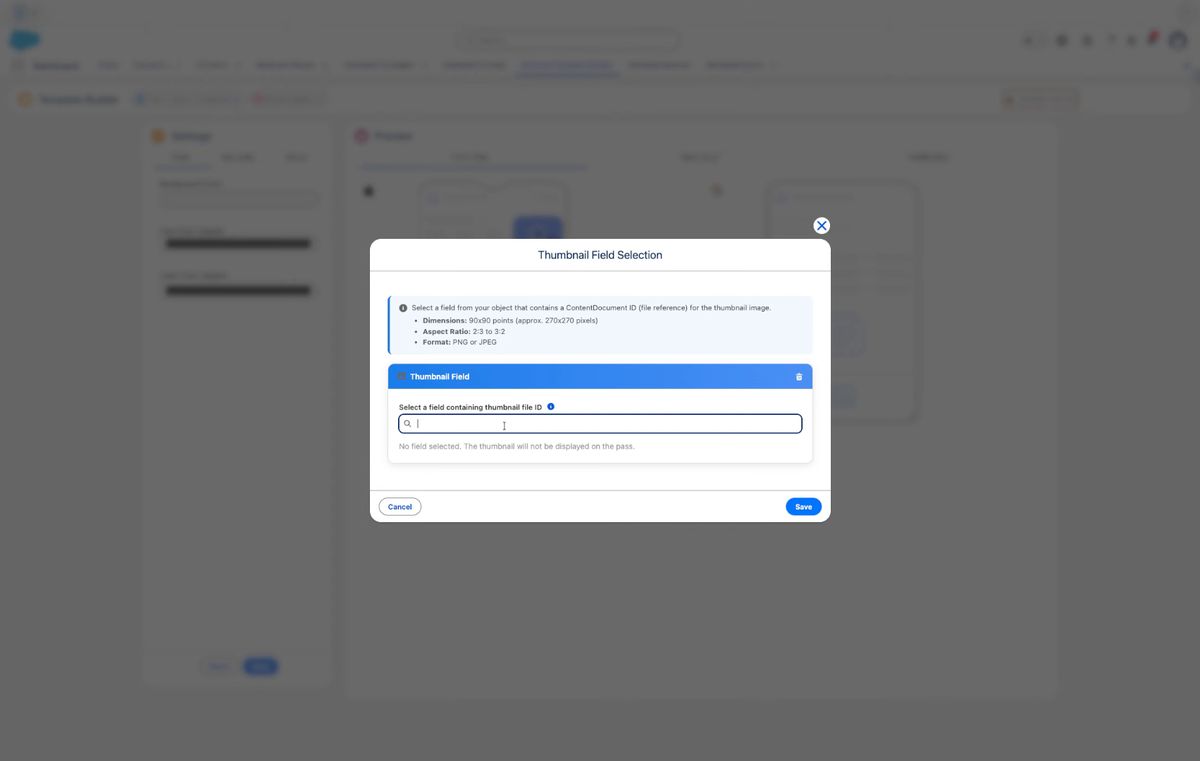
18. Enter Thumbnail Field Keyword
Enter a keyword like 'thumb' to search for the thumbnail file ID field in your data.
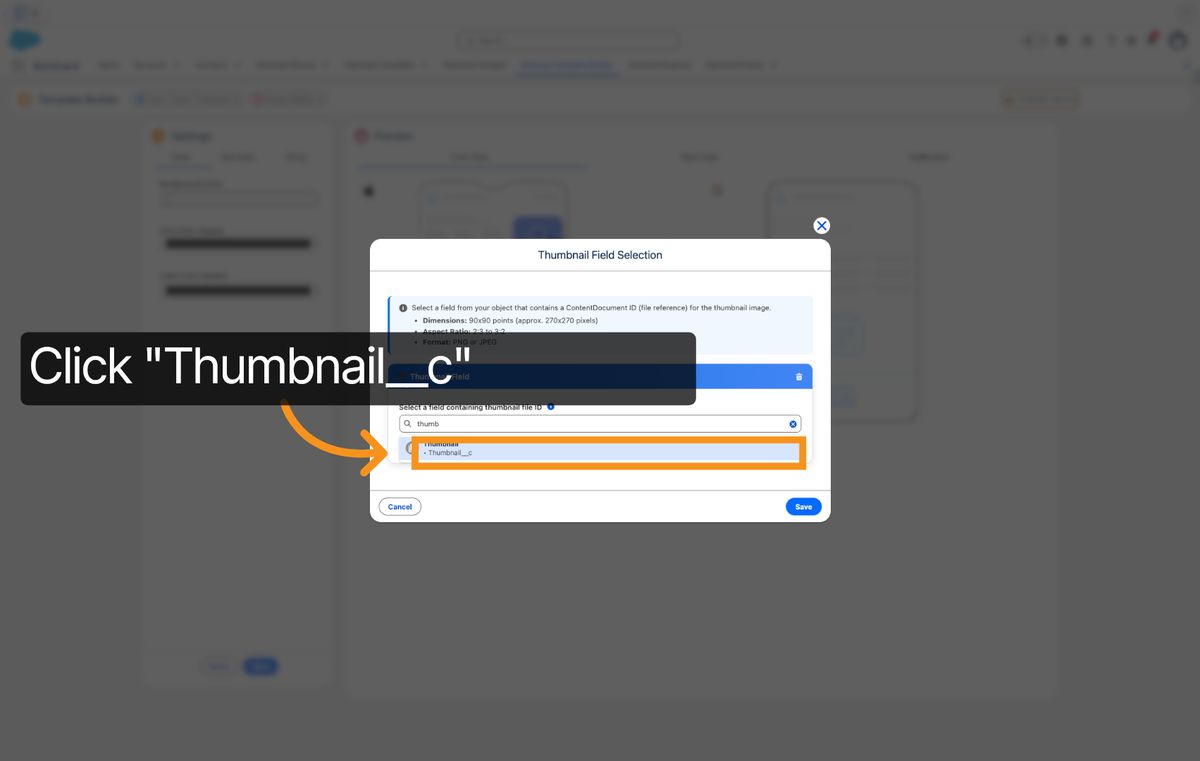
19. Select Thumbnail Field
Click the Thumbnail__c field to assign it as the source for the thumbnail images.
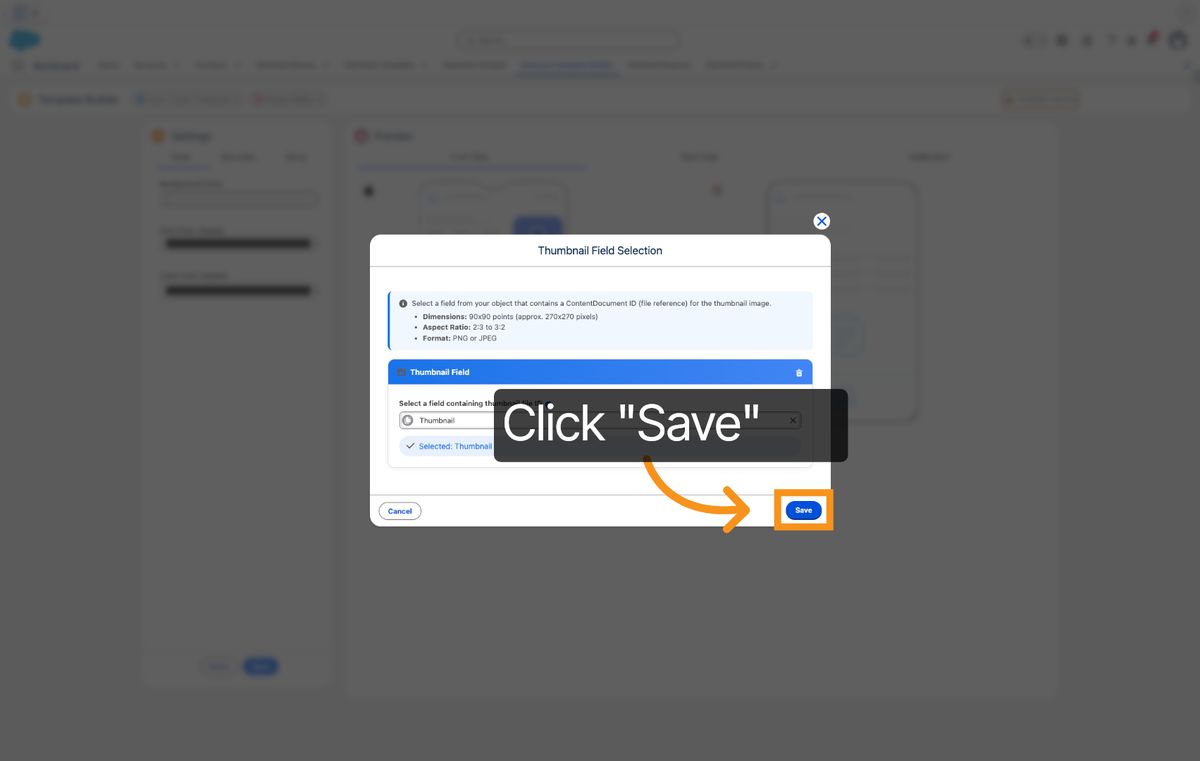
20. Click Save Field Selection
Click the Save button to confirm your selection of the thumbnail file ID field.
21. Click Barcodes Section
Click the Barcodes section to configure barcode settings for your event passes.
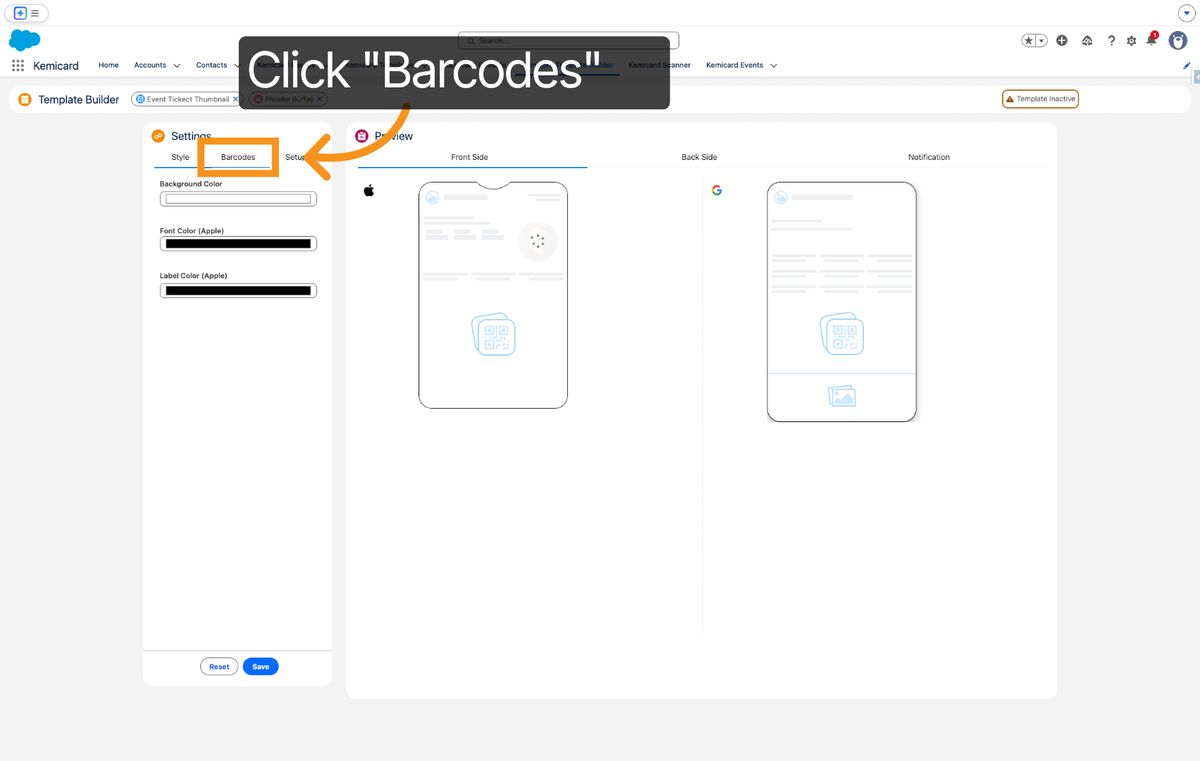
22. Enter Barcode Activation
Enter 'on' to enable barcode features for your event thumbnail template.
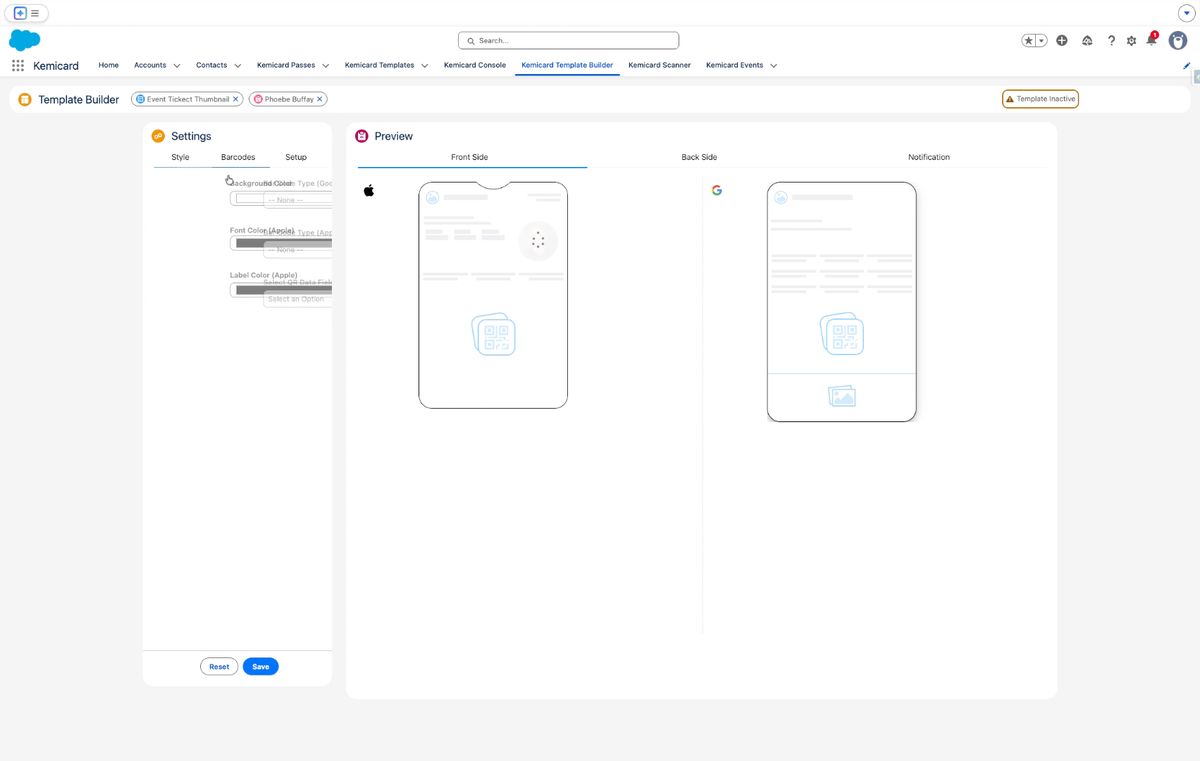
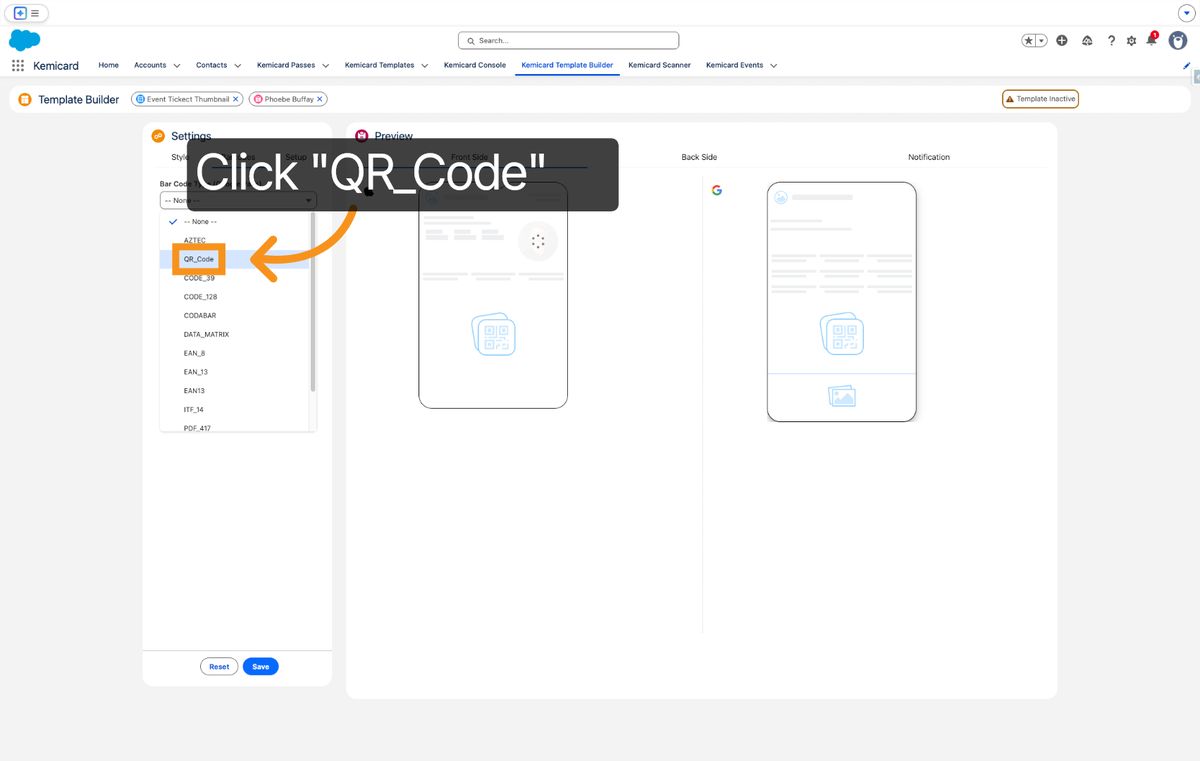
23. Select QR Code Option
Click the QR_Code option to specify the type of barcode to use on your passes.
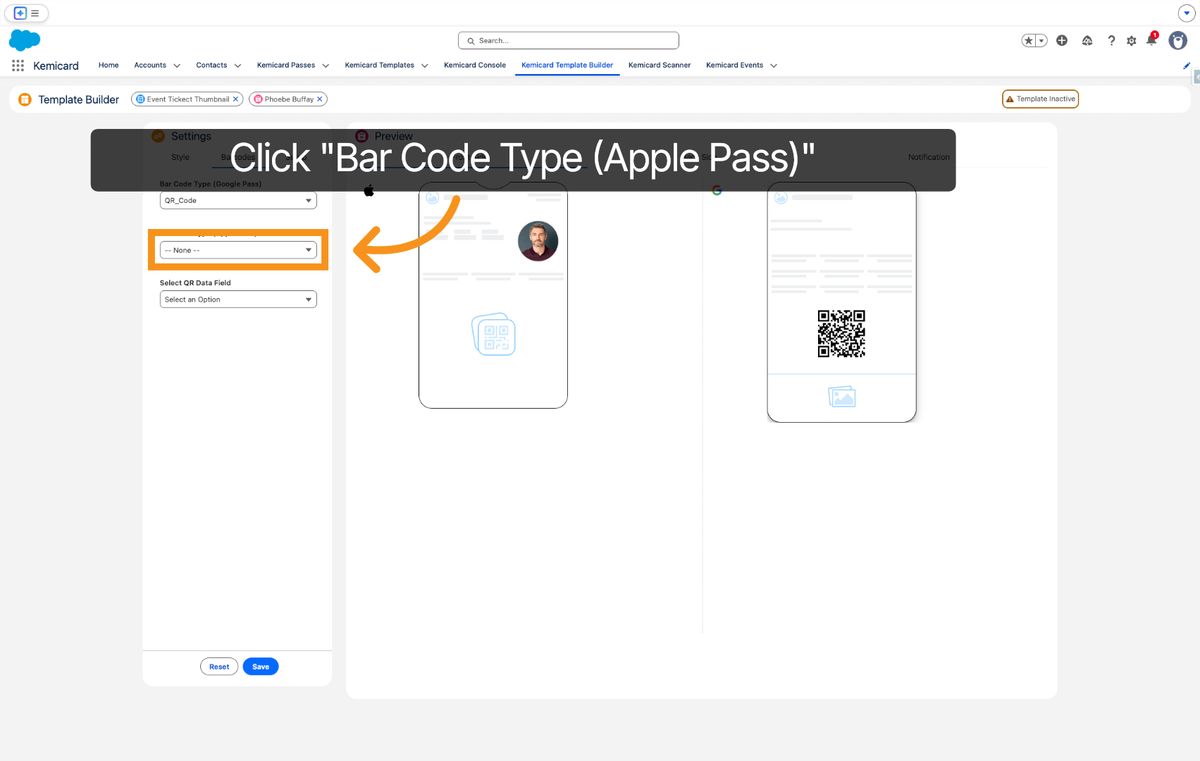
24. Select Barcode Type Field
Click the Bar Code Type (Apple Pass) field to choose the barcode format for Apple devices.
25. Choose QR Barcode Format
Click the PK Barcode Format QR option to set the barcode format to QR code.
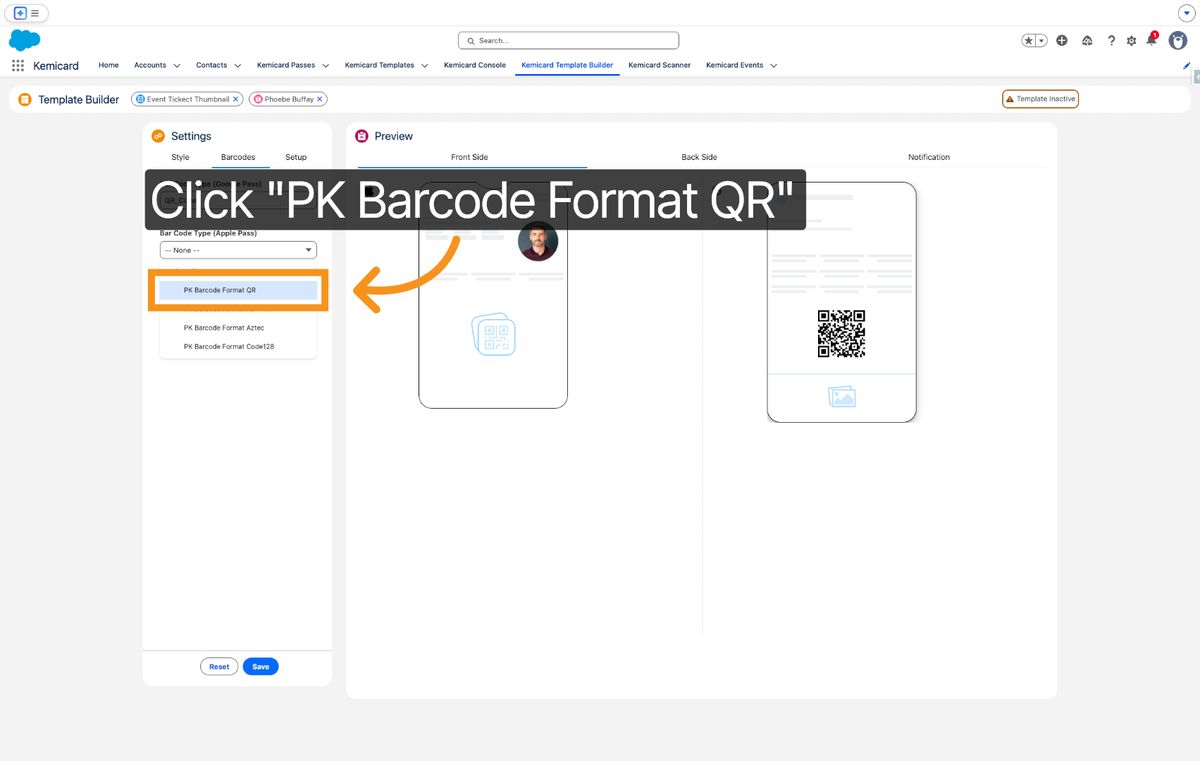
26. Click Select Option Dropdown
Click the Select an Option dropdown to choose the data source for the barcode.
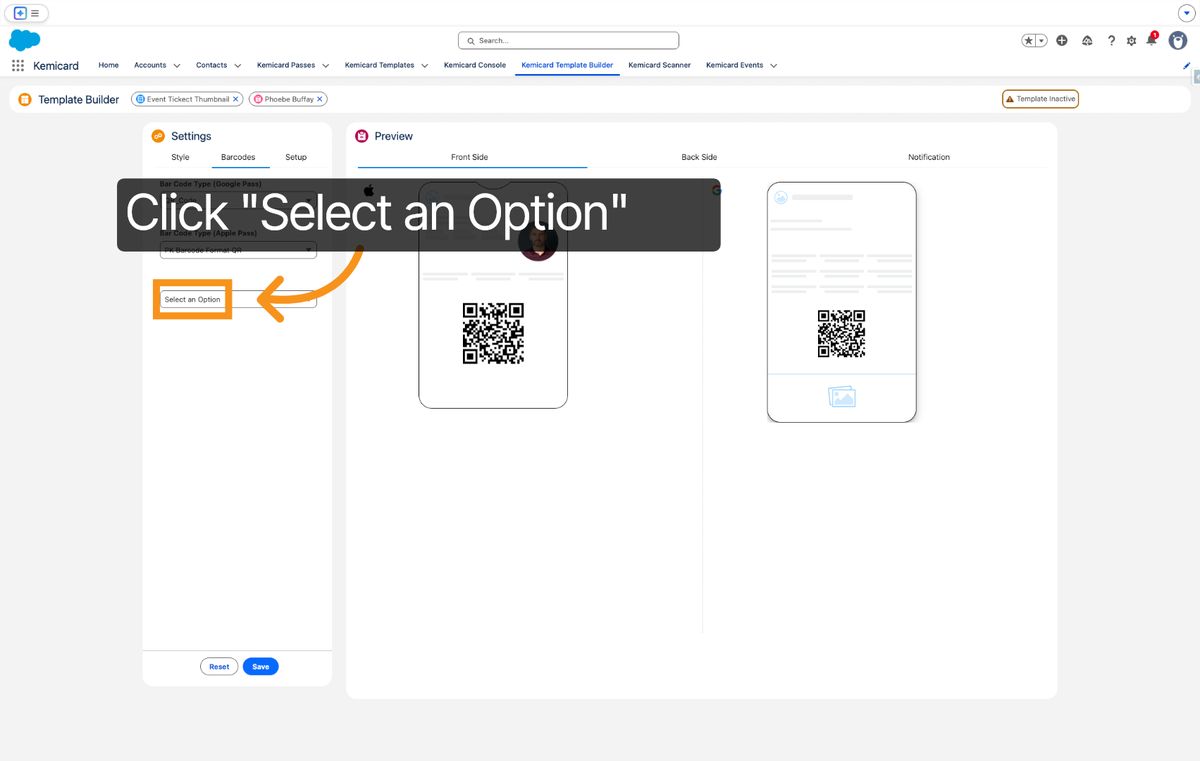
27. Select Contact ID Field
Click the Contact ID option to link the barcode to the contact identifier.
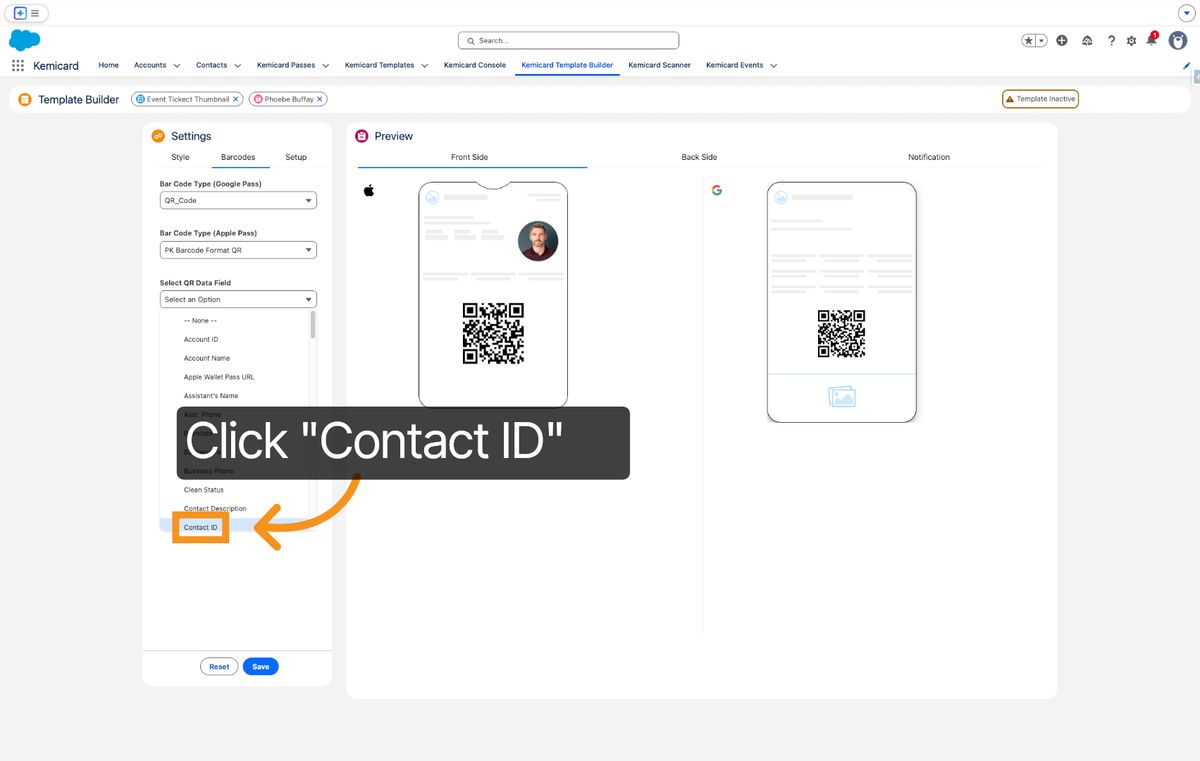
28. Click To Continue
Click here to proceed after selecting the barcode data source.
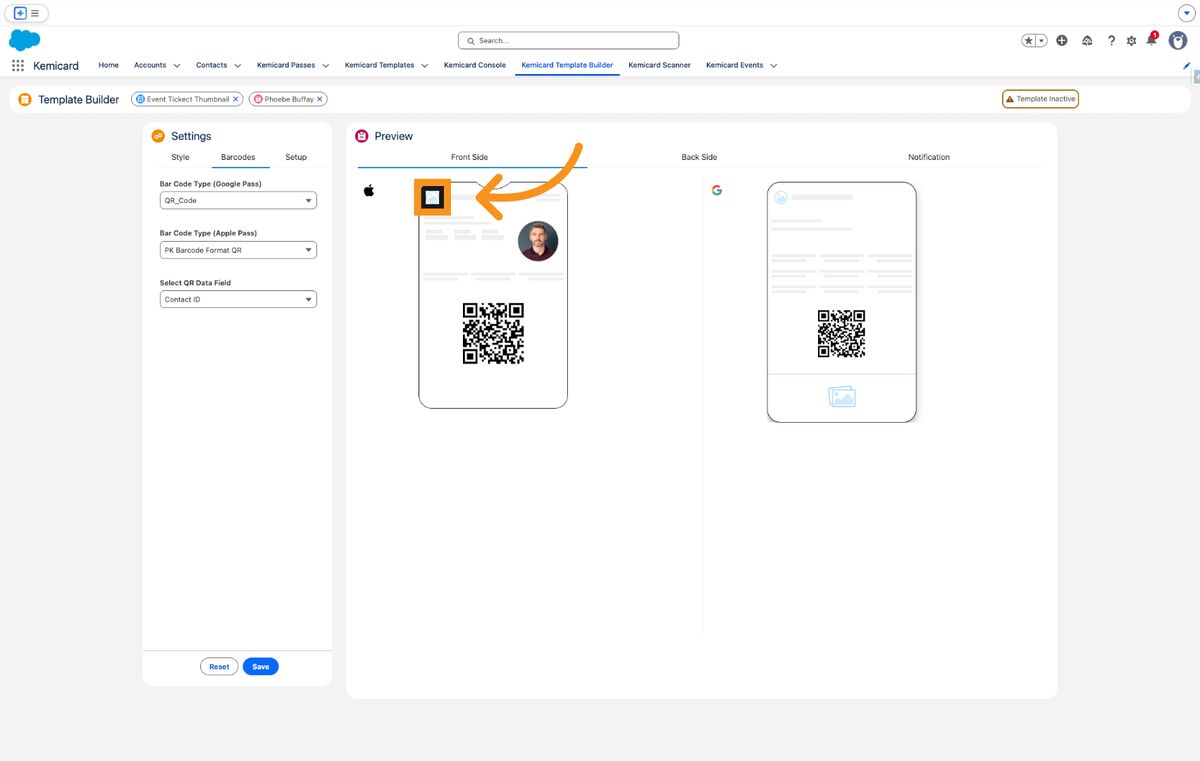
29. Click To Proceed
Click here to continue with the barcode configuration process.
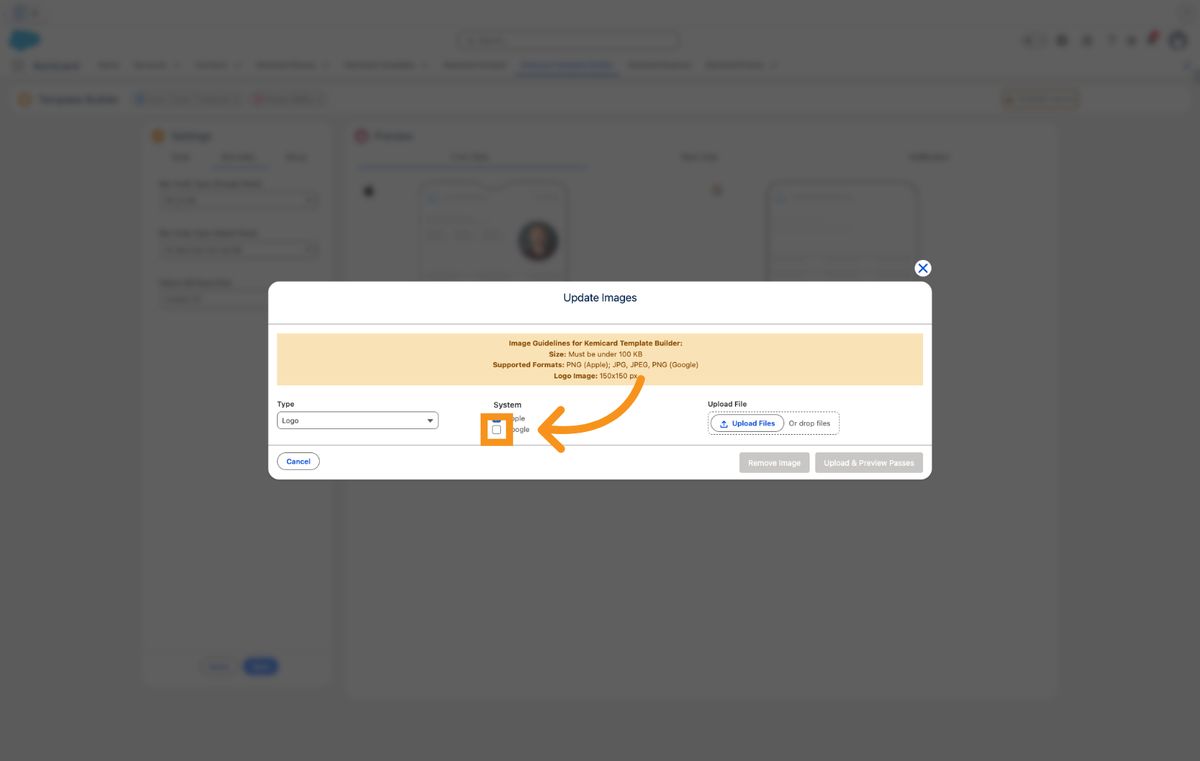
30. Enter Upload Keyword
Enter 'google' to search or specify upload options related to your event passes.
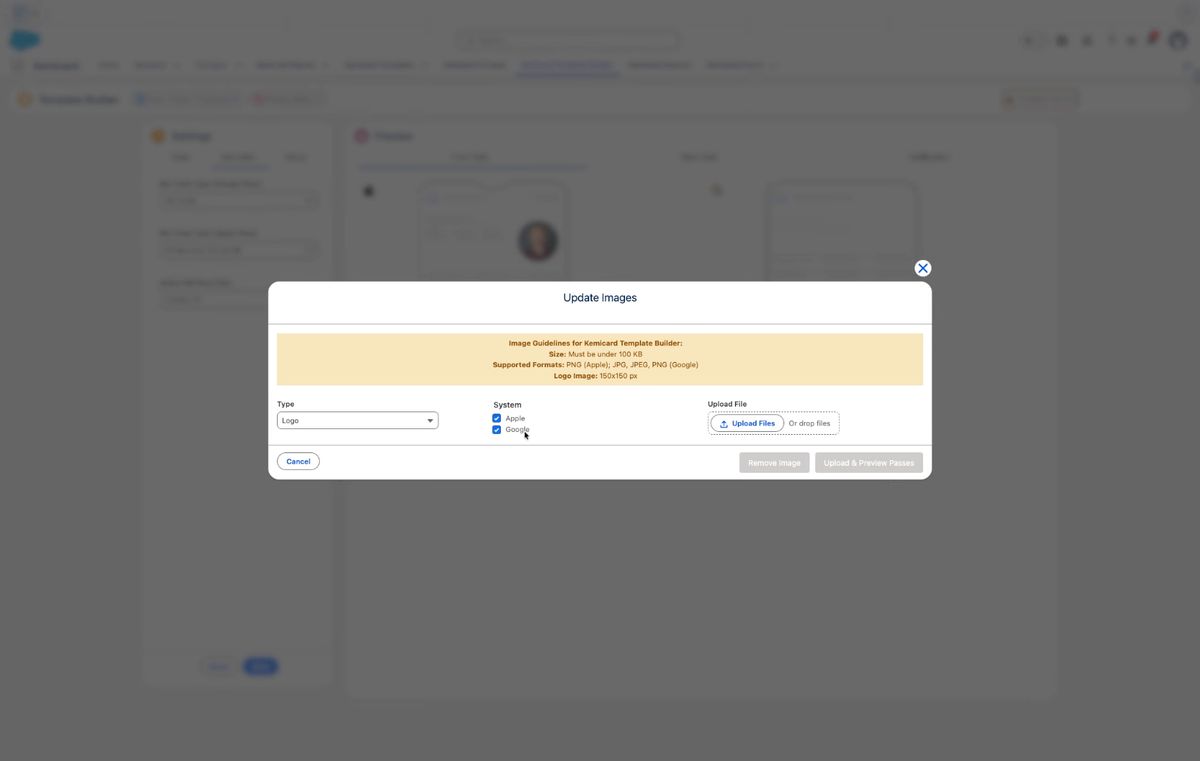
31. Fill Upload Files Section
Fill the Upload Files or drop files area to add images or documents for your event passes.
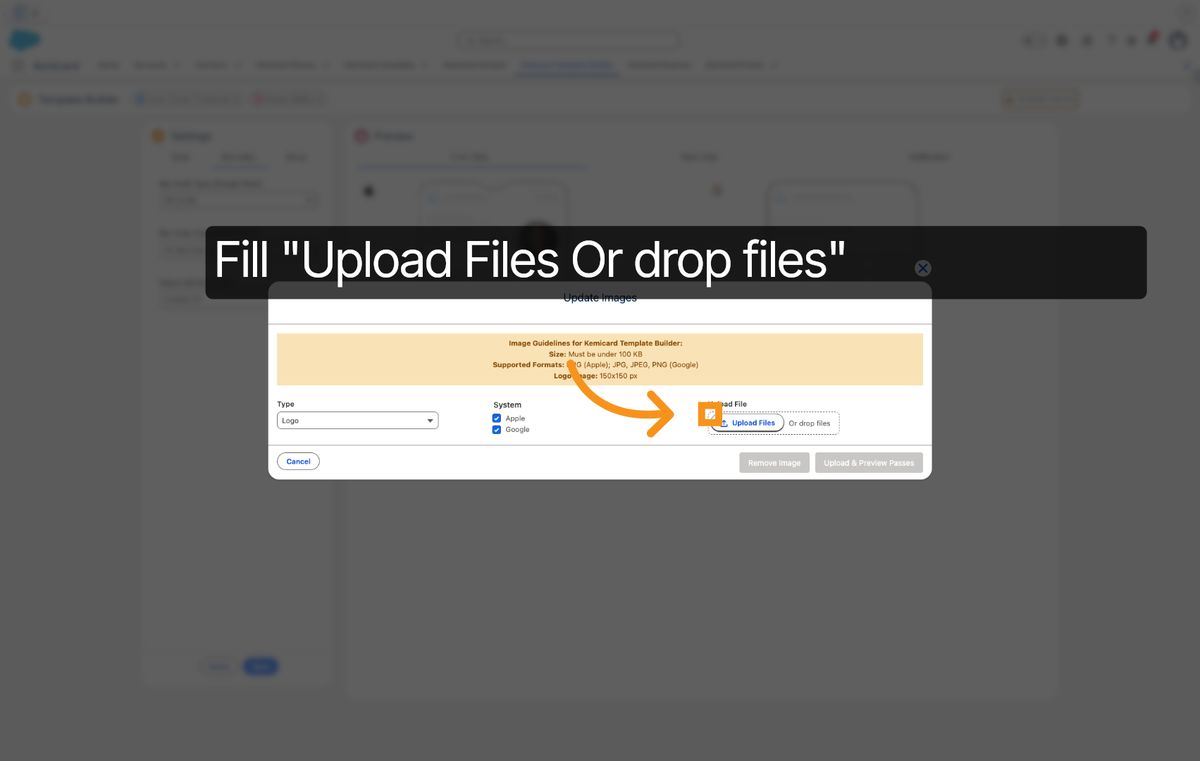
32. Click Done Button
Click the Done button to complete the file upload process.
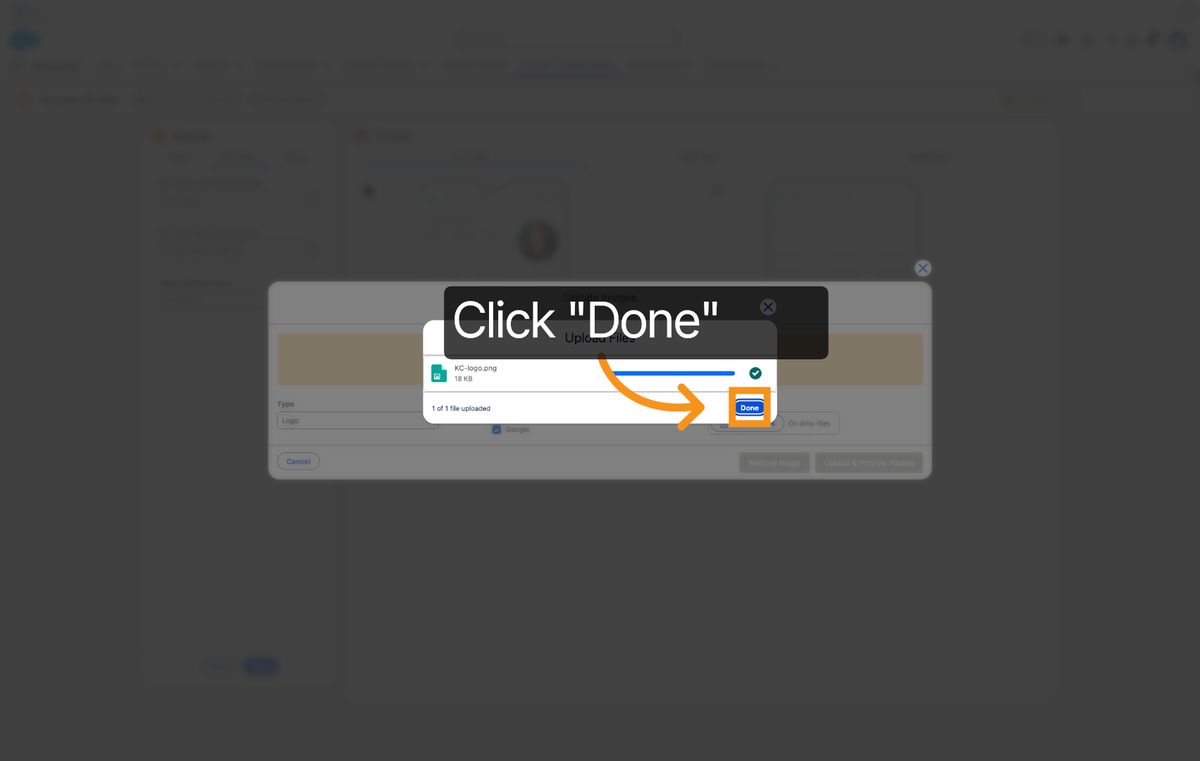
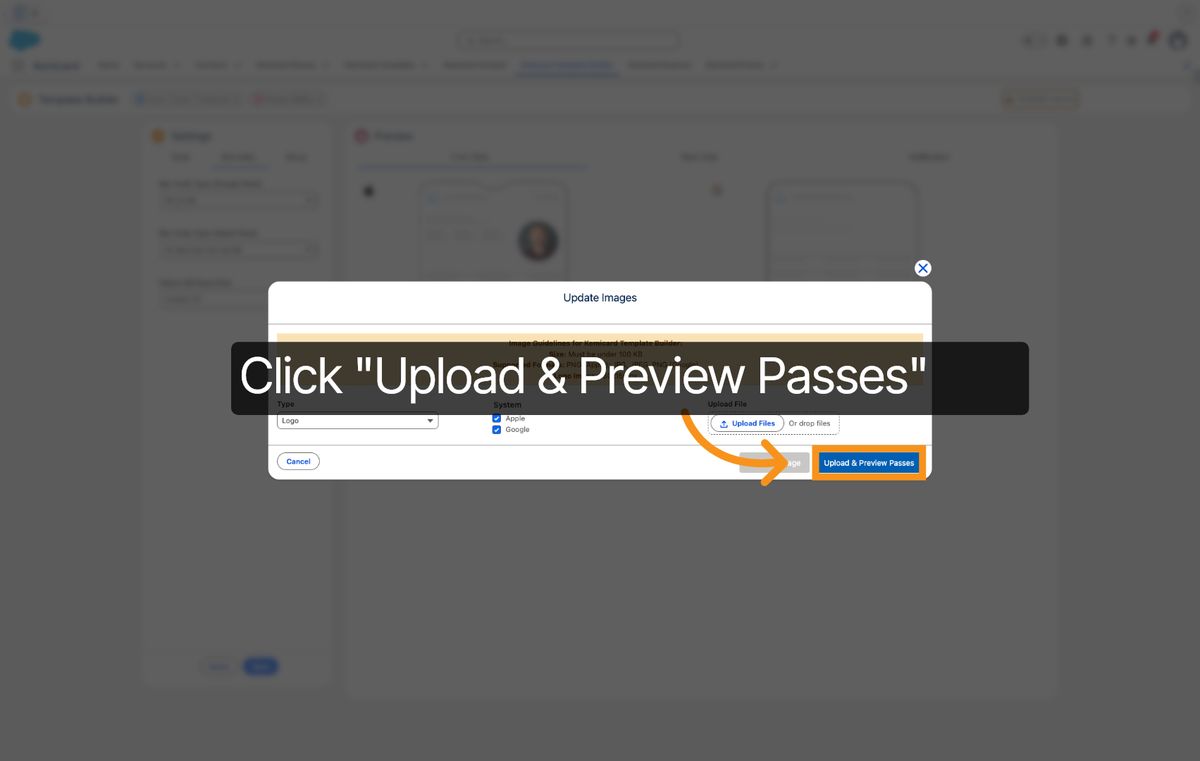
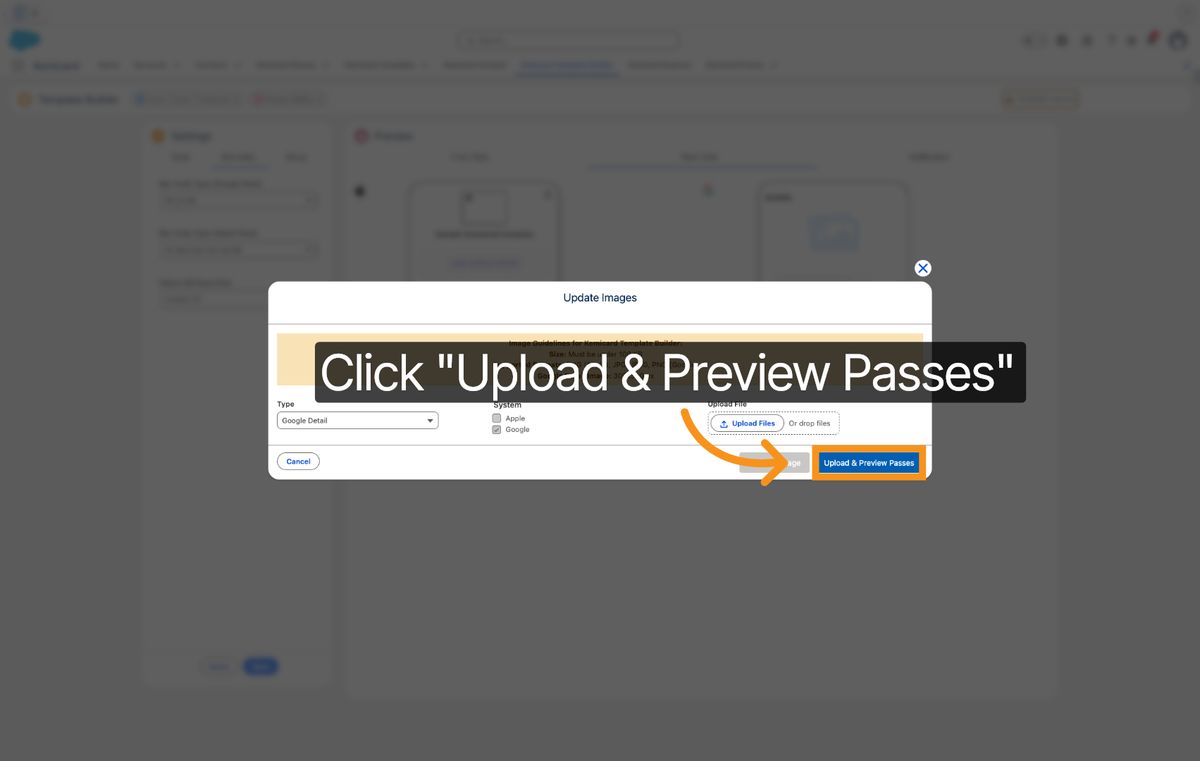
33. Click Upload & Preview
Click Upload & Preview Passes to upload your files and preview the event passes.
34. Click To Continue
Click here to continue after uploading and previewing your passes.
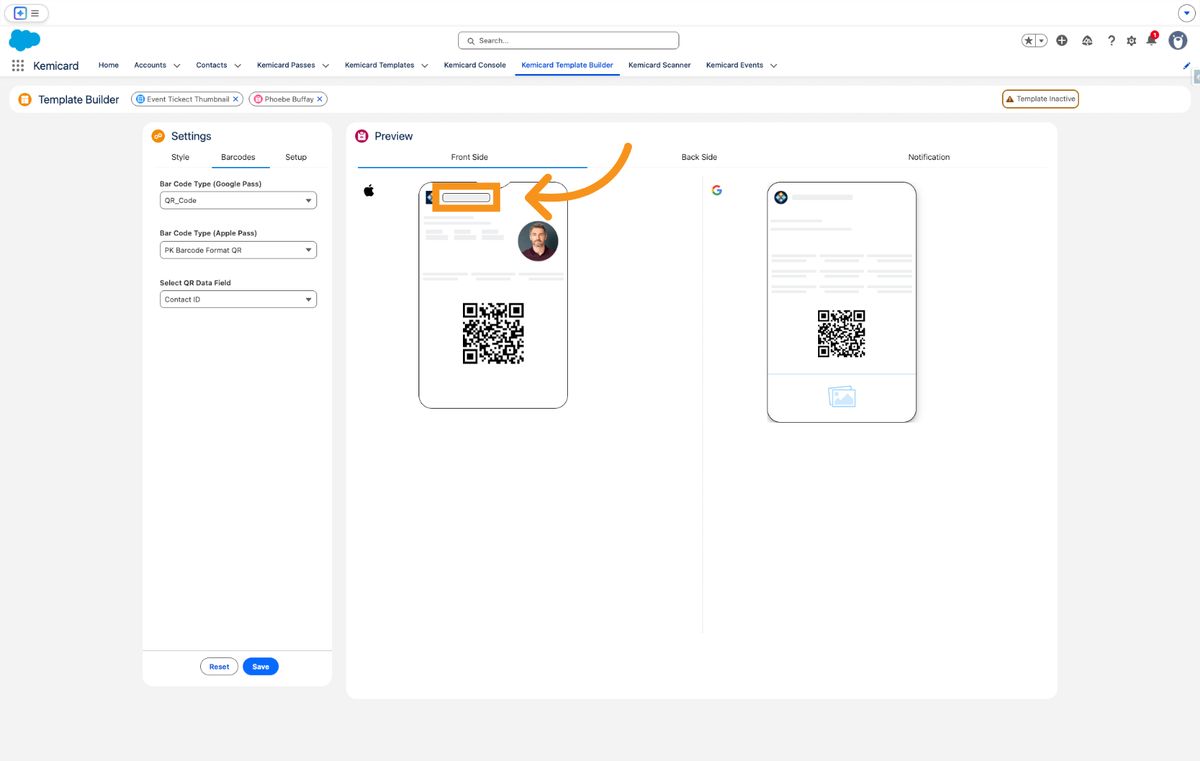
35. Click To Proceed
Click here to move forward in the event thumbnail setup.
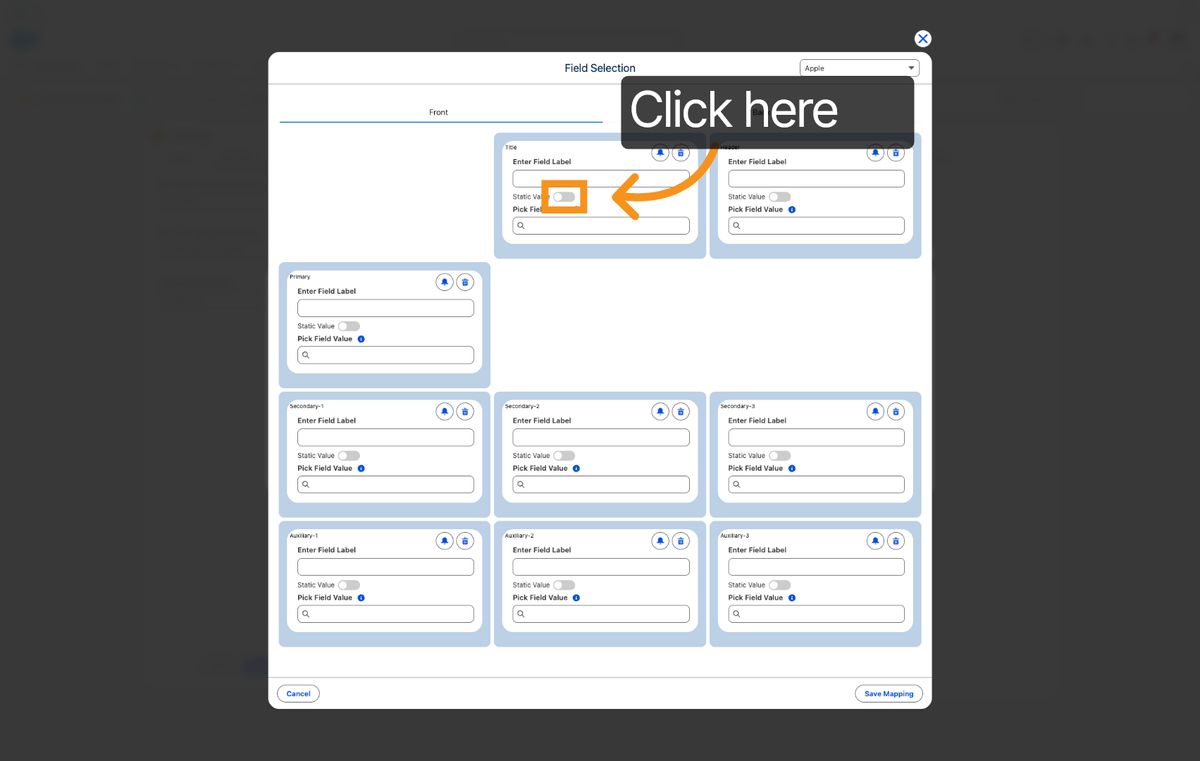
36. Enter Activation Keyword
Enter 'on' to activate the current configuration settings.
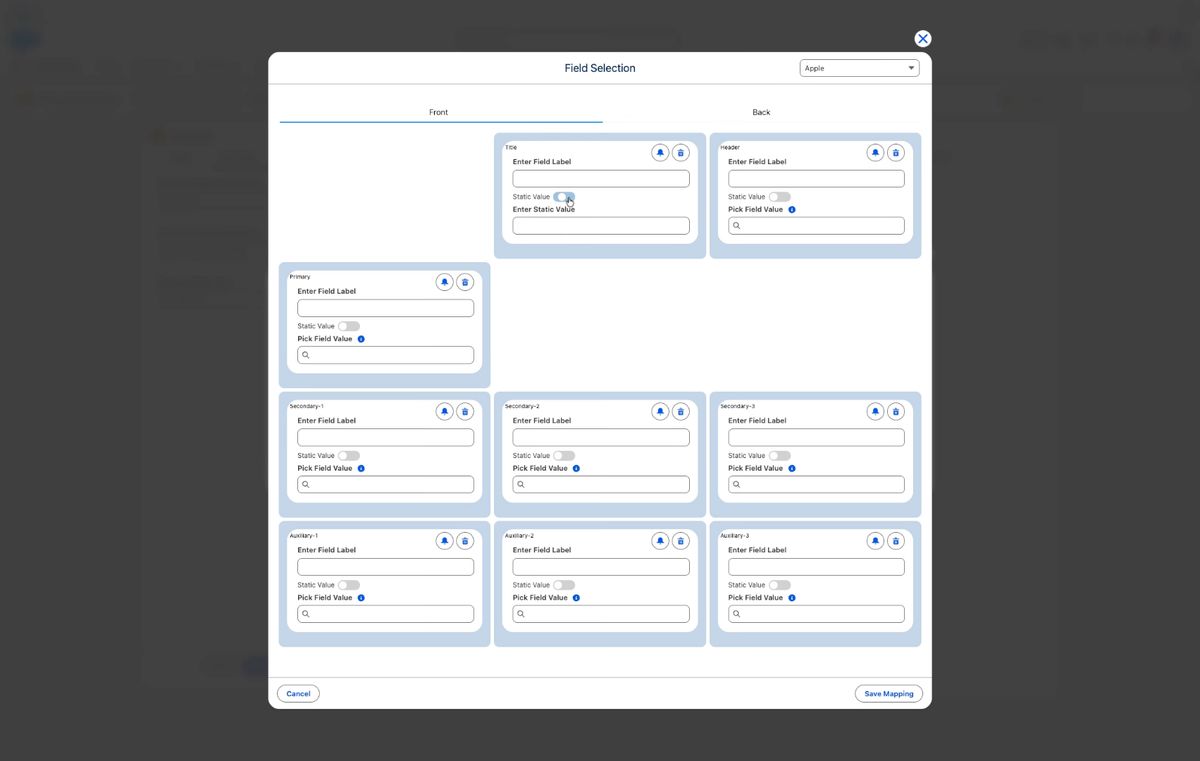
37. Enter Organization Name
Enter your organization name to associate with this part of the template.
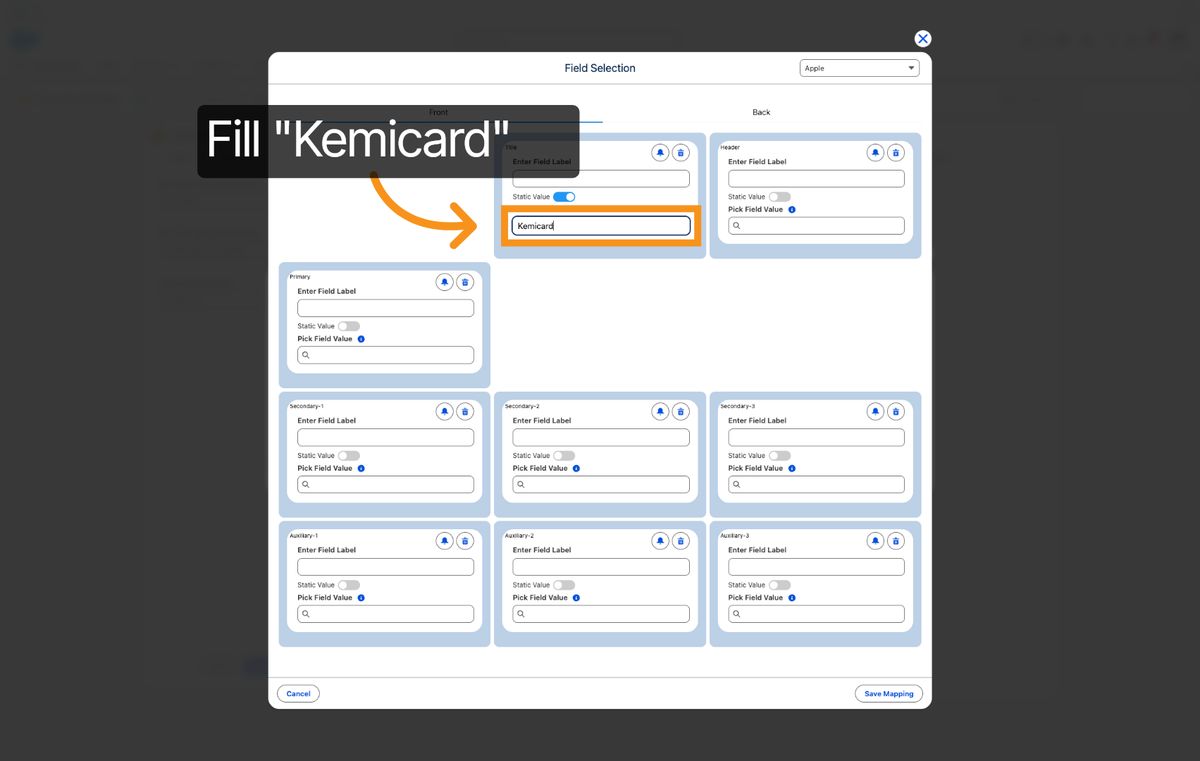
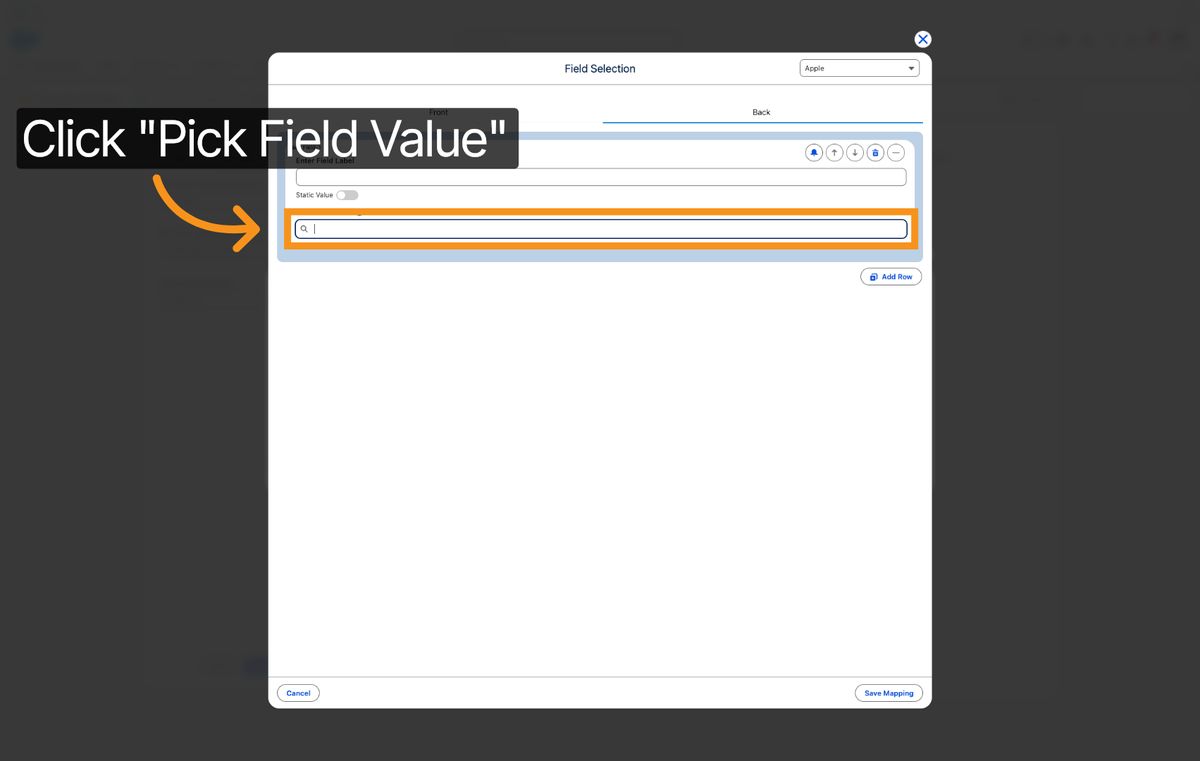
38. Click Pick Field Value
Click Pick Field Value to select a specific field for mapping data.
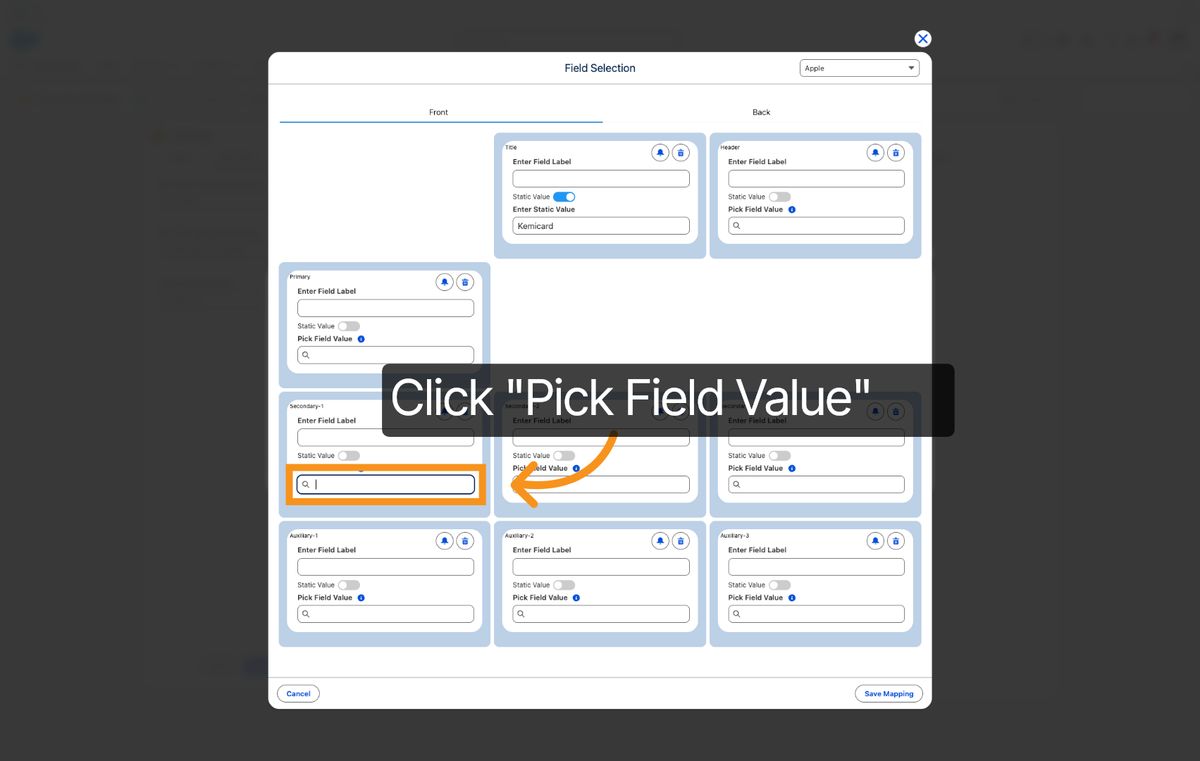
39. Enter First Name Keyword
Enter 'first name' to find the field corresponding to the user's first name.
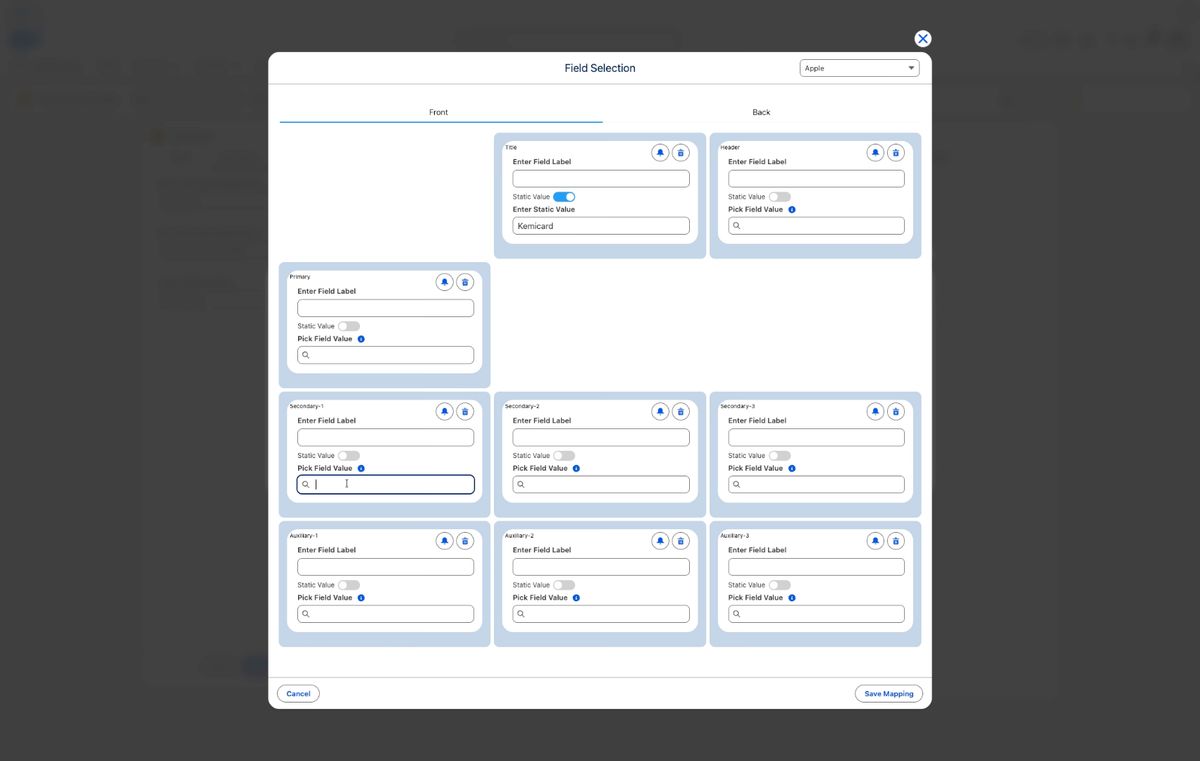
40. Select First Name Field
Click the FirstName field to map the first name data to your template.
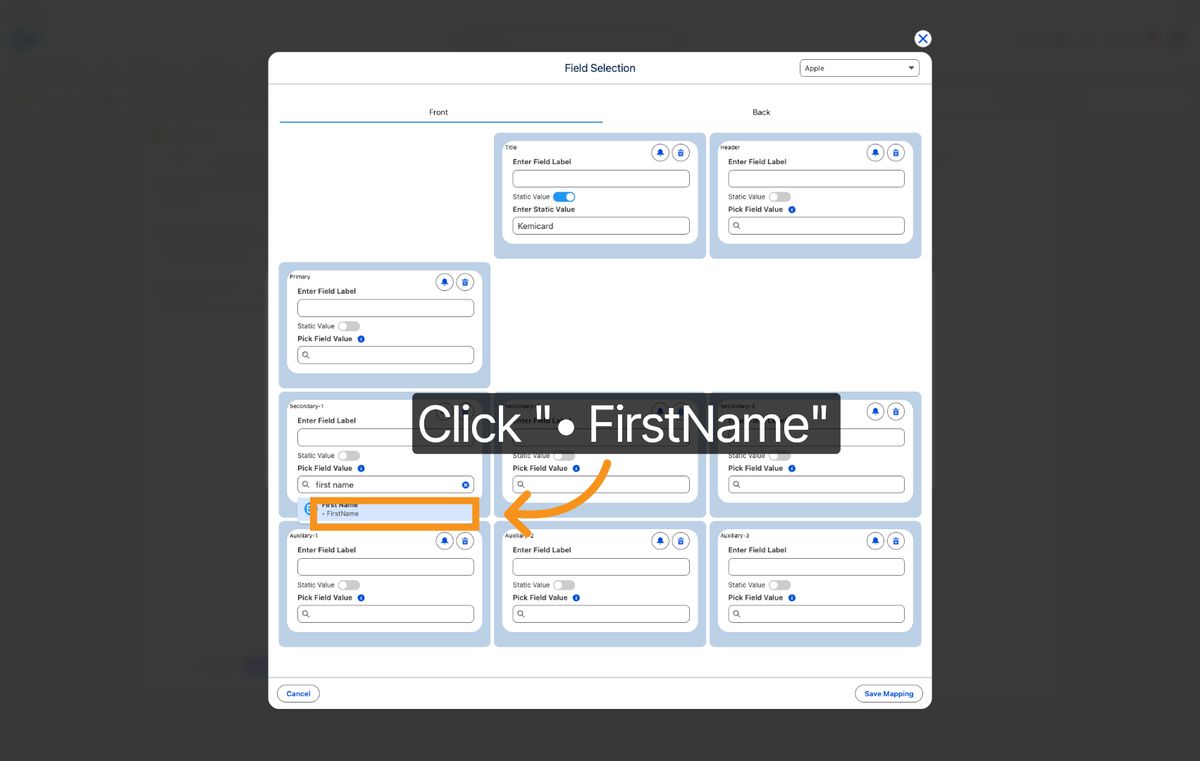
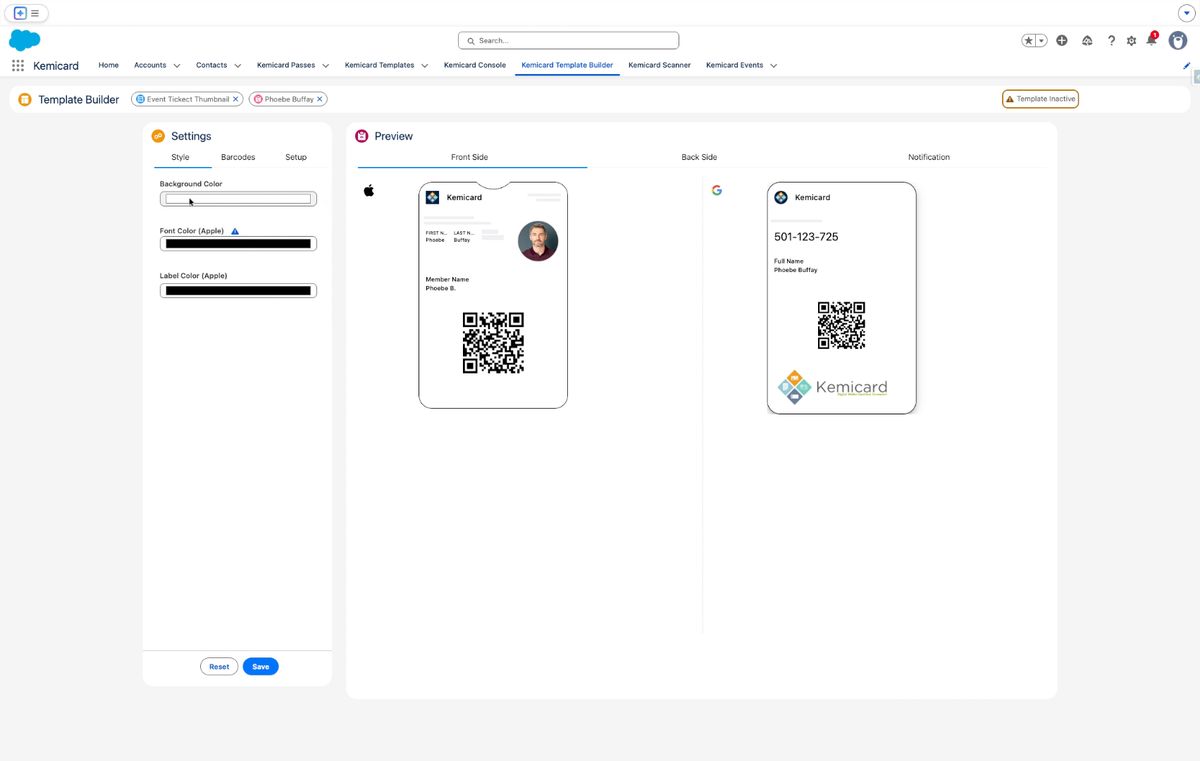
41. Click Pick Field Value
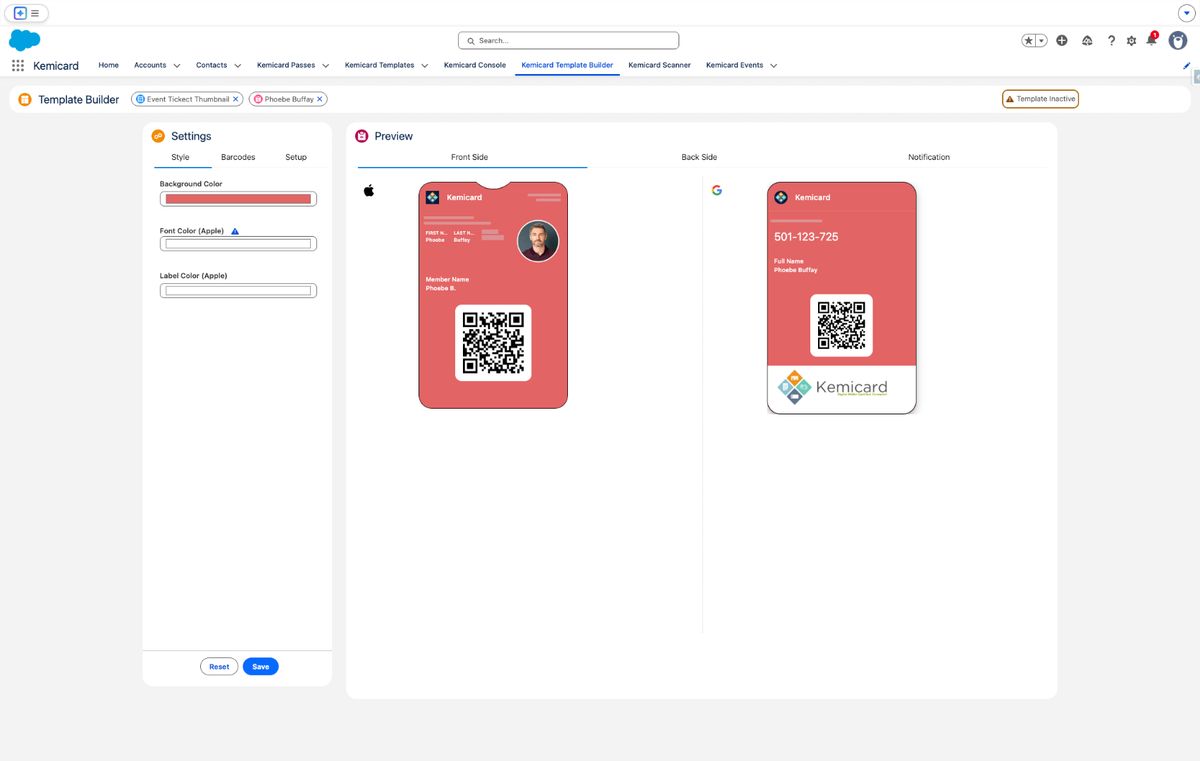
Click Pick Field Value again to map another data field.
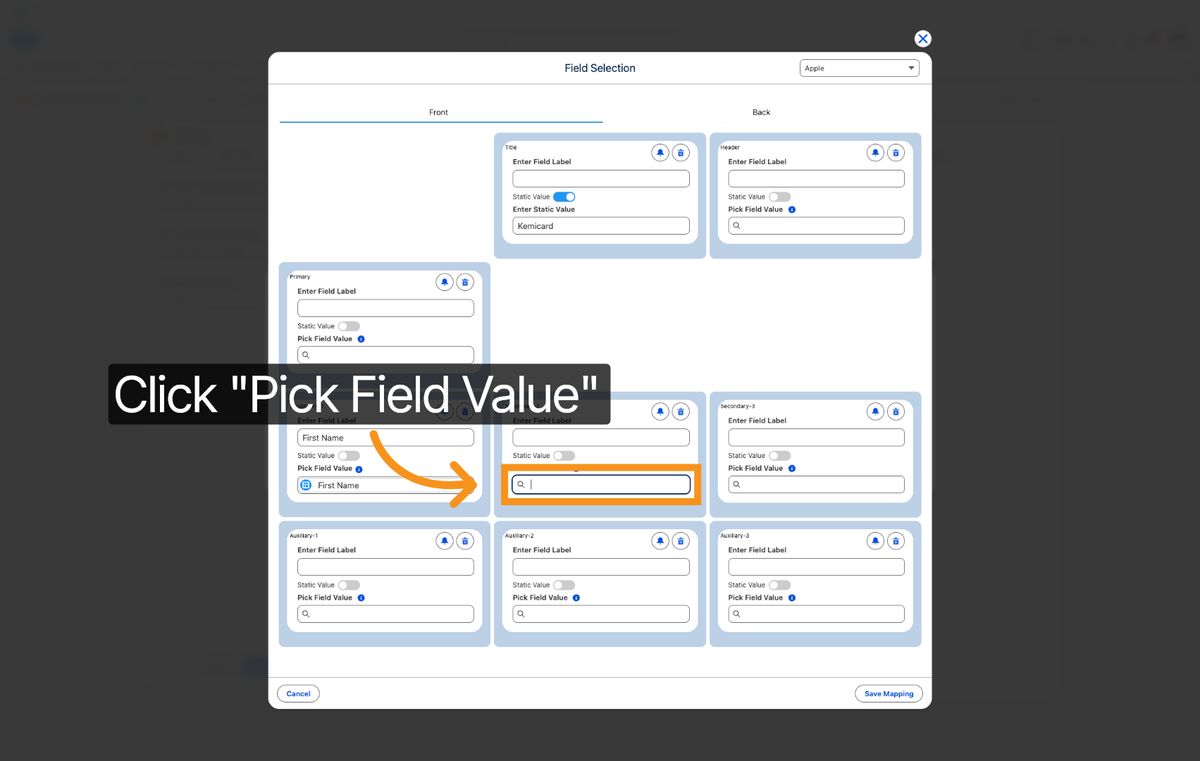
42. Enter Last Name Keyword
Enter 'last name' to locate the field for the user's last name.
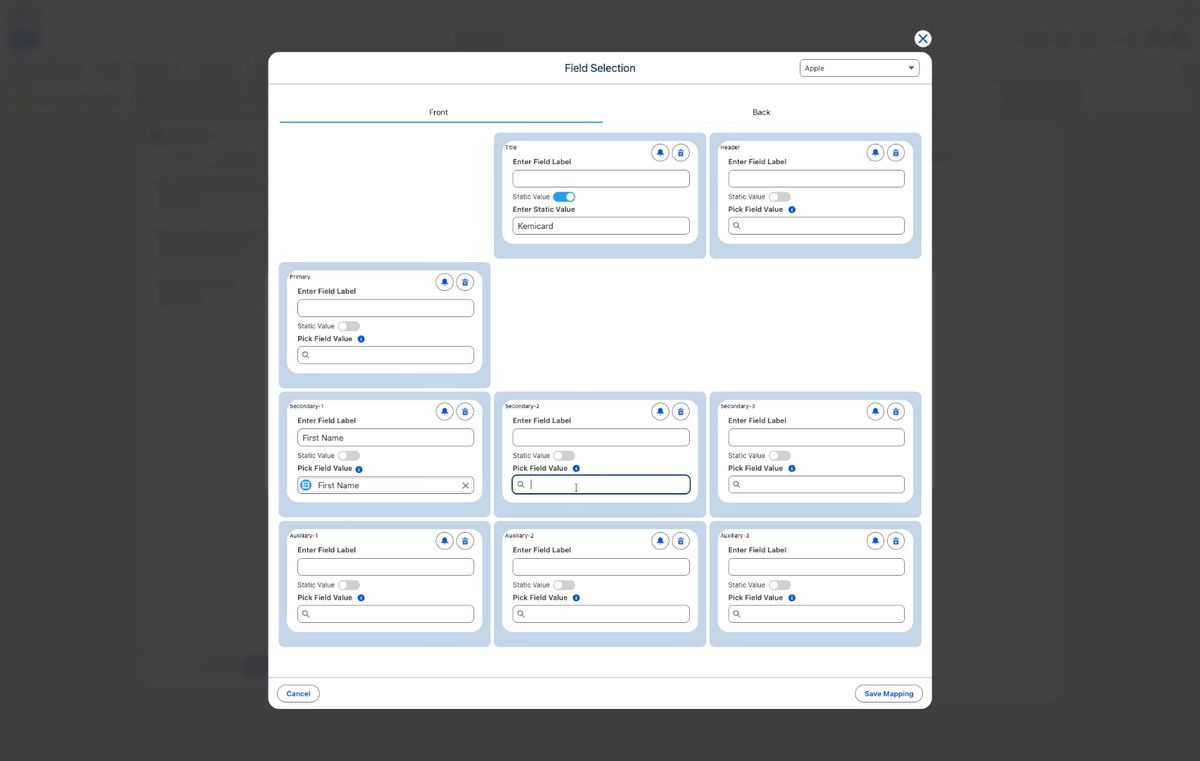
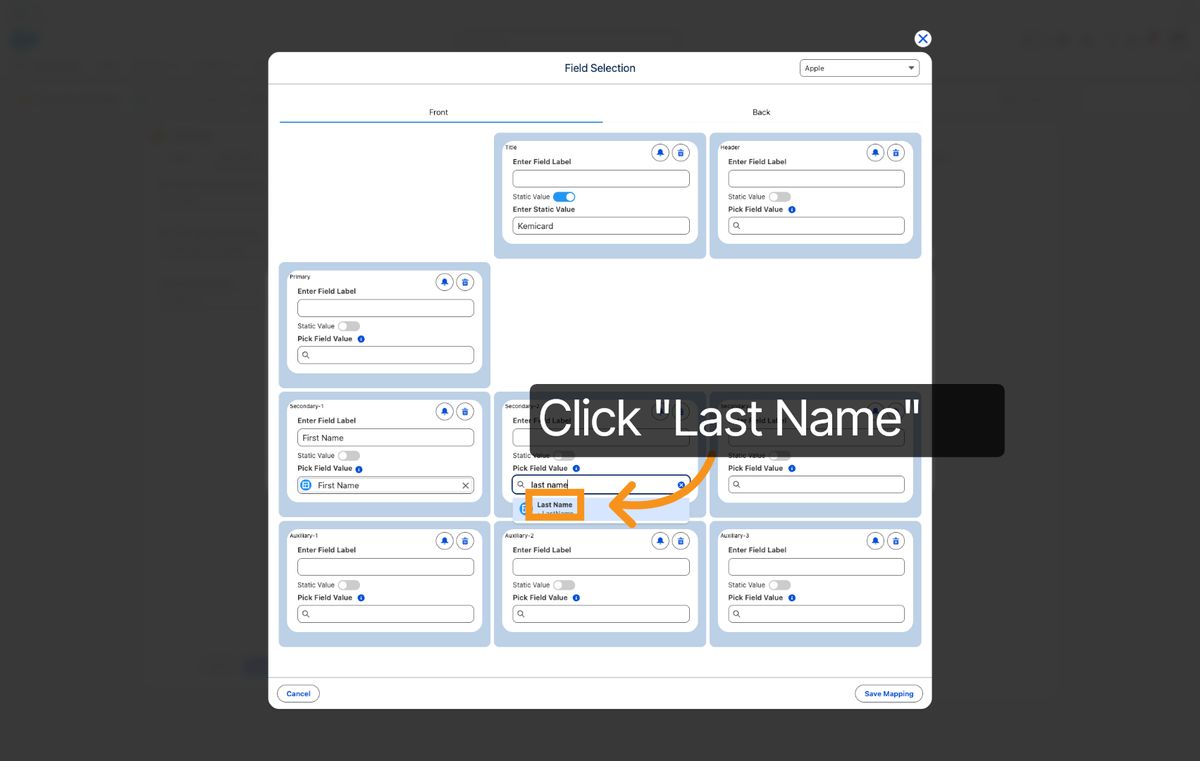
43. Select Last Name Field
Click the Last Name field to assign last name data to the template.
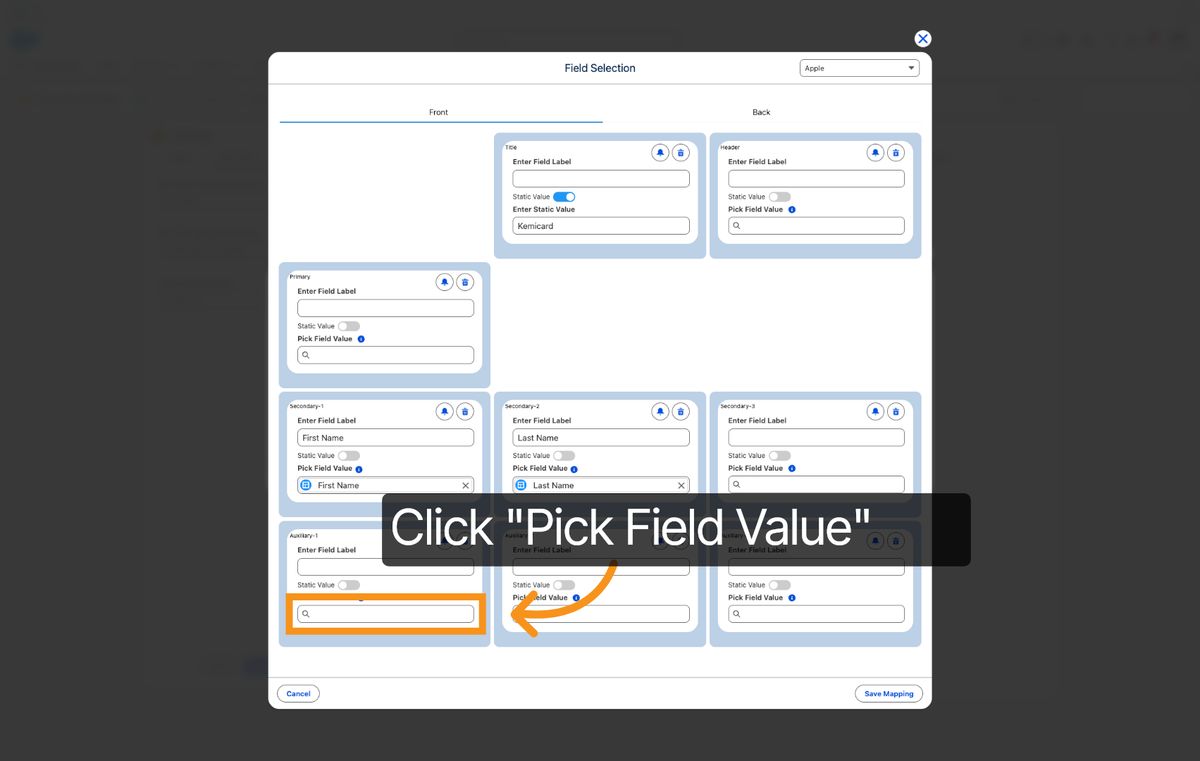
44. Click Pick Field Value
Click Pick Field Value to continue mapping additional fields.
45. Enter Member Keyword
Enter 'Mem' to search for member-related fields for mapping.
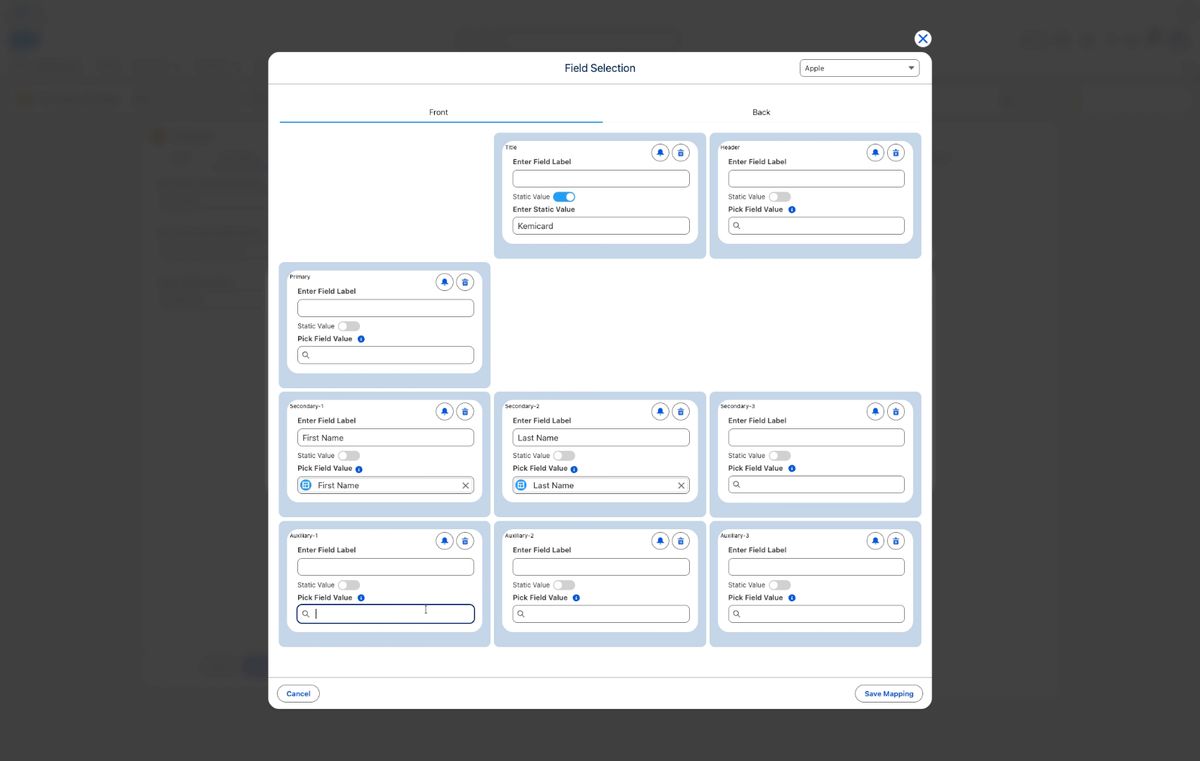
46. Select Member Name Field
Click the Member Name field to map member name information.
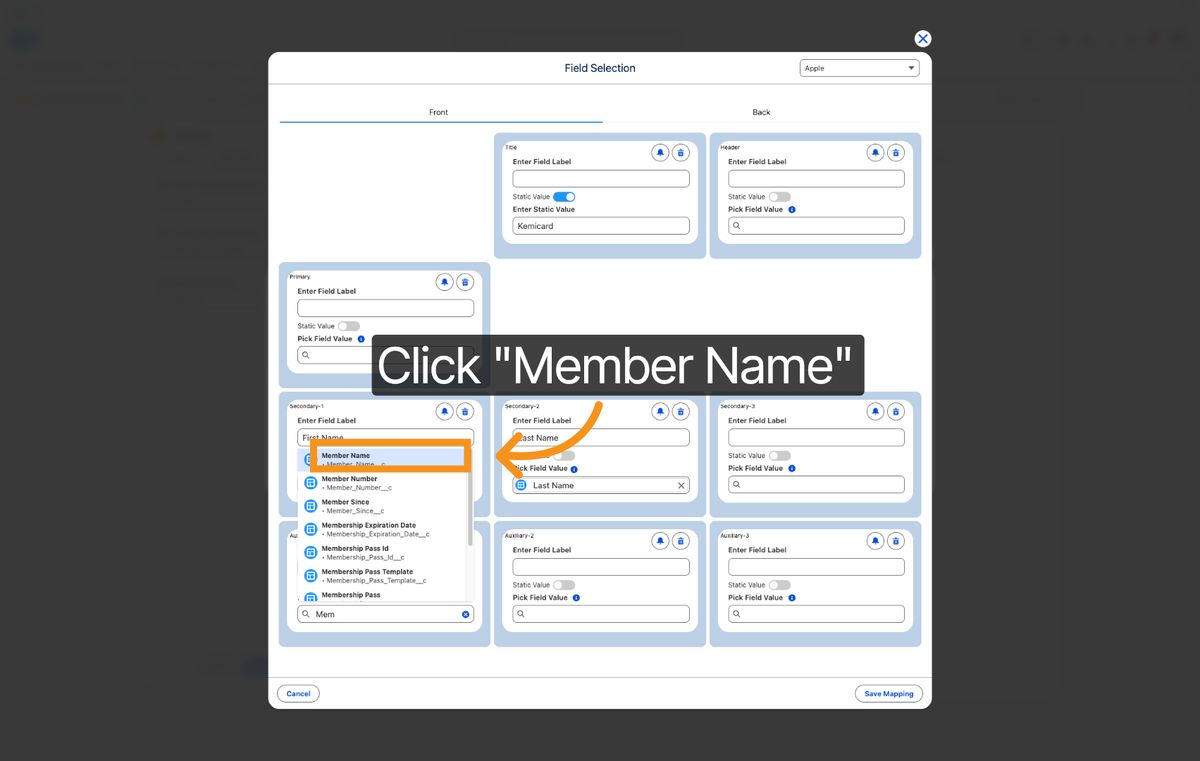
47. Click Save Mapping
Click Save Mapping to save your field mappings for the template.
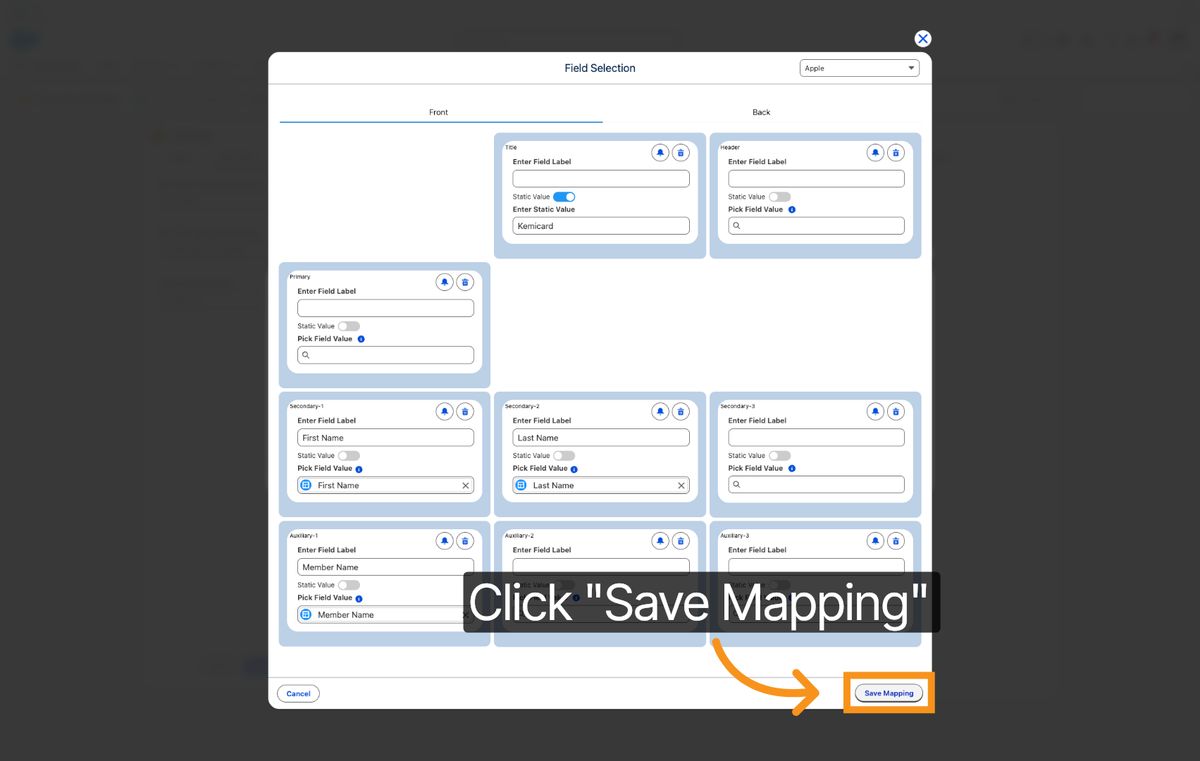
48. Click To Continue
Click here to proceed to the next configuration step.
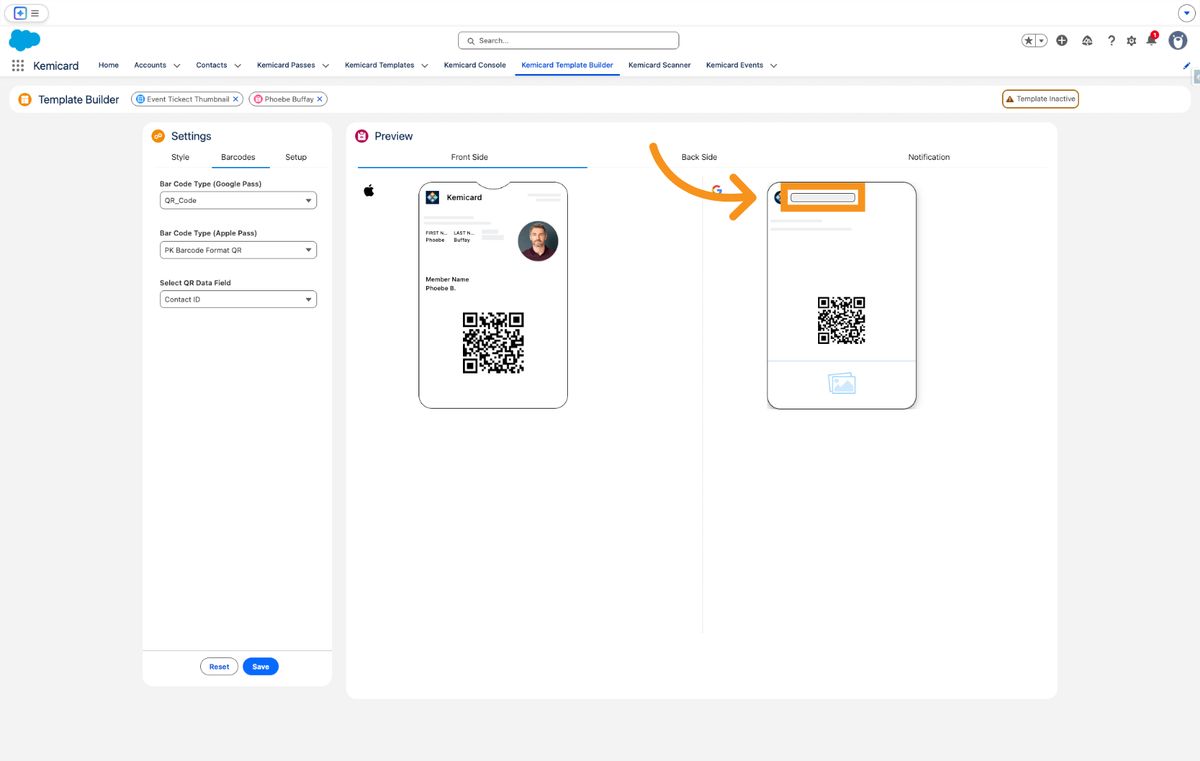
49. Click To Proceed
Click here to continue with the template setup process.
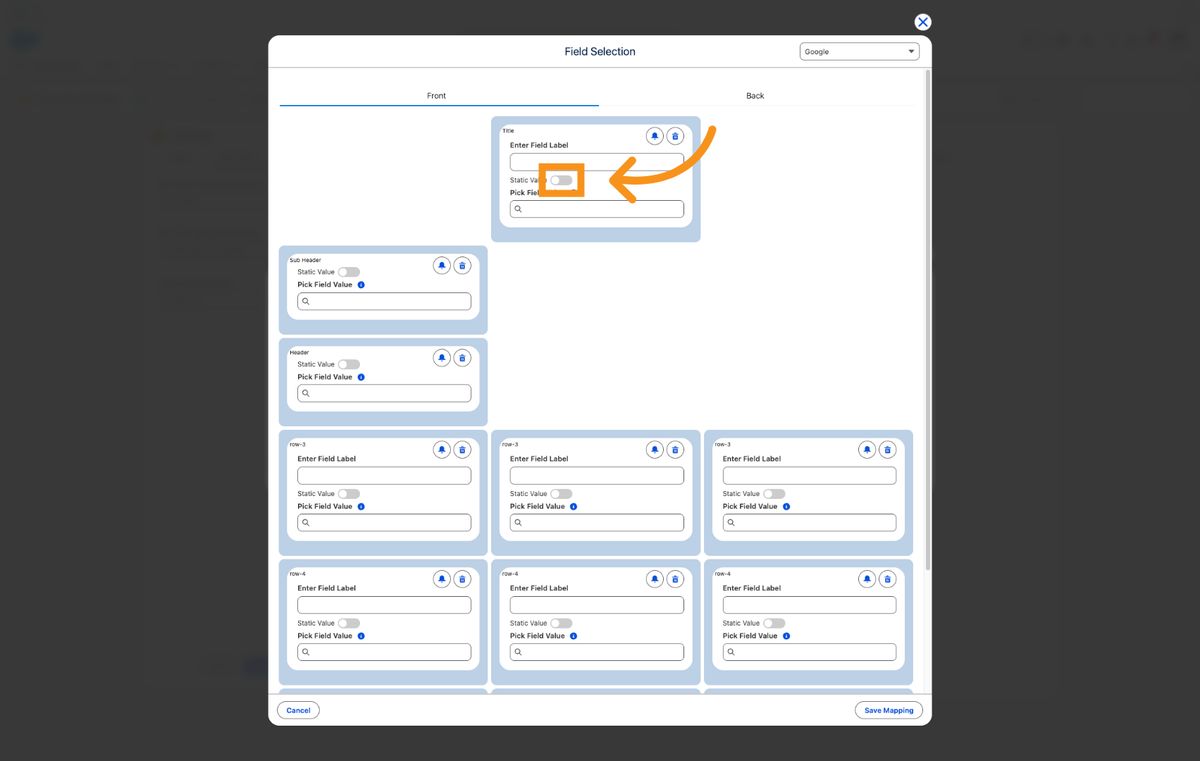
50. Click Enter Field Value
Click Enter Field Value to input specific data for the template.
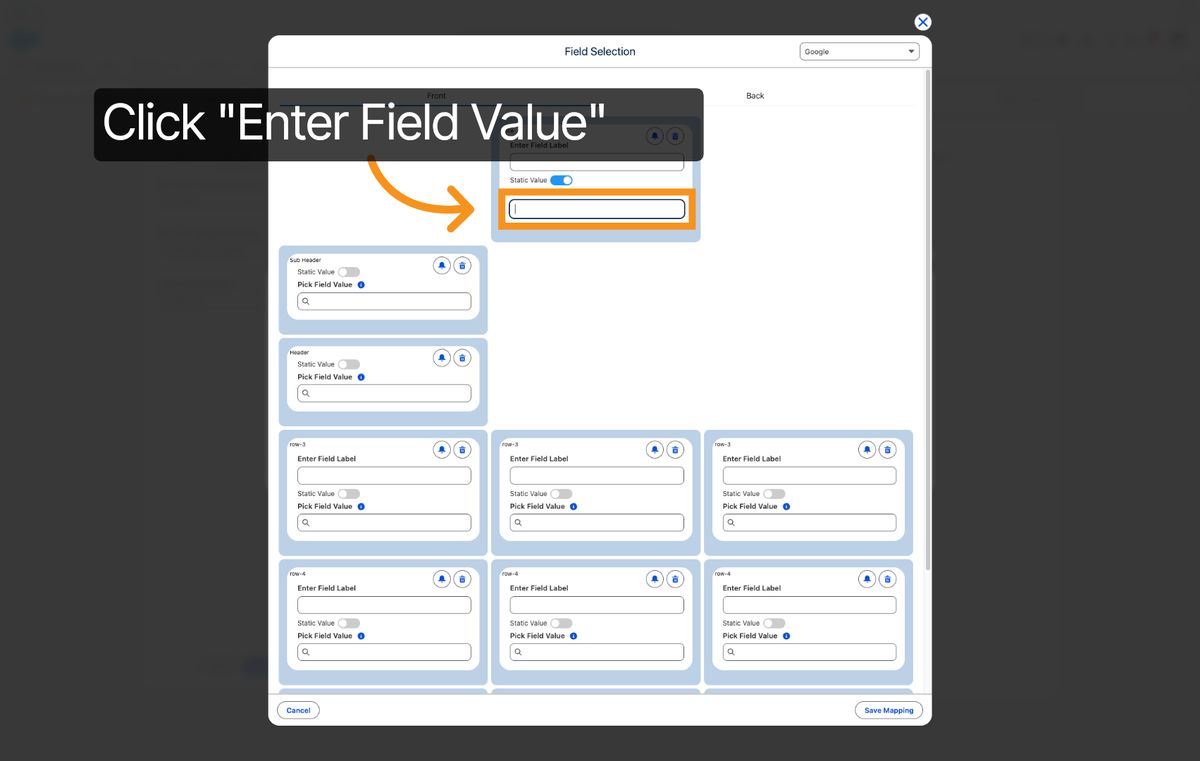
51. Enter Organization Name
Enter your organization name to associate with this field value.
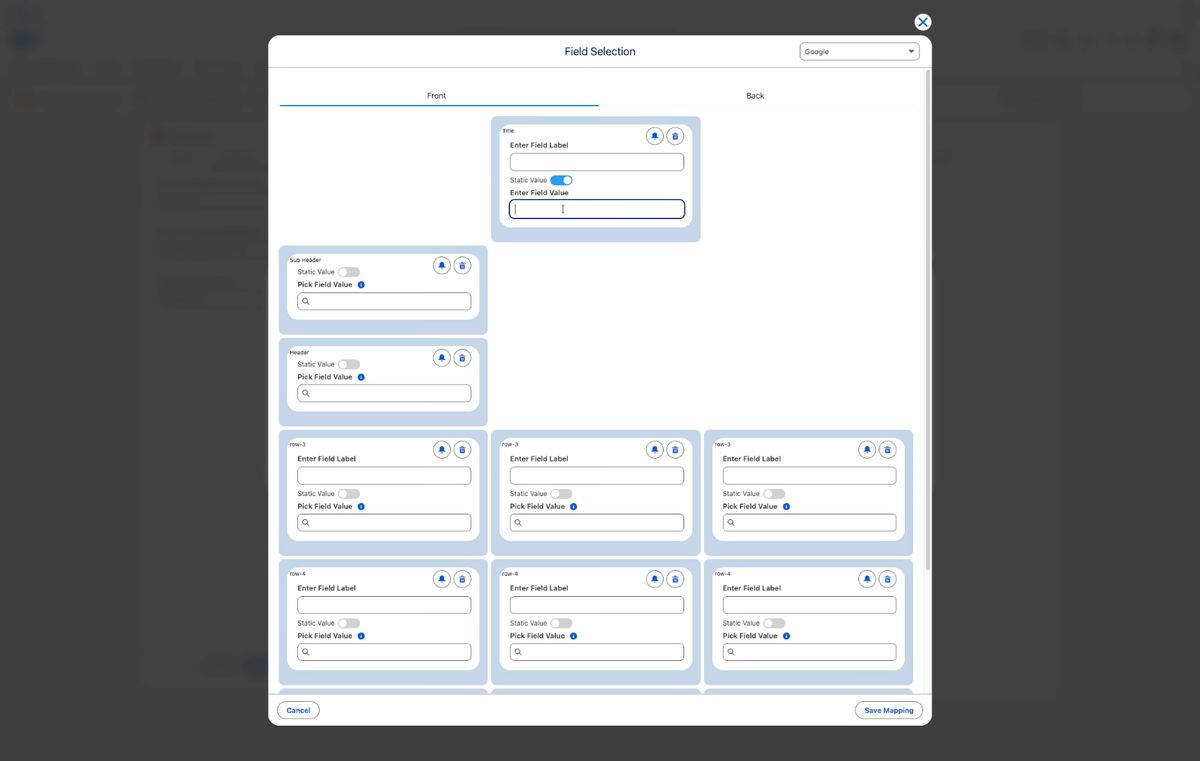
52. Click Pick Field Value
Click Pick Field Value to select a field for data mapping.
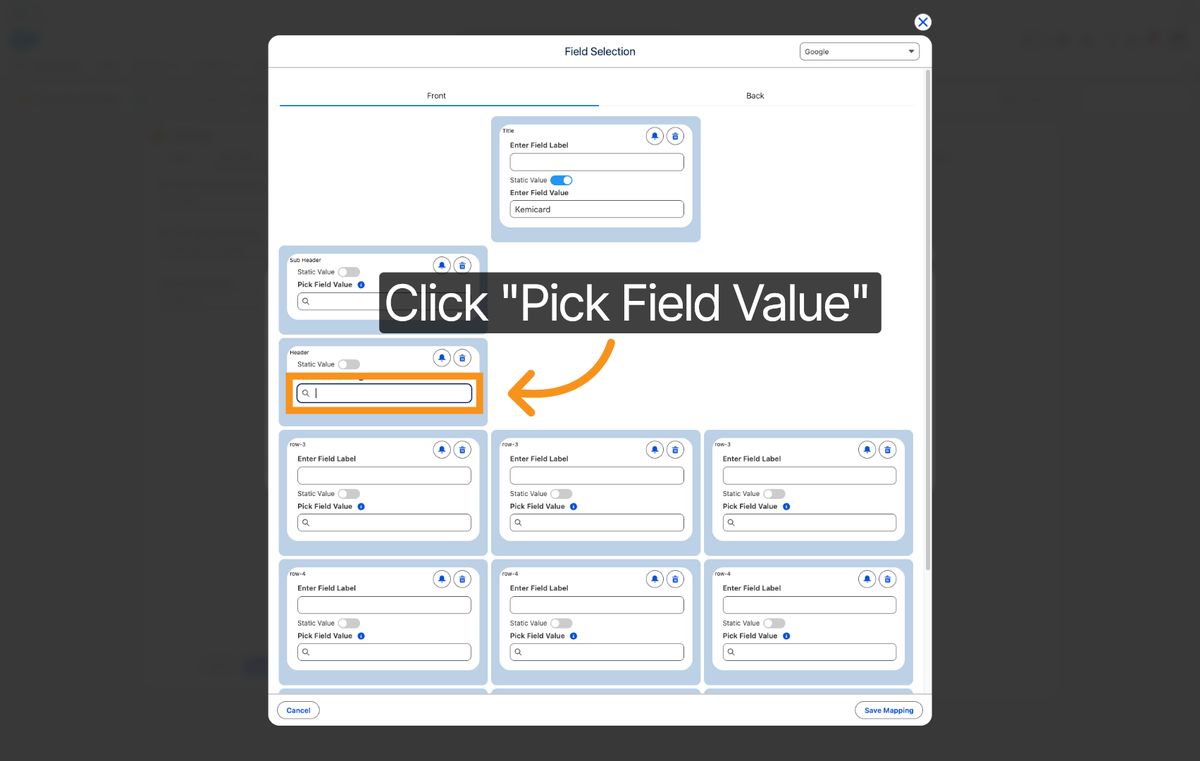
53. Enter Member Number Keyword
Enter 'member number' to find the field for member identification.
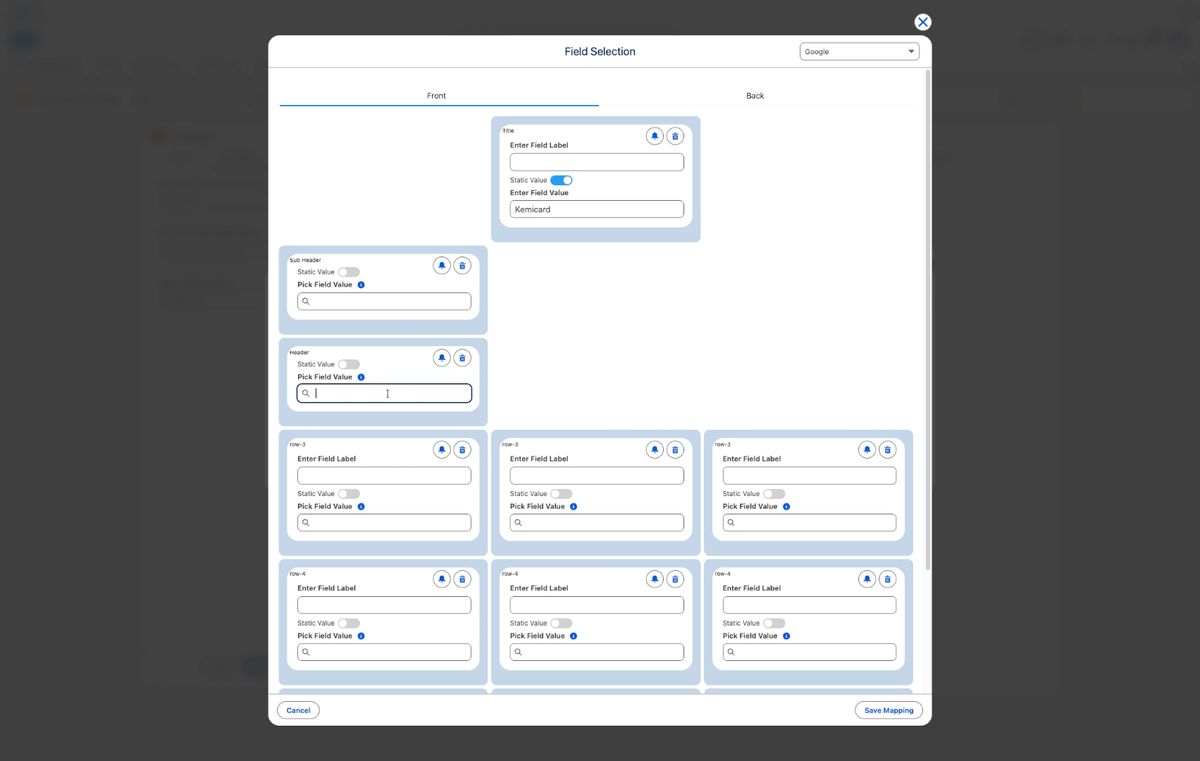
54. Select Member Number Field
Click the Member Number field to map member ID data.
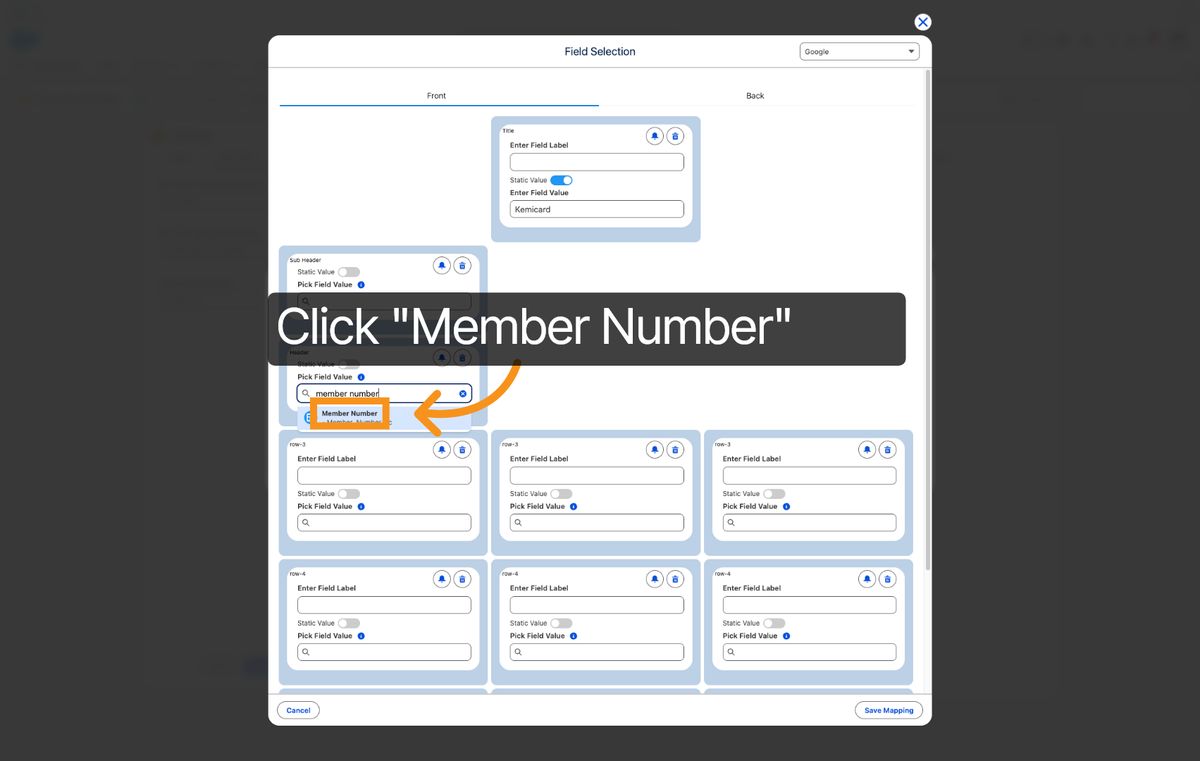
55. Click Pick Field Value
Click Pick Field Value to continue mapping fields.
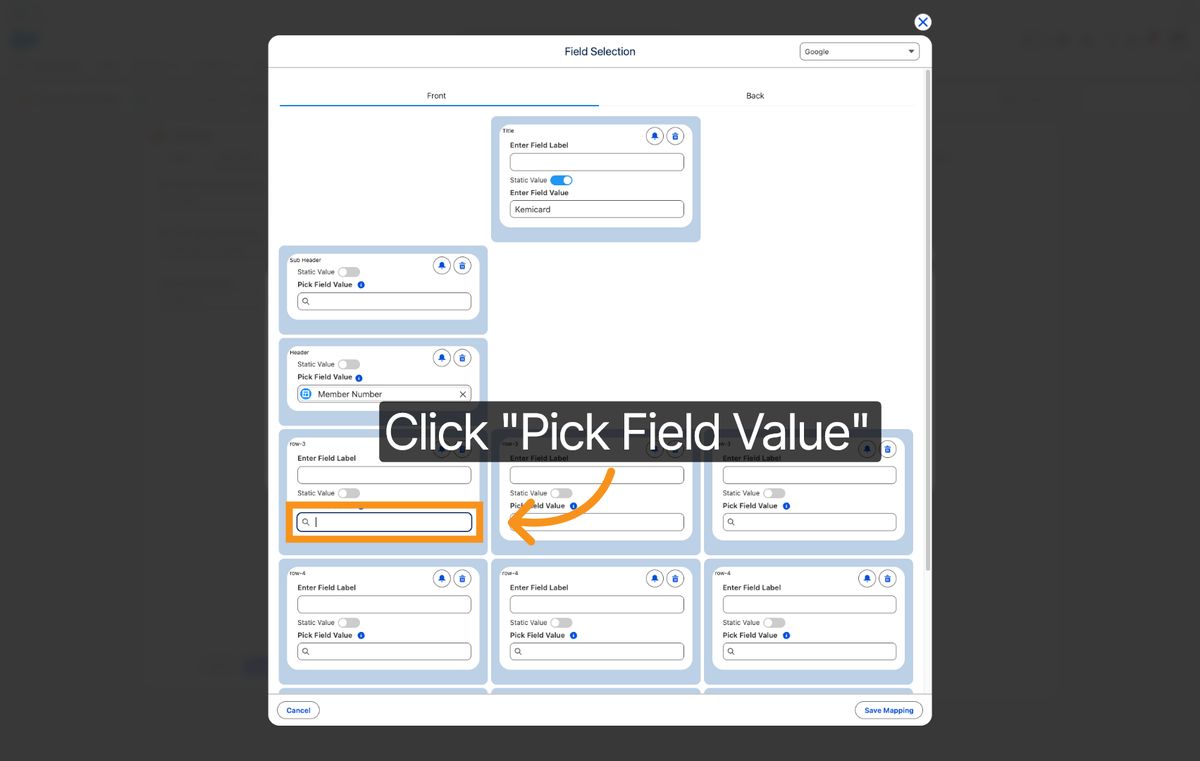
56. Enter Full Name Keyword
Enter 'full name' to locate the field for the user's full name.
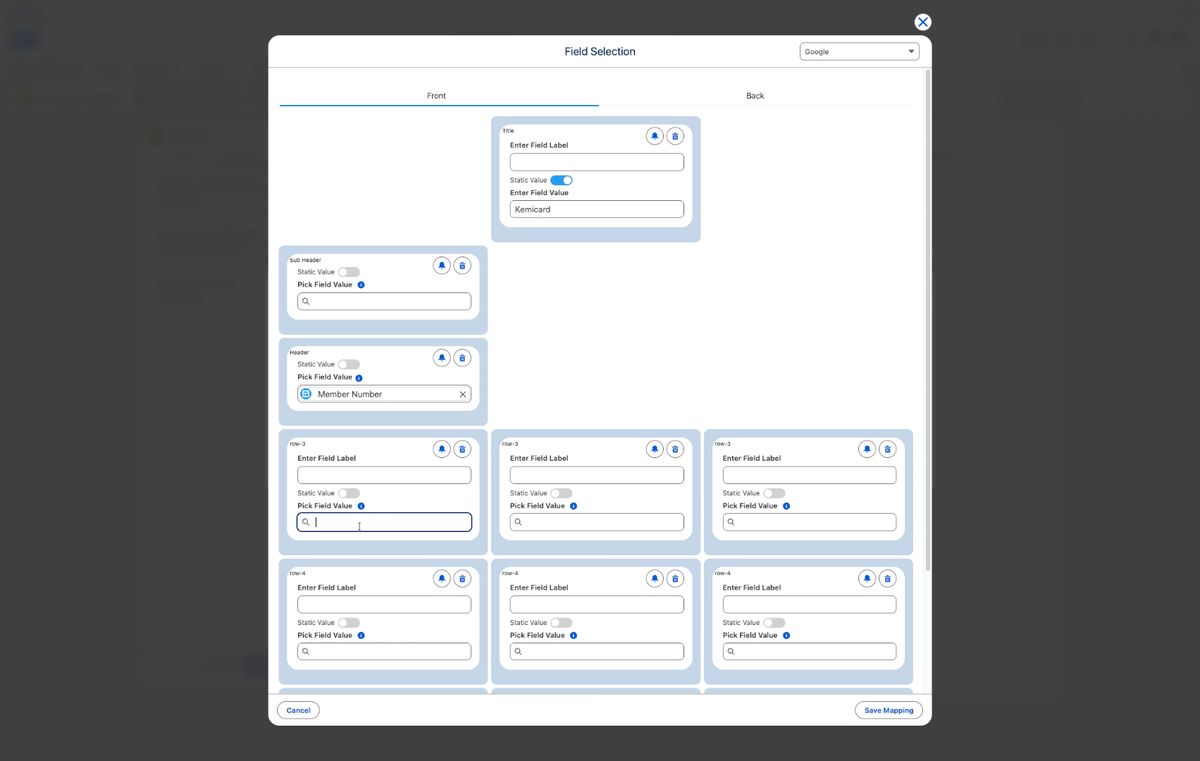
57. Select Full Name Field
Click the Full Name field to assign full name data to the template.
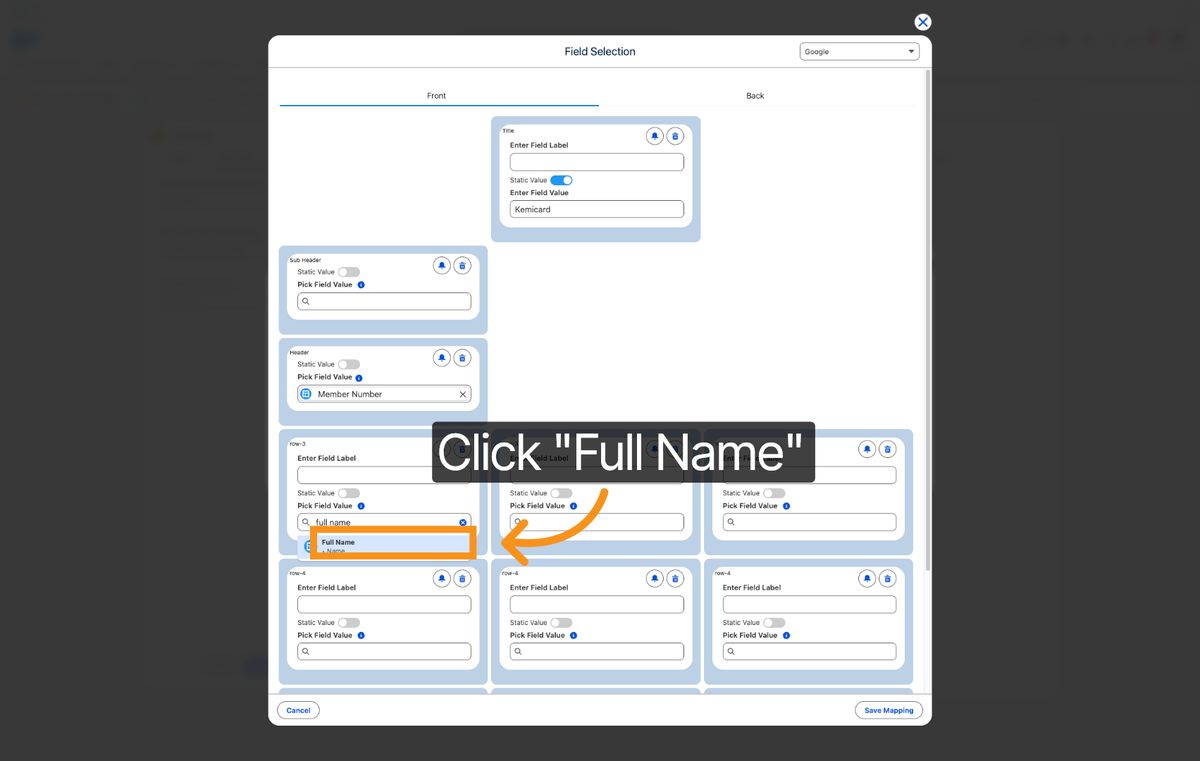
58. Click Save Mapping
Click Save Mapping to confirm and save all your field mappings.
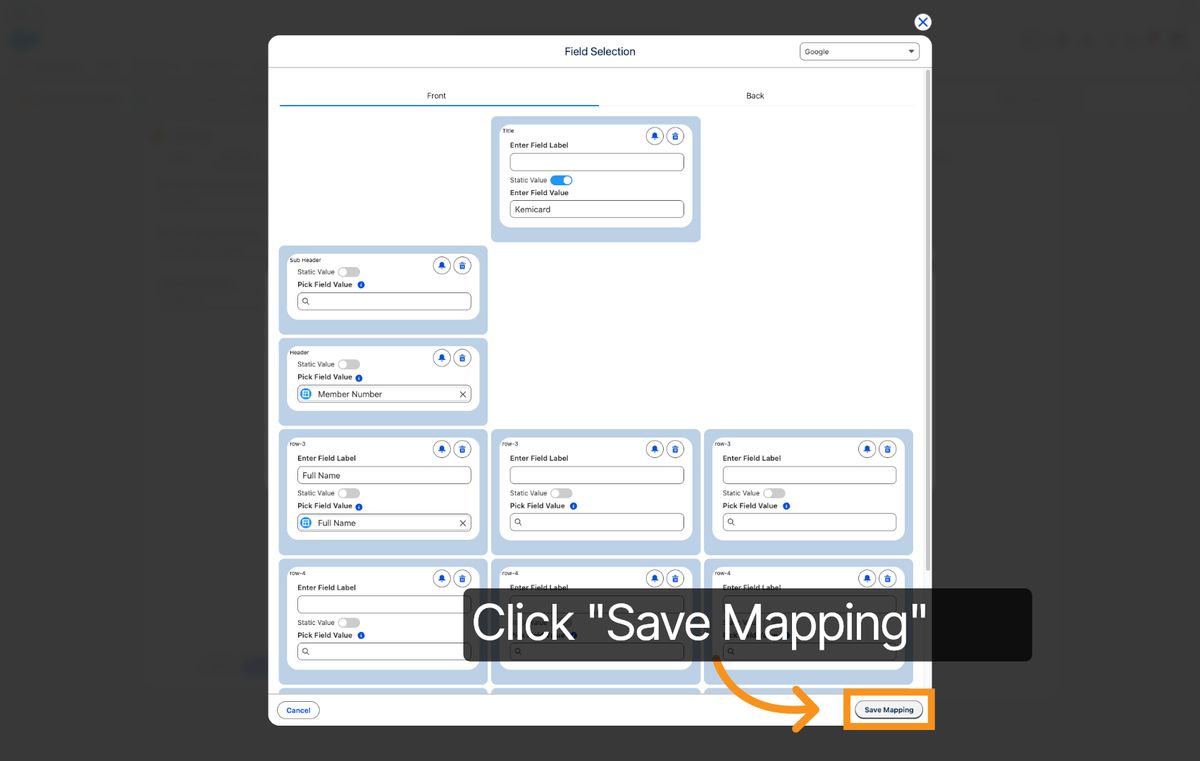
59. Click To Continue
Click here to proceed to the next step in the template configuration.
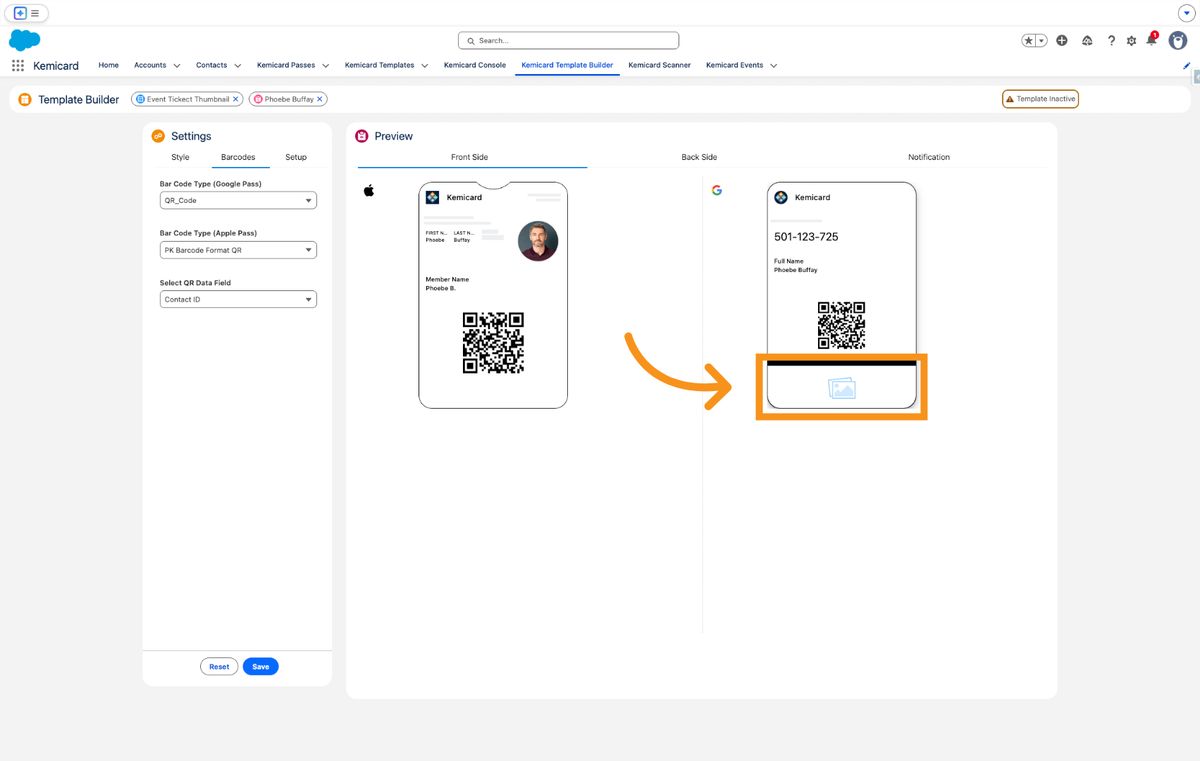
60. Select Hero Description Help
Click the Hero DescriptionHero Description Help Info to access help for the hero description field.
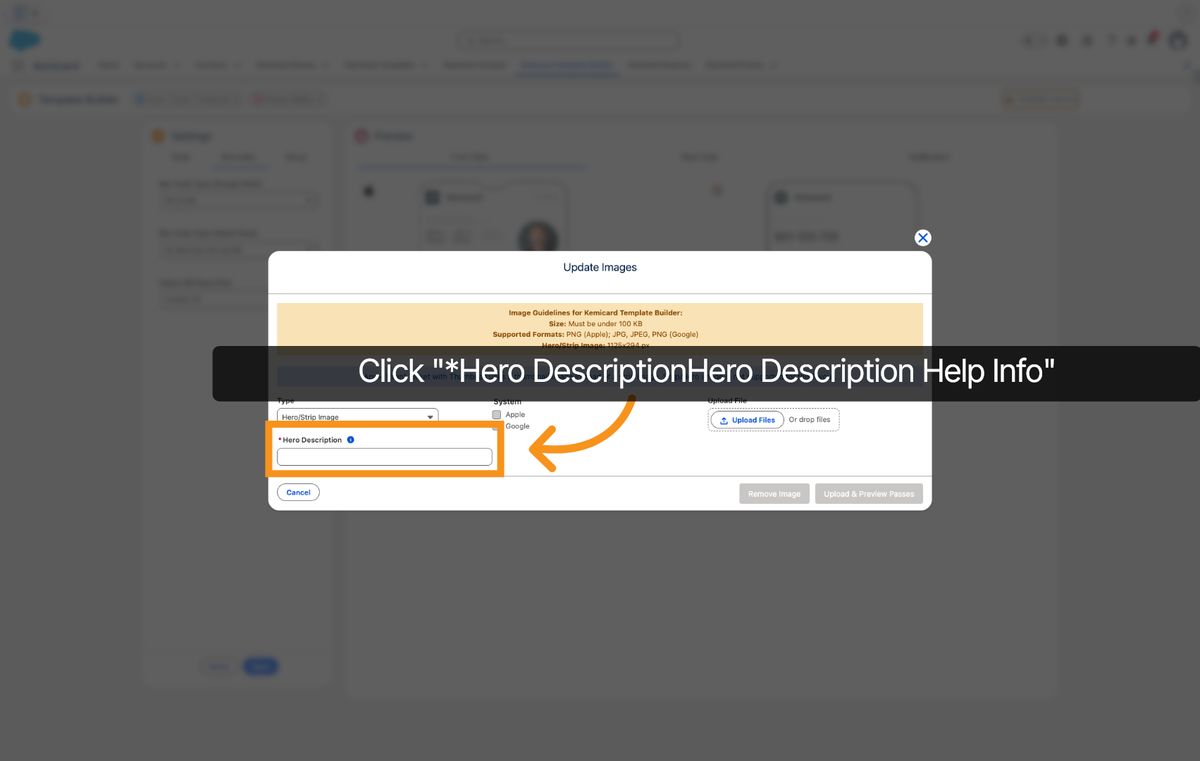
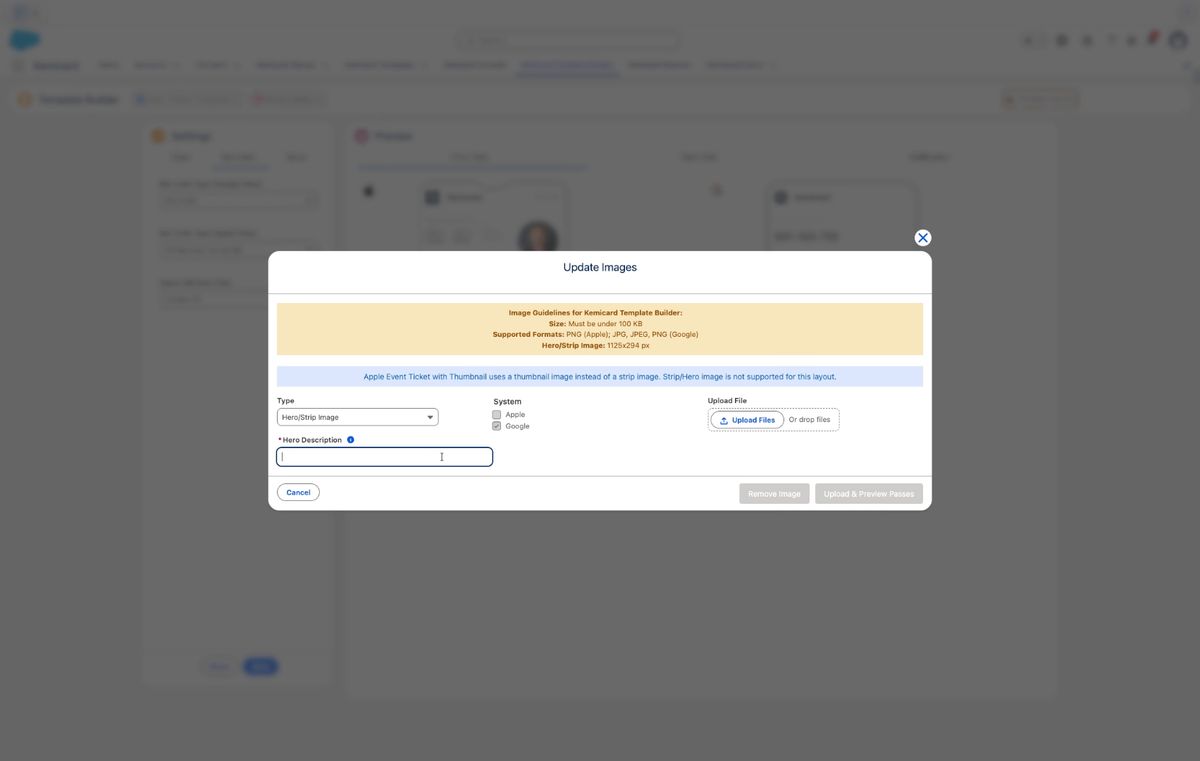
61. Select Hero Description Field
Click the Hero Description field to add a main description for the hero image.
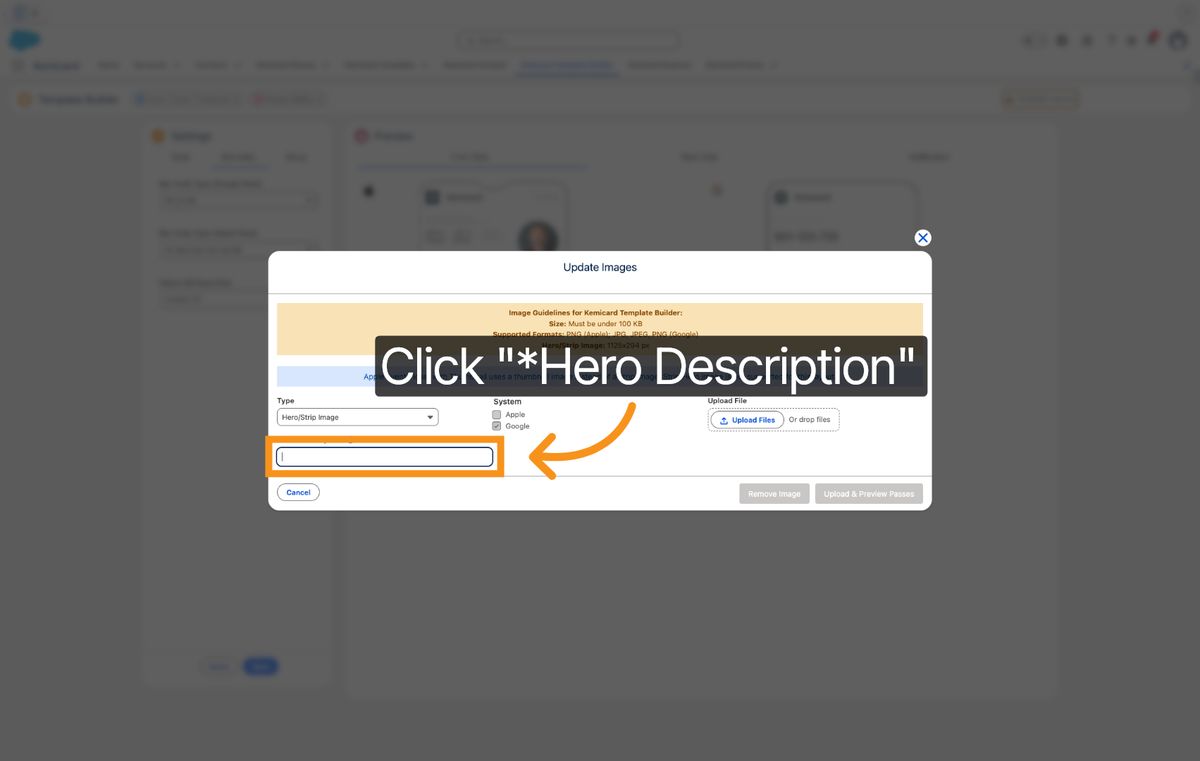
62. Enter Hero Image Keyword
Enter 'hero image' to specify the image used as the hero visual on the pass.
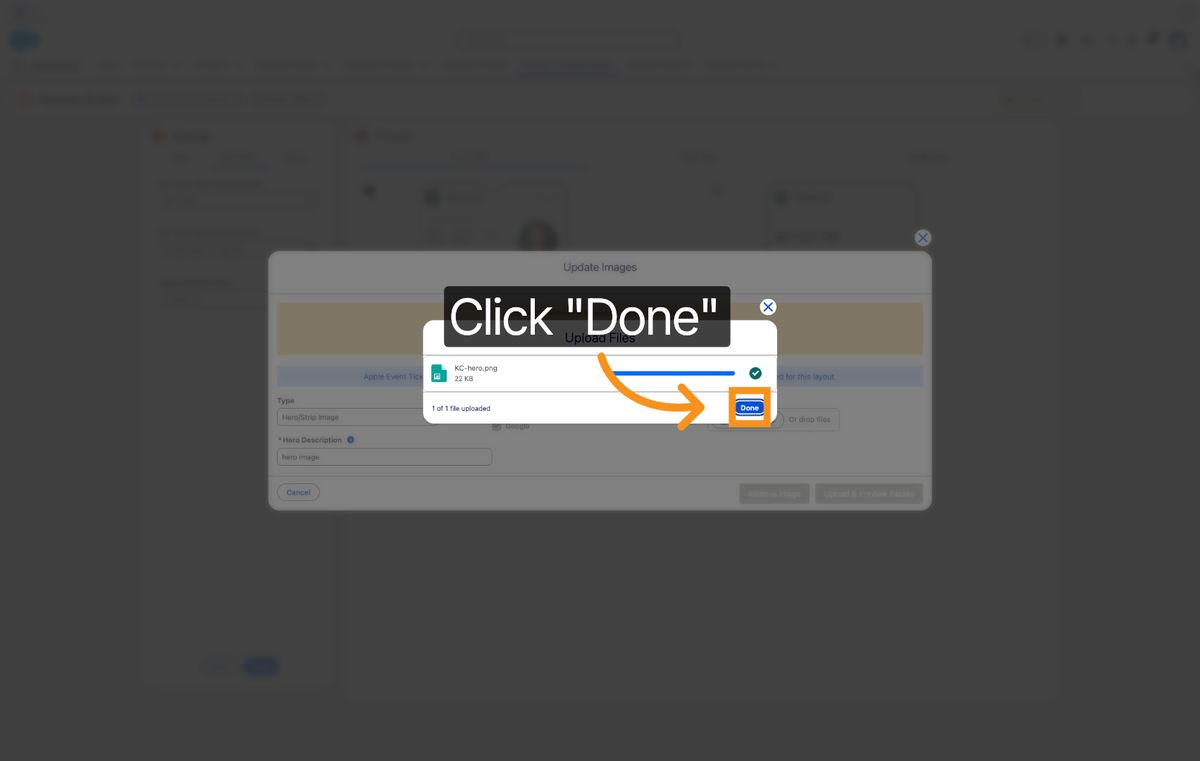
63. Click Done Button
Click the Done button to complete the hero description configuration.
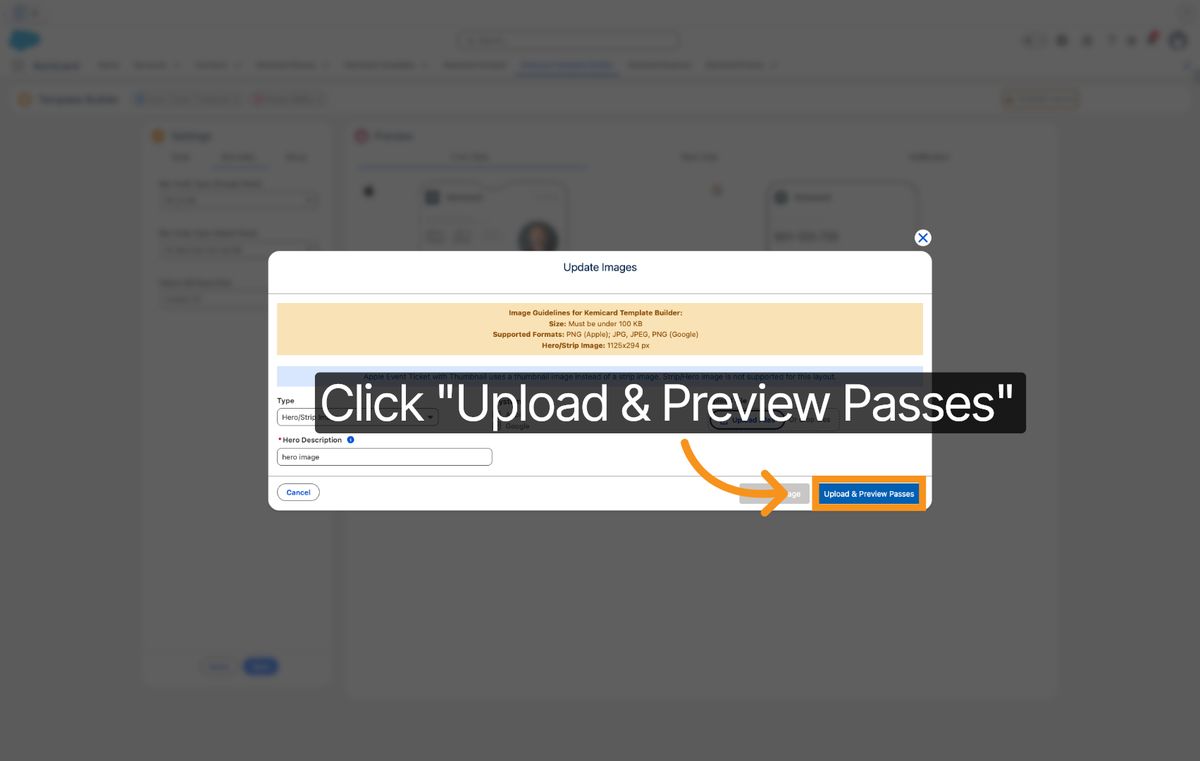
64. Click Upload & Preview
Click Upload & Preview Passes to upload changes and preview the updated passes.
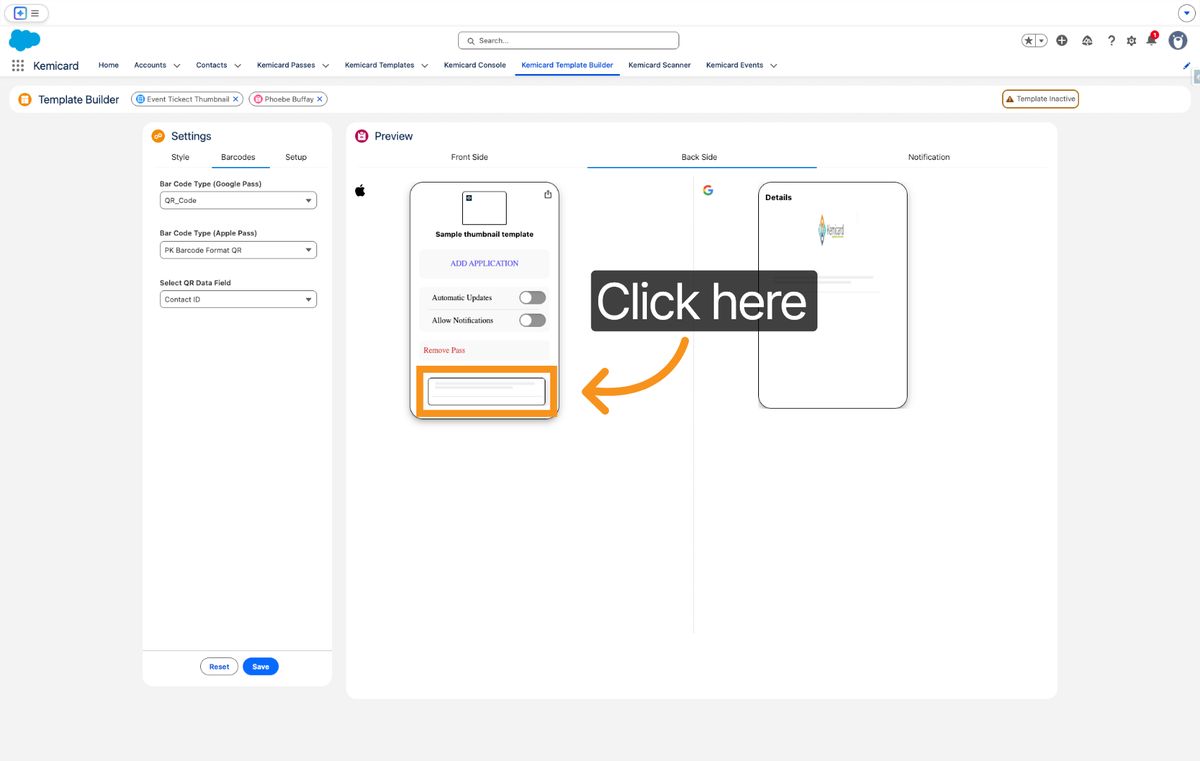
65. Click Back Side Tab
Click the Back Side tab to configure the back side of the event pass.
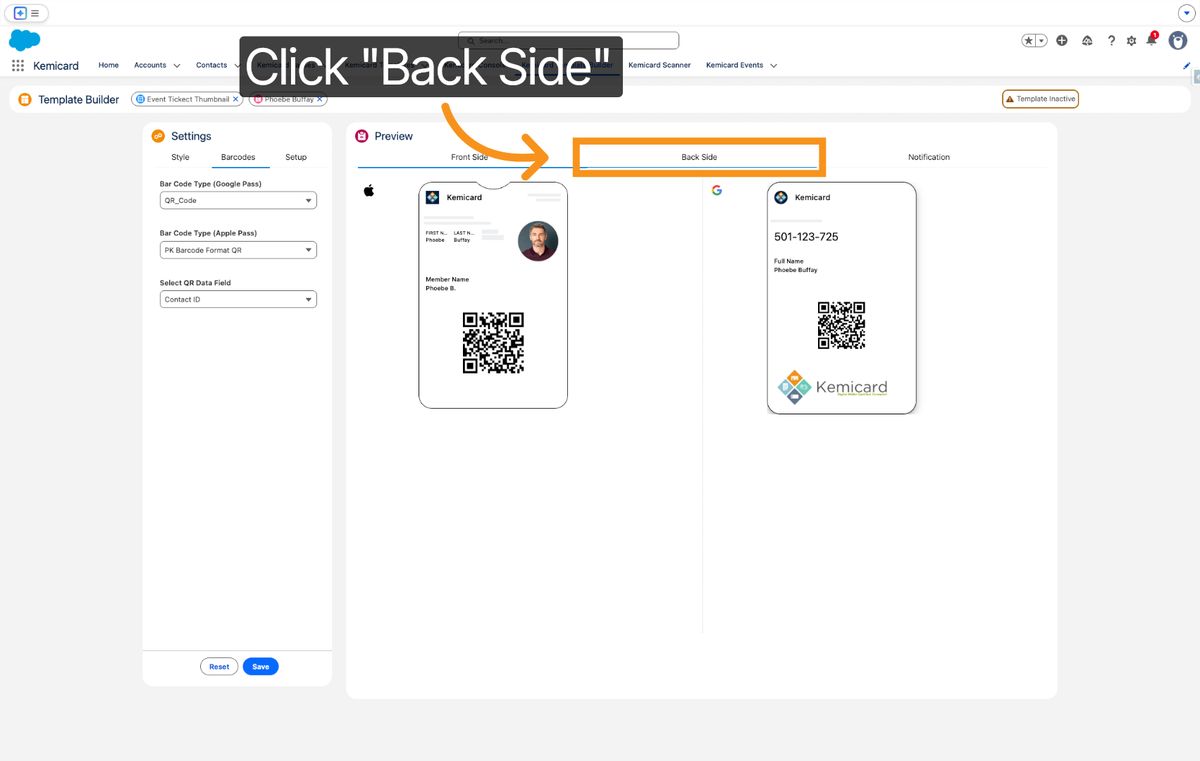
66. Enter Activation Keyword
Enter 'on' to activate the back side configuration settings.
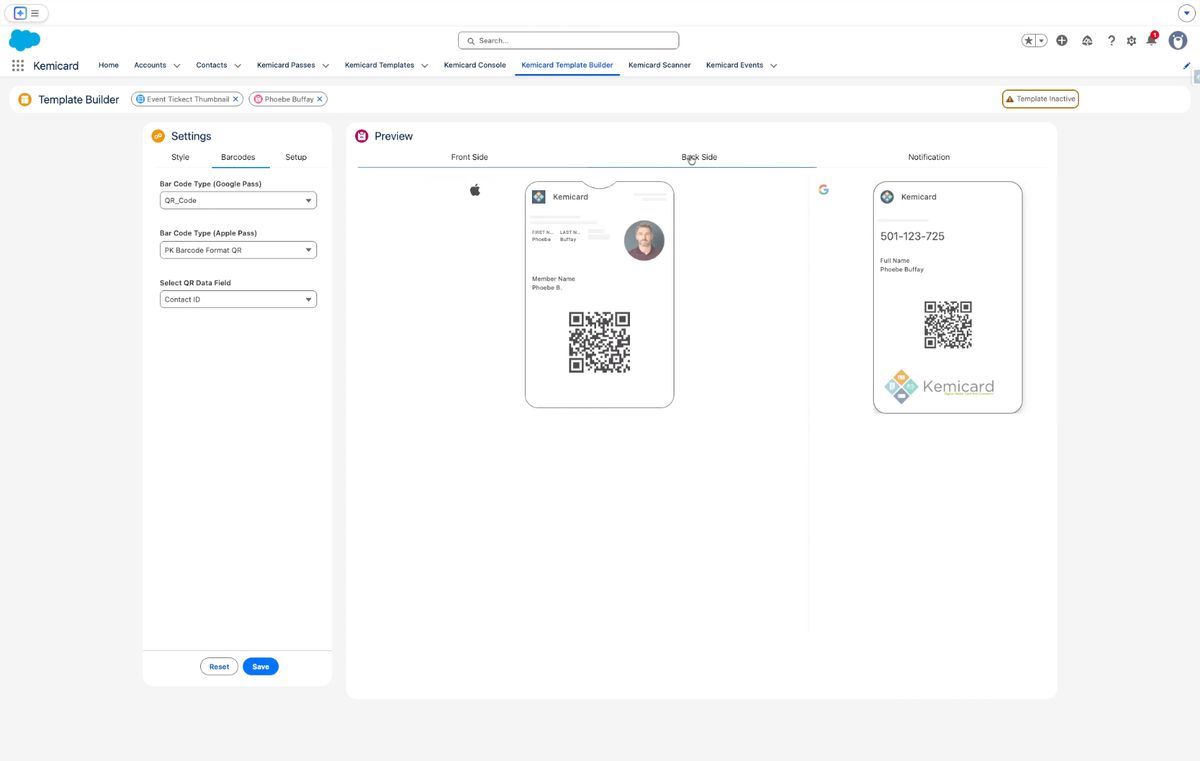
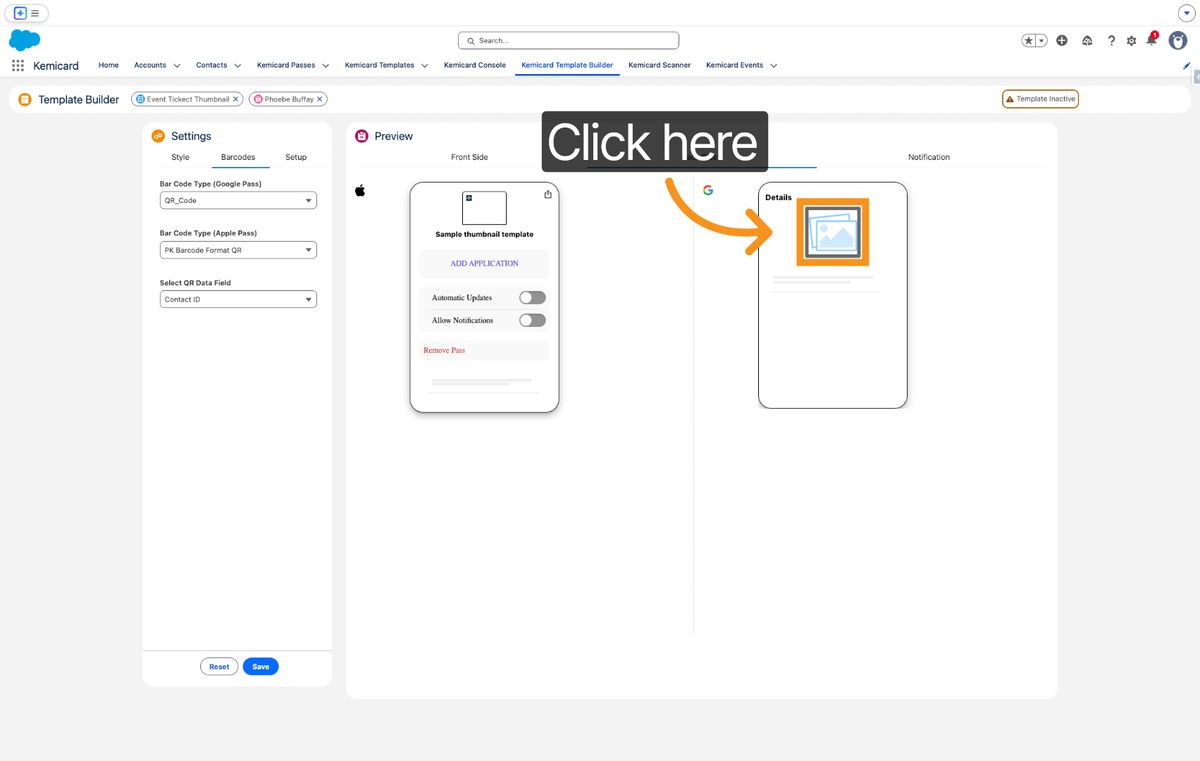
67. Click To Continue
Click here to proceed after configuring the back side settings.
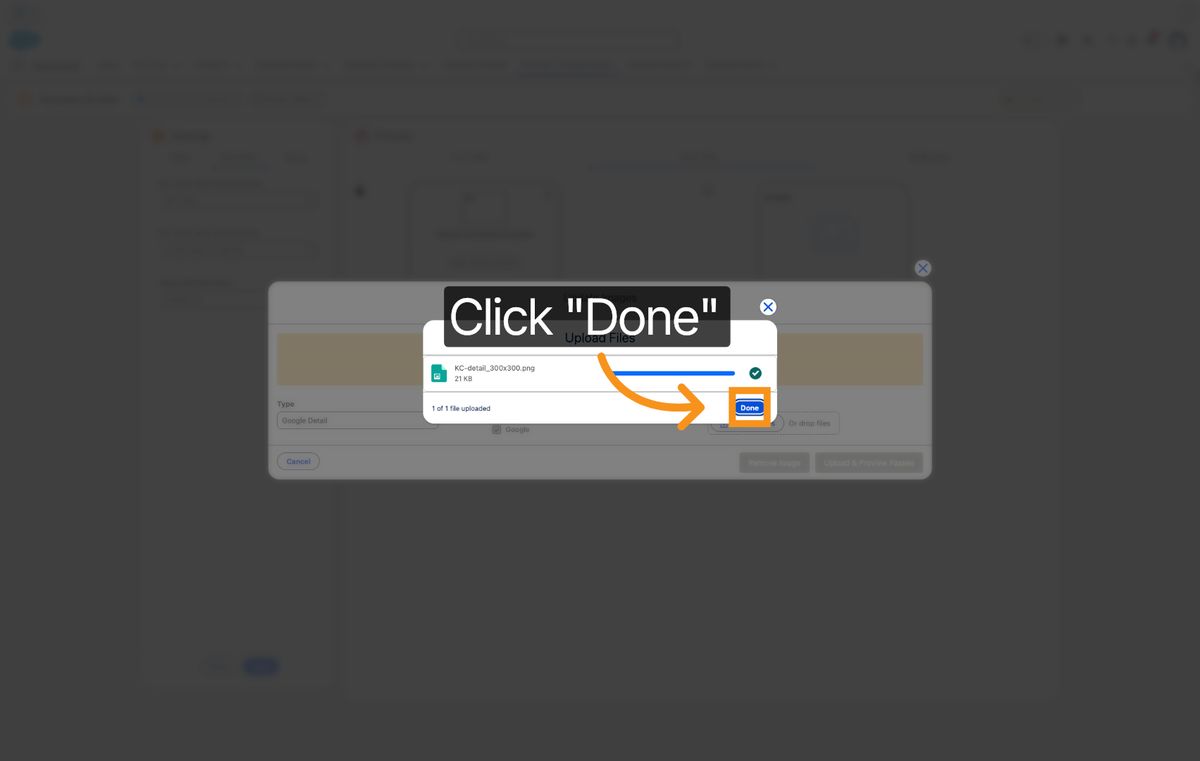
68. Click Done Button
Click the Done button to finalize the back side configuration.
69. Click Upload & Preview
Click Upload & Preview Passes to upload and review the back side of the passes.
70. Click To Continue
Click here to continue with the pass configuration process.
71. Click Pick Field Value
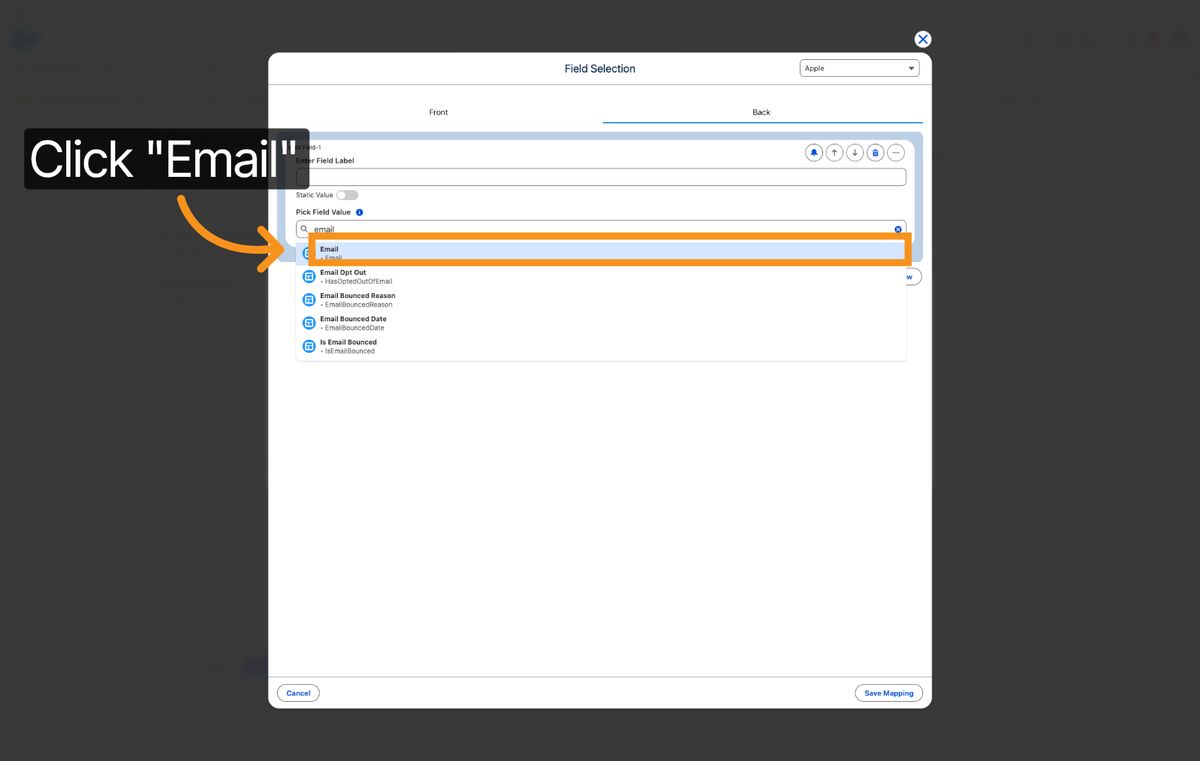
Click Pick Field Value to select a field for mapping email data.
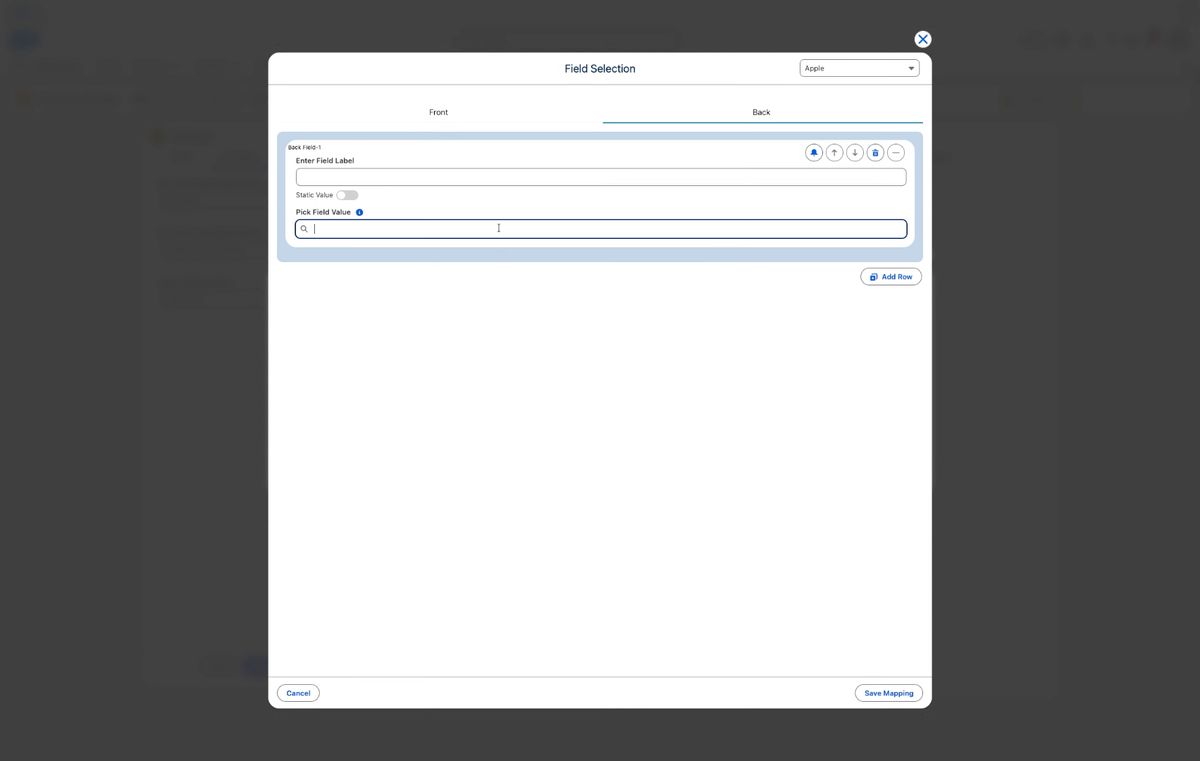
72. Enter Email Keyword
Enter 'email' to find the field containing email addresses.
73. Select Email Field
Click the Email field to map email information to the template.
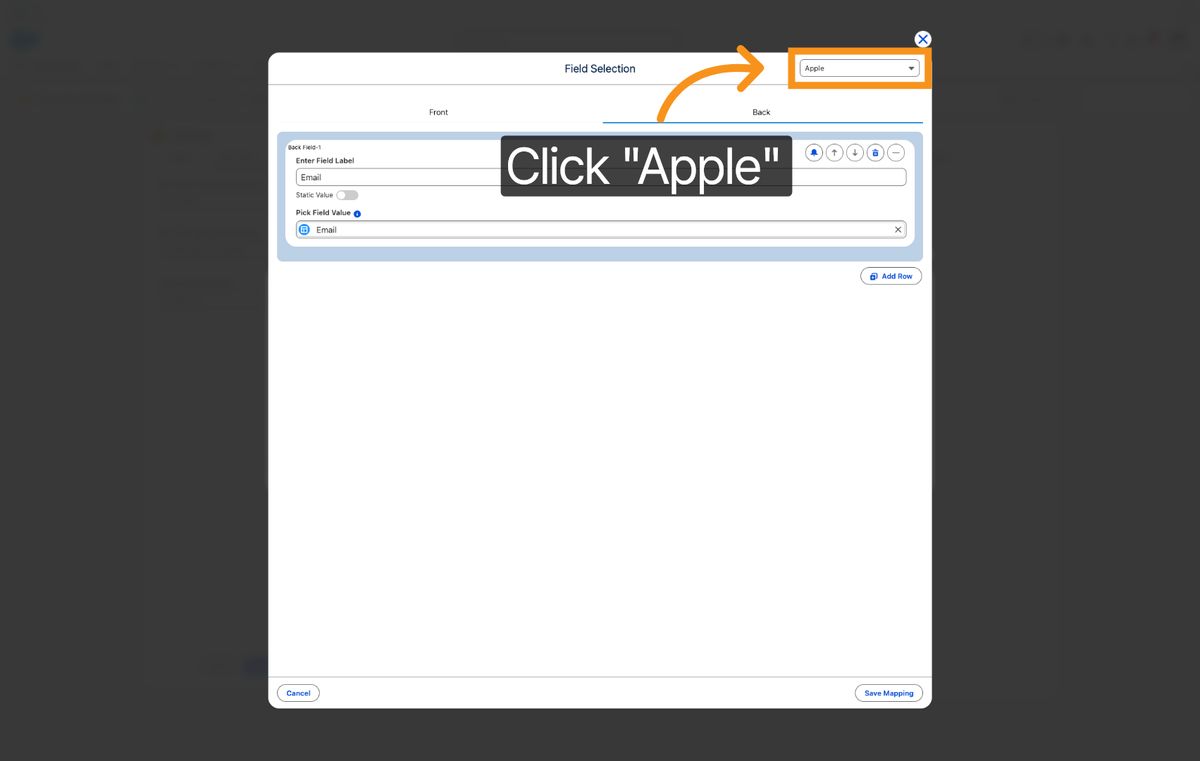
74. Click Apple Option
Click the Apple option to configure settings specific to Apple passes.
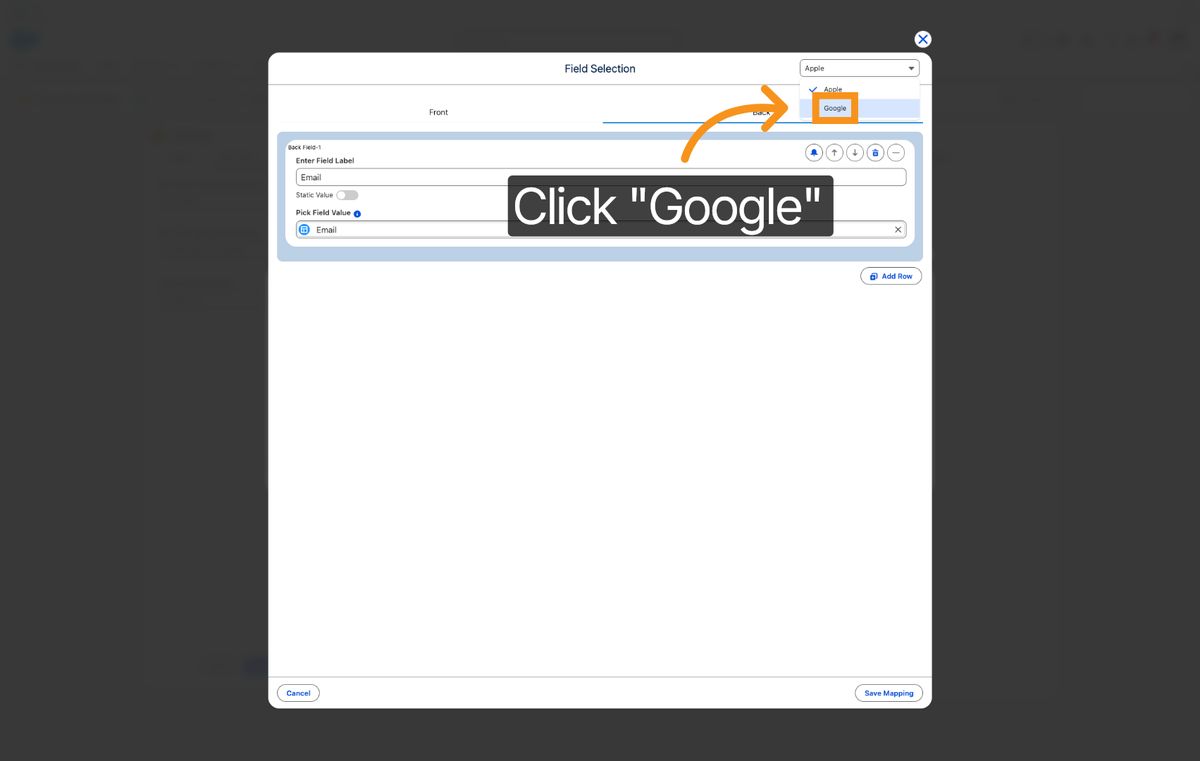
75. Click Google Option
Click the Google option to configure settings specific to Google passes.
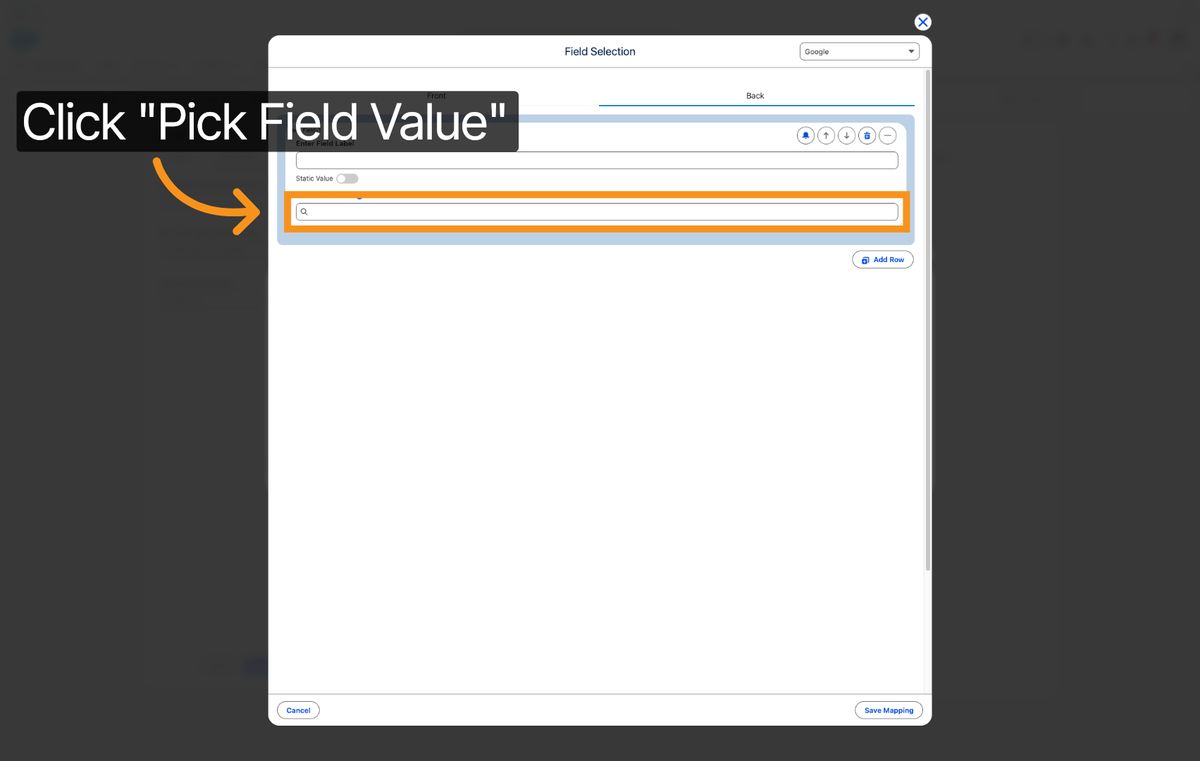
76. Click Pick Field Value
Click Pick Field Value to select another field for email mapping.
77. Enter Email Keyword
Enter 'email' again to locate the email field for mapping.
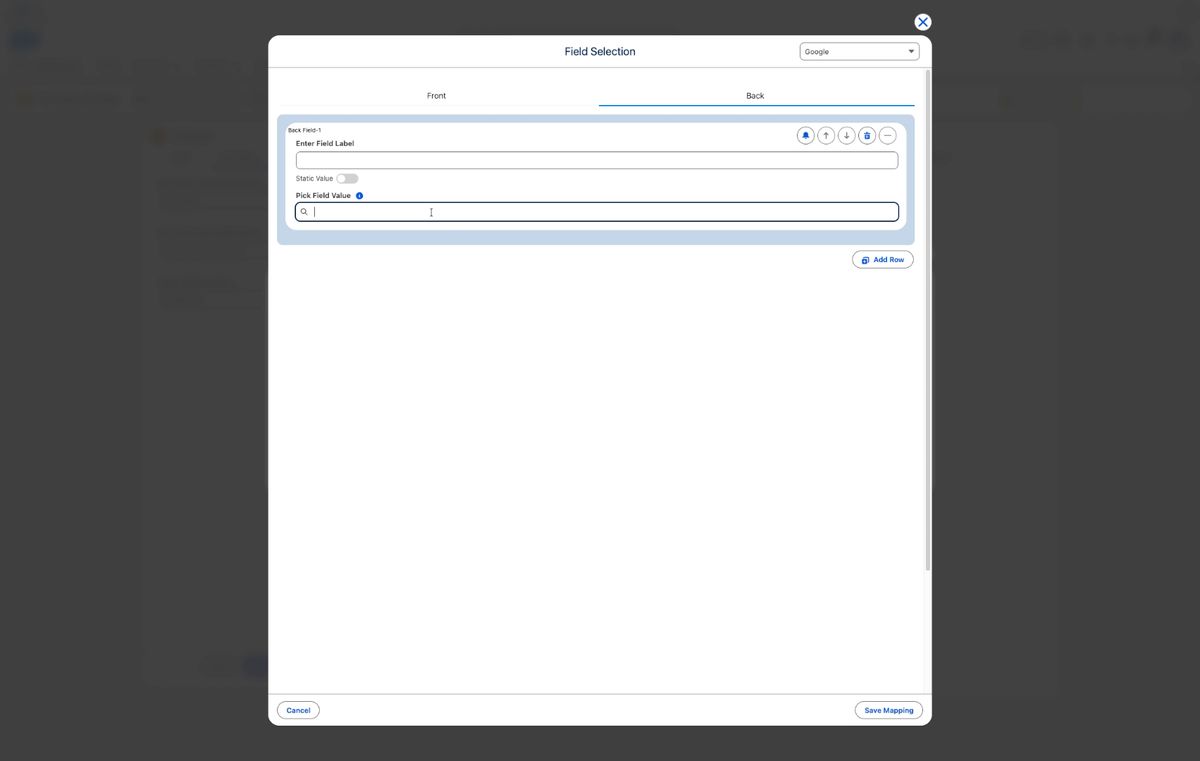
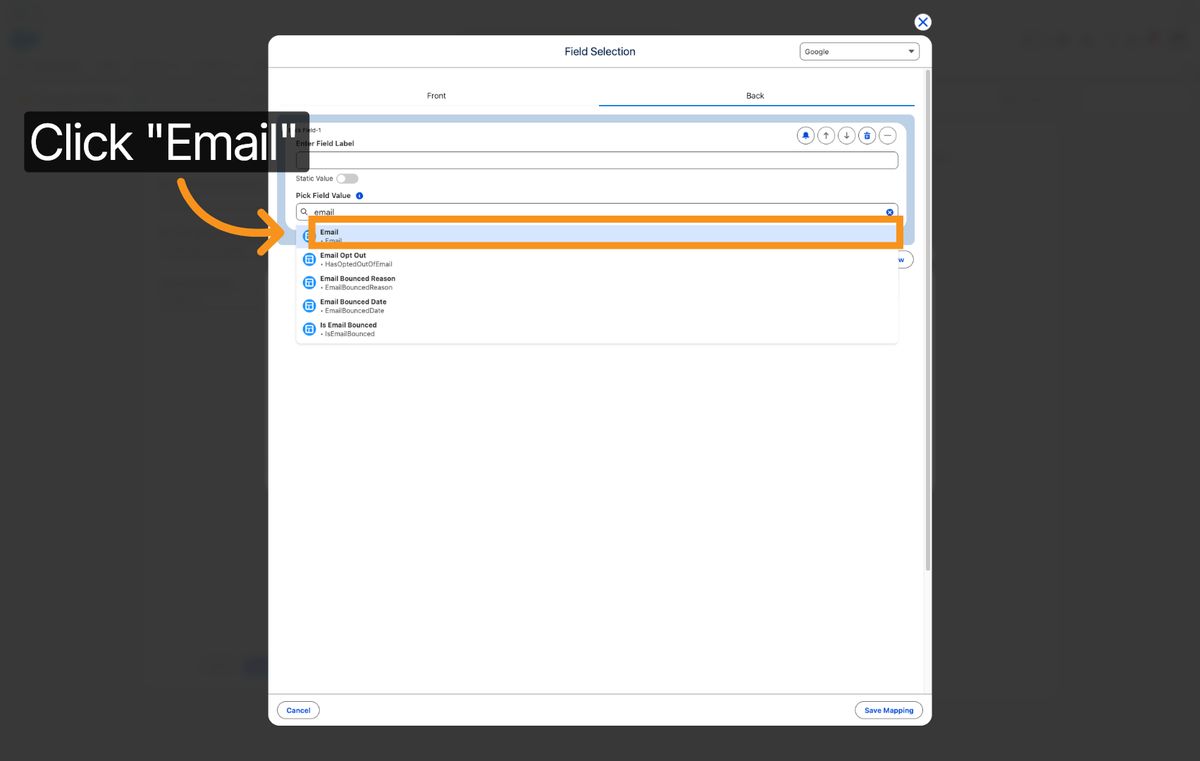
78. Select Email Field
Click the Email field to assign email data to the template.
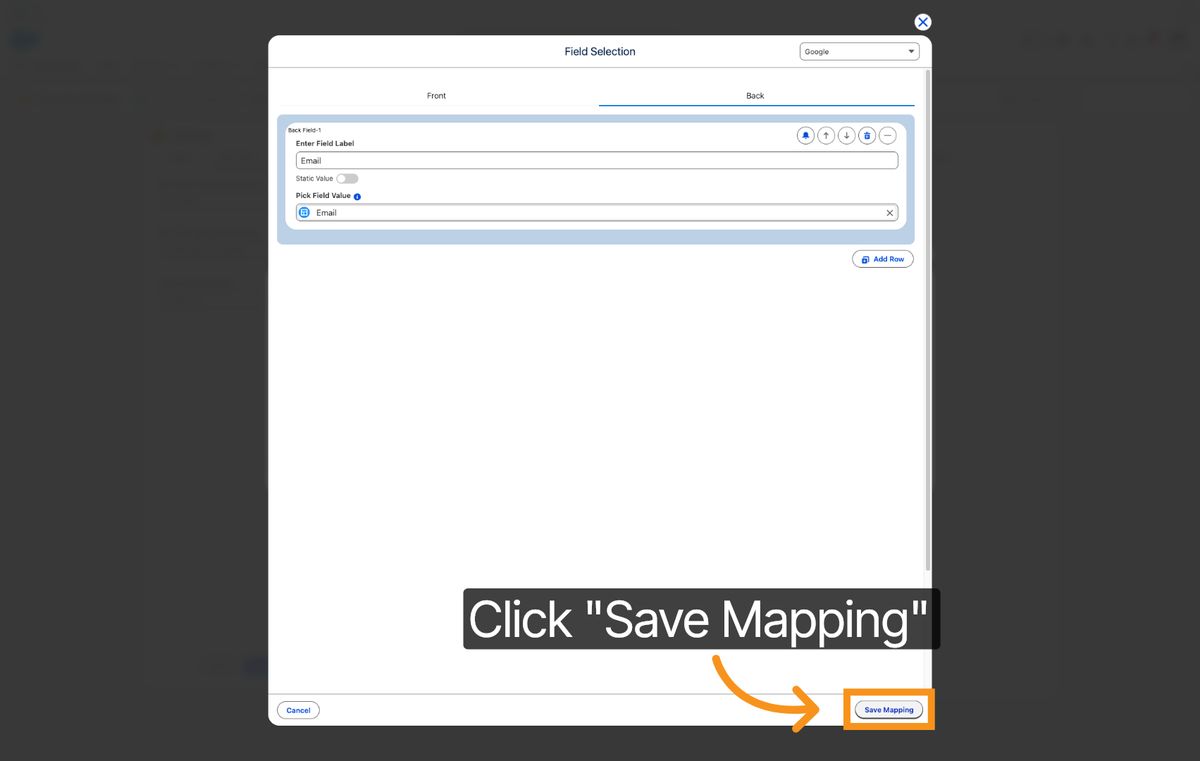
79. Click Save Mapping
Click Save Mapping to save all email field mappings.
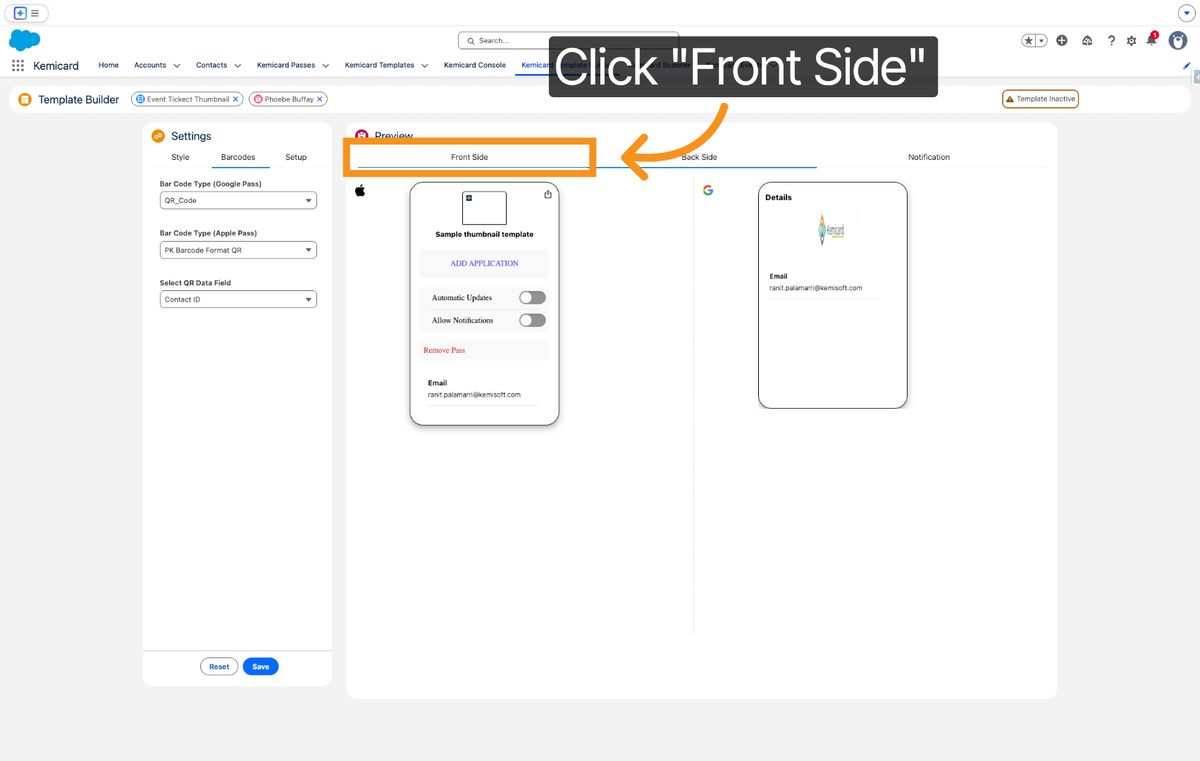
80. Click Front Side Tab
Click the Front Side tab to configure the front side of the event pass.
81. Enter Activation Keyword
Enter 'on' to activate the front side configuration settings.
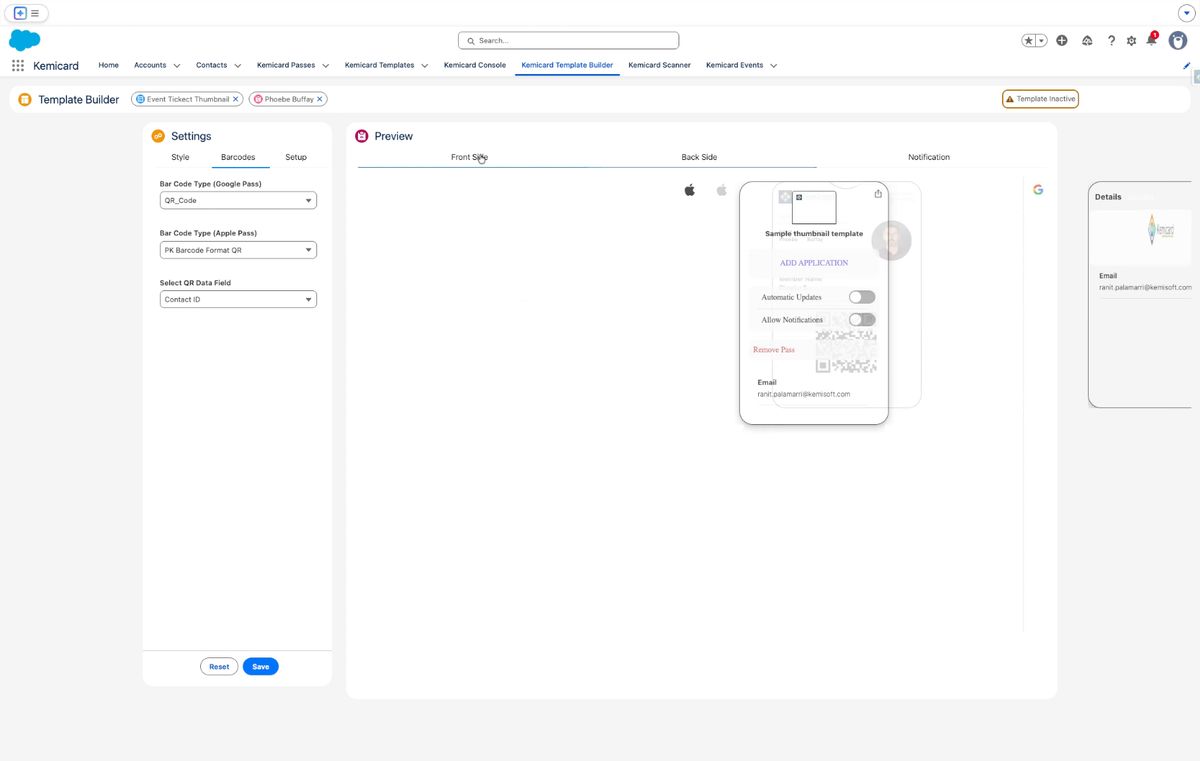
82. Click Style Section
Click the Style section to customize the appearance of the event pass.
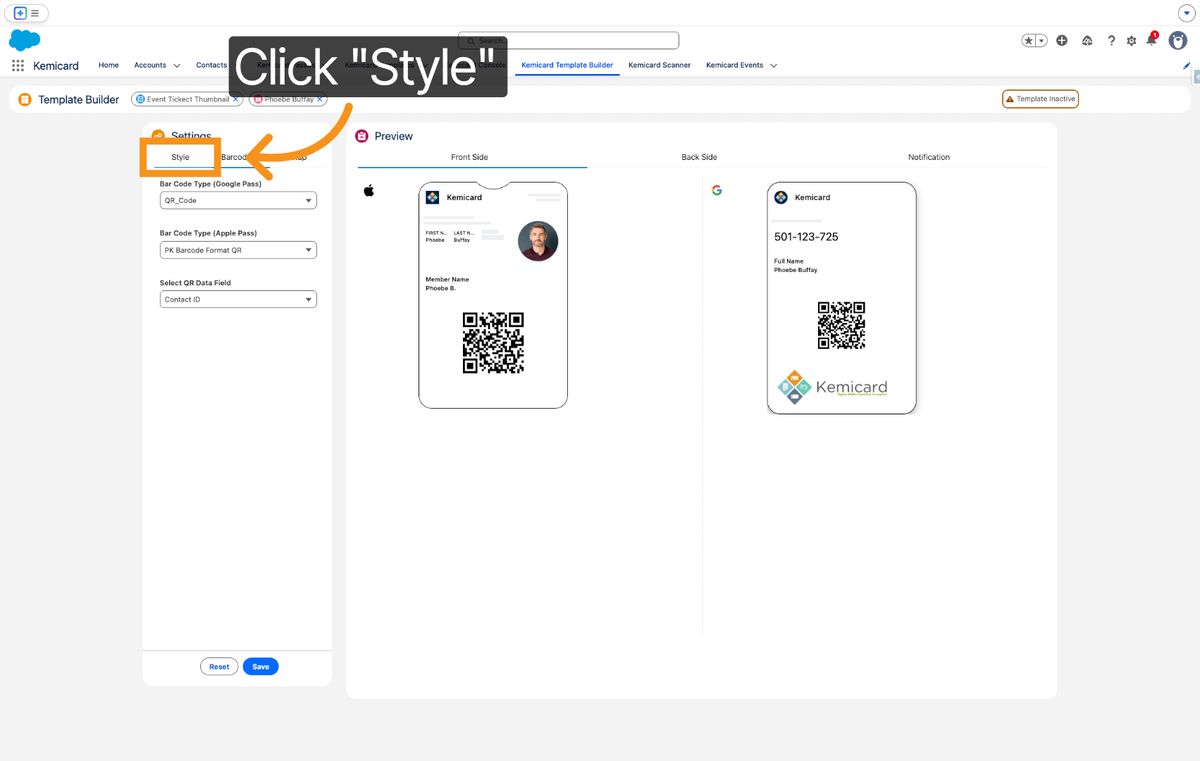
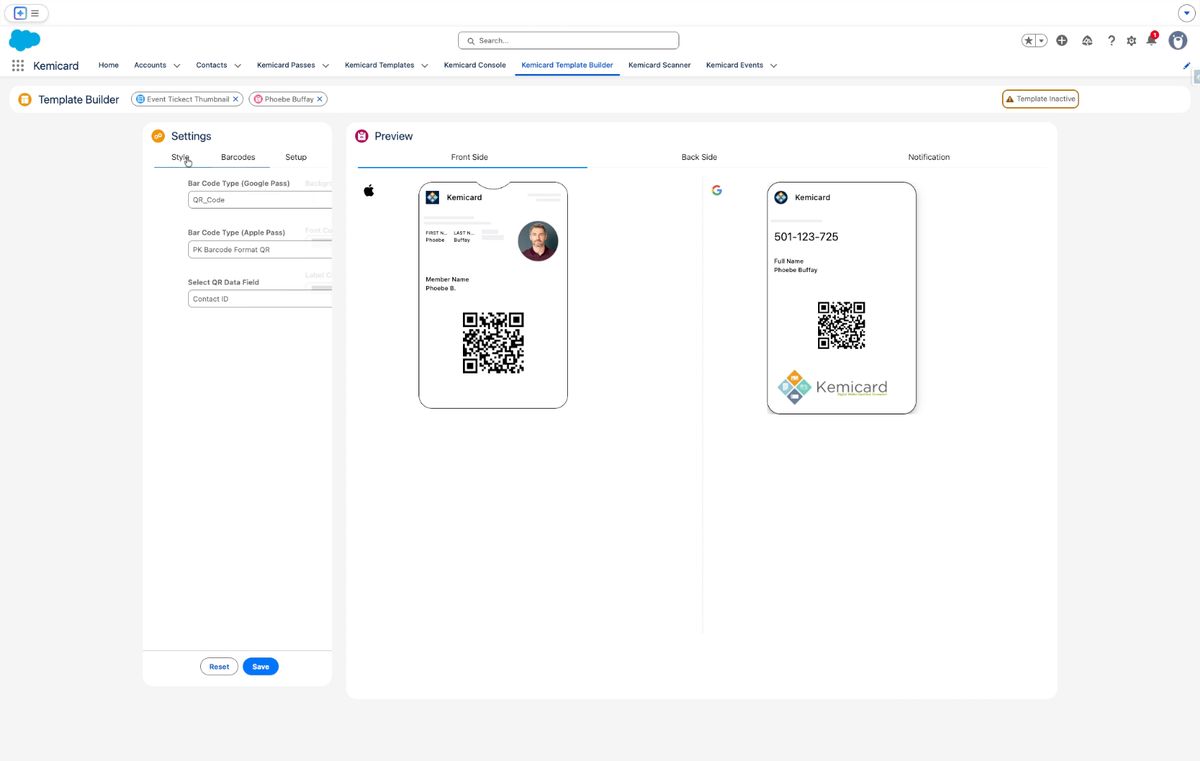
83. Enter Style Activation
Enter 'on' to enable style customization options.
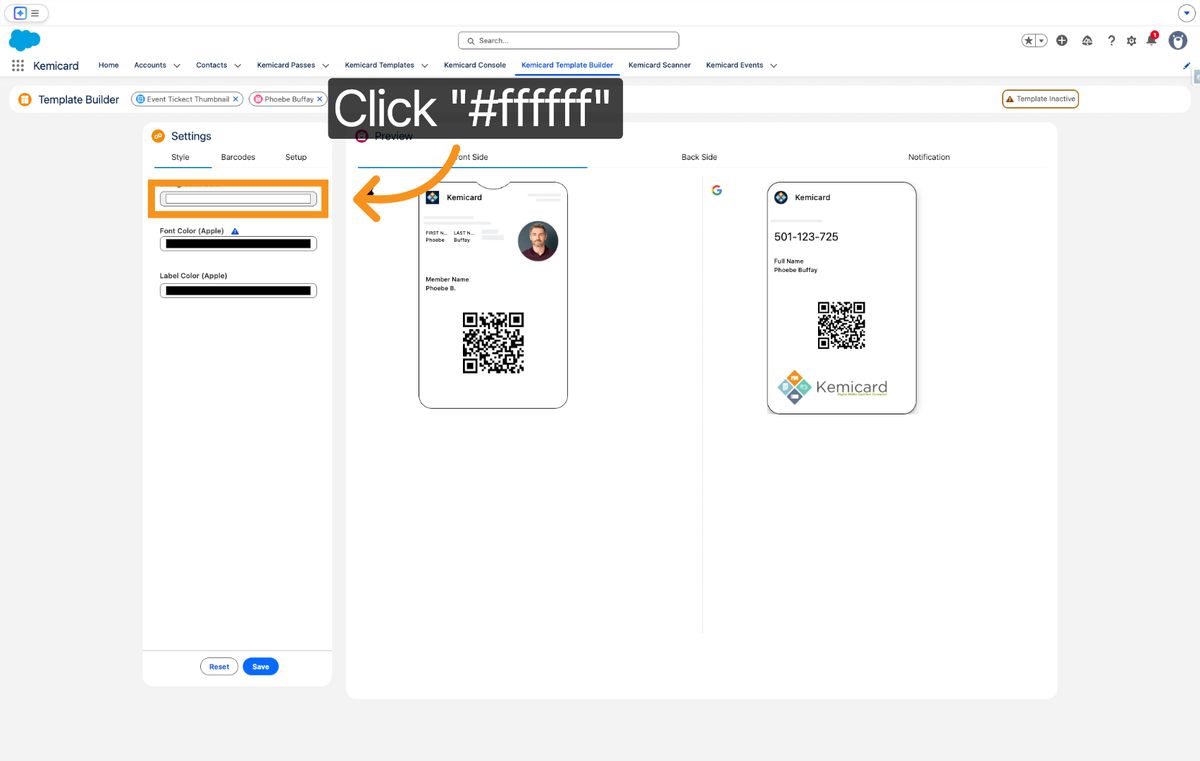
84. Select Color Code
Click the color code #ffffff to choose the base color for the pass style.
85. Enter Accent Color Code
Enter the color code #e36464 to set an accent color for the pass design.
86. Click Field Mapping Summary
Click the summary showing mapped fields like First Name, Last Name, and Member Name to review your selections.
87. Click Save Final Template
Click the Save button to finalize and save your event thumbnail template configuration.
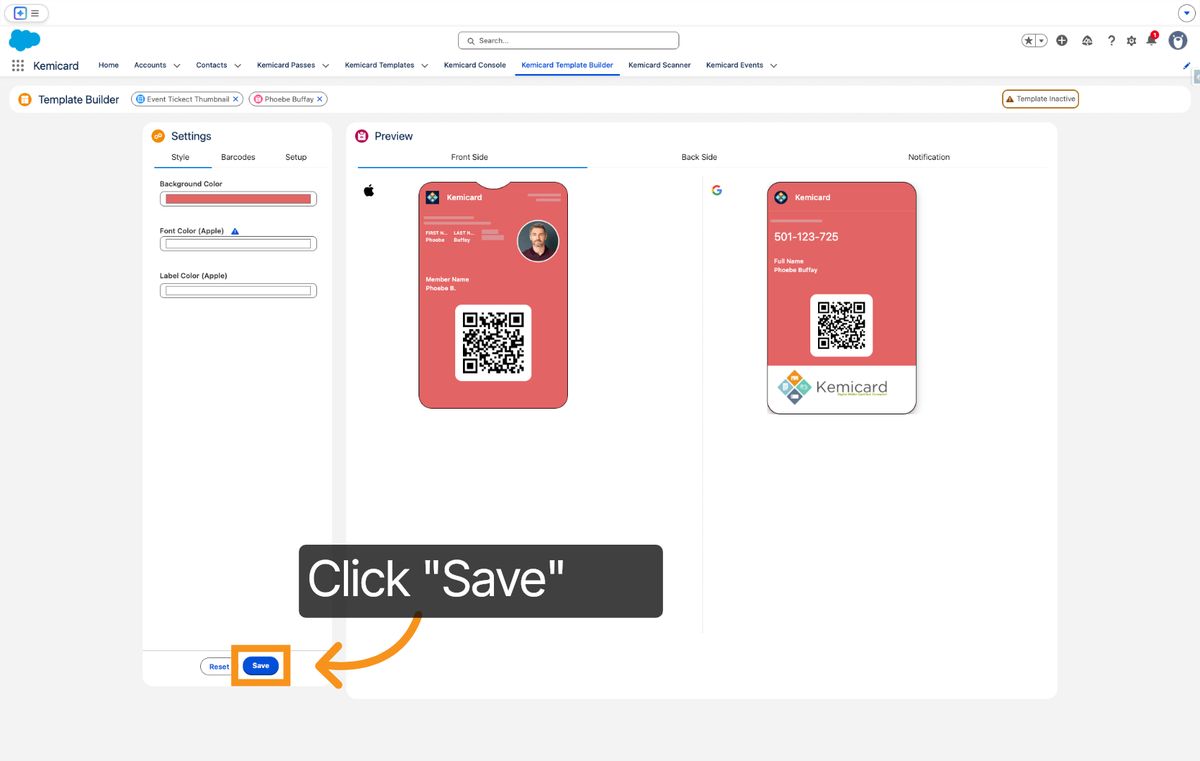
You have successfully created and configured an event thumbnail template in Salesforce.
Where to go next
- The full event template guide — everything around the thumbnail.
- Update a live template — swap thumbnails on templates already issued.