
Generate and update Apple Wallet and Google Wallet passes directly from a Salesforce Flow — no custom code required. Based on the Kemicard Apex Action & Custom Configuration Guide (Kemicard v2.27, May 2026).
Overview
Kemicard exposes an Apex Invocable Action for Flow, plus two additional configuration surfaces beyond the Kemicard Studio:
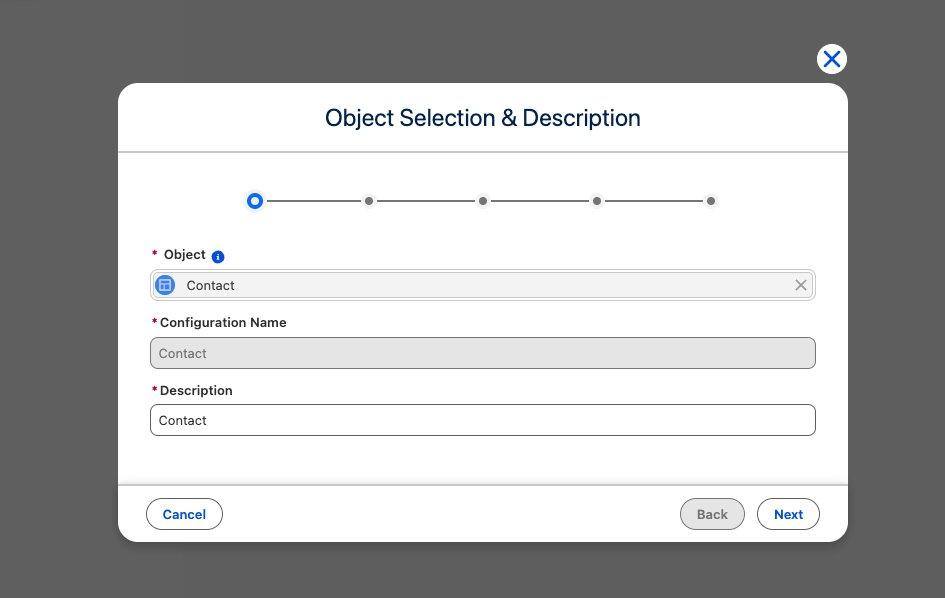
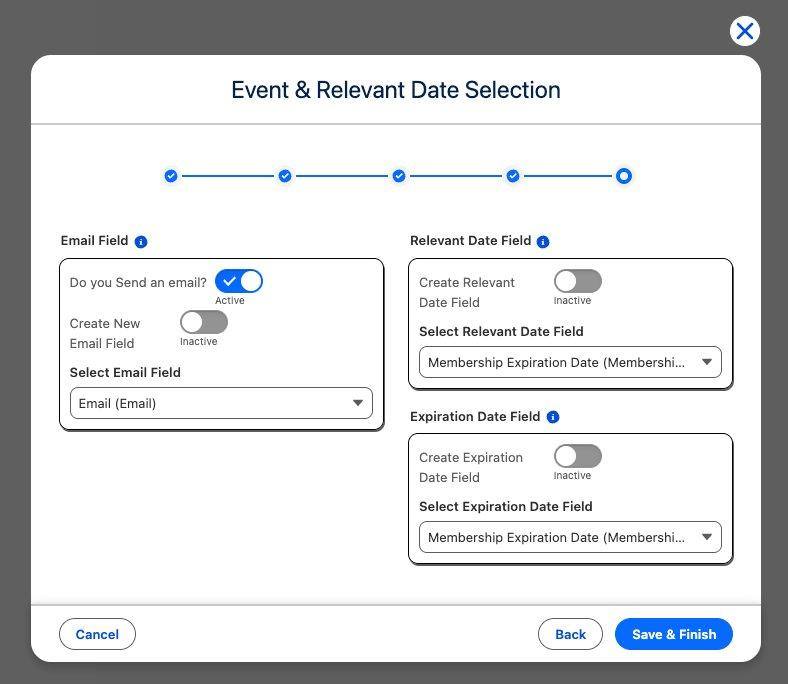
- Kemicard Console → Configuration — controls pass generation behaviour per object (whether to send an email, which wallet platforms to enable).
- Template record settings — pass-level design properties (restricting pass sharing, suppressing the strip shine effect) not exposed in the Studio builder.
Permission sets & access
Kemicard ships seven permission sets that control access to different parts of the package — assign by role; no custom profile changes are required. A single user can hold multiple sets when their role spans areas (e.g., Kemicard Digital Pass User plus Kemicard Template Configuration).
Finding the action in Flow Builder
- Open Setup → Flows and open (or create) your Flow.
- Add an Action element.
- Search for "Generate Pass" or filter the category to Apple Pass.
- Select Generate Pass from list of String as pass details.
- Map the input and output variables below.
configurationId: for most flows you only need to provide configurationId and whatId — everything else is read from the Configuration record automatically.Return value — and why you should save it
The action returns a Text value containing the Salesforce record ID of the created or updated Pass. Store it in a Text variable (e.g., PassId) and write it back to your object with an Update Records element. Storing the Pass ID lets future flow runs detect that a pass already exists and perform an update (including push notifications) instead of creating a duplicate.
Example flow patterns (shipped with the package)
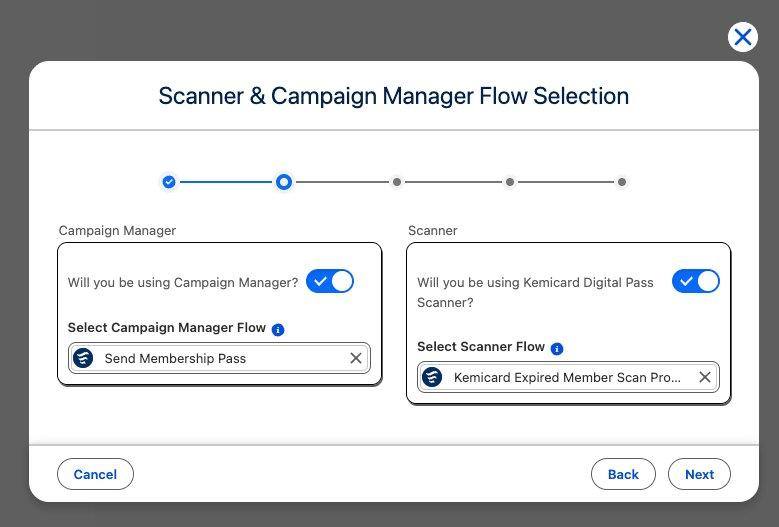
Five example flows ship as unmanaged metadata when you select the Sample Data option during install. They form a deliberate hierarchy: Send Membership Pass is the core flow that invokes the Apex Action; every other entry point calls it as a subflow, keeping pass-generation logic in one place.
| Flow | Type | What it demonstrates |
|---|---|---|
| Send Membership Pass (core) | Autolaunched | Invokes the Apex Action. Accepts an optional ConfigurationId; when blank, it falls back to reading the configuration from the Contact's linked template — reusable across template setups. |
| Send Membership Pass From Checkbox | Record-triggered (Contact, after save) | Fires when Send_Membership_Pass__c changes to true; delegates to the core subflow, then resets the checkbox so subsequent saves don't create duplicate passes. |
| ContactMessagingScreenFlow | Screen flow | Staff-facing UI to send a pass or message from a Contact record. |
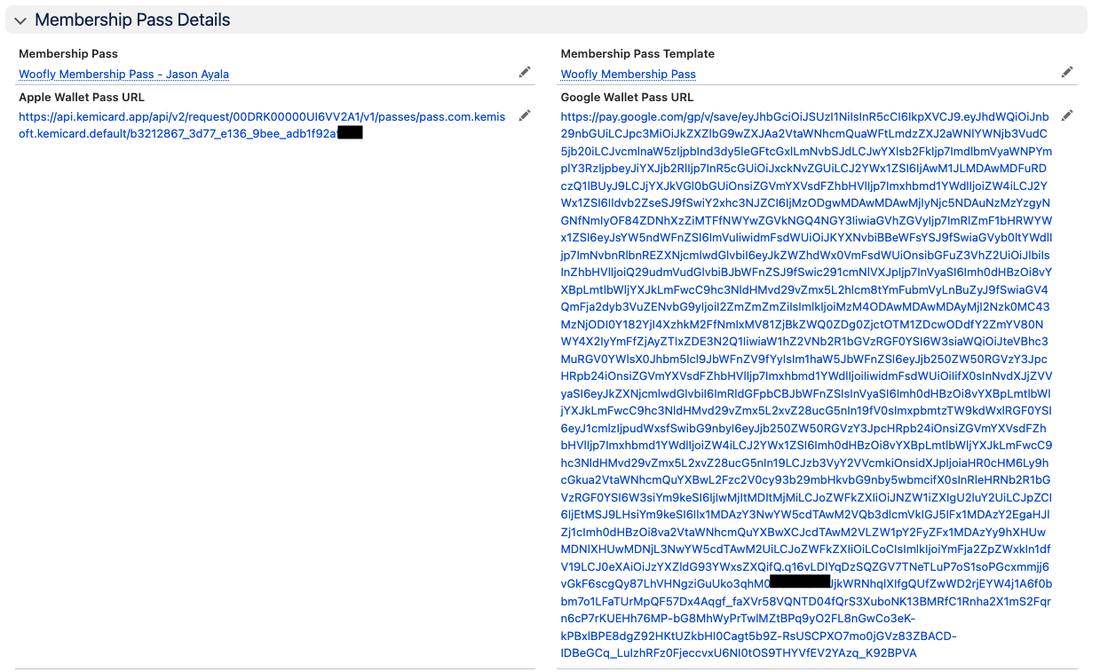
| Update Contact Google and Apple Wallet URL | Autolaunched | Writes the generated wallet URLs back onto the Contact for use in emails and portals. |
| Kemicard Expired Member Scan Processor | Autolaunched | Handles scans of expired members — the pattern for scan-driven automation. |
Kemicard Configuration page
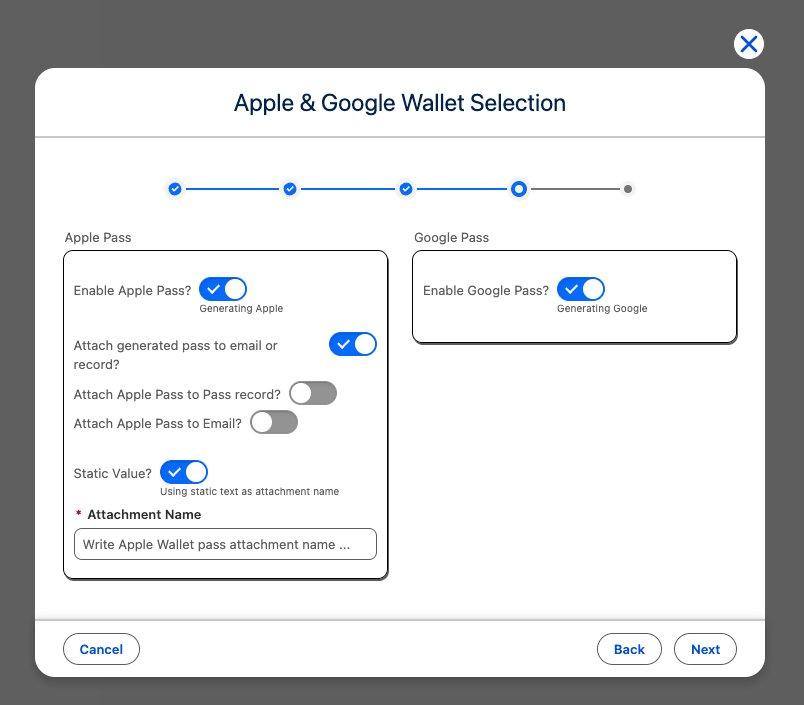
- Enable/disable Apple Wallet passes and Google Wallet passes independently per configuration.
- Email settings — control whether pass generation dispatches the enrollment email and which template is used.
Template-level settings (not in the Studio)
- Apple Wallet — advanced: sharing prohibited, suppress strip shine, grouping identifier, max distance, label/strip colors (strict
rgb(R, G, B)format — no decimals). - Google Wallet — advanced: Smart Tap (NFC terminal data), state handling (inactive objects move to "Expired passes"), hero/detail imagery.
- Shared: relevant date, expiration date, from-address settings.
Screenshots
Related: Architecture & upsertPasses · API Reference · Bulk Actions