Go from installed package to a live pass on your phone in about 30 minutes. You'll build a template, map it to a Contact, generate a pass, and send your first push notification.
1. Create a template
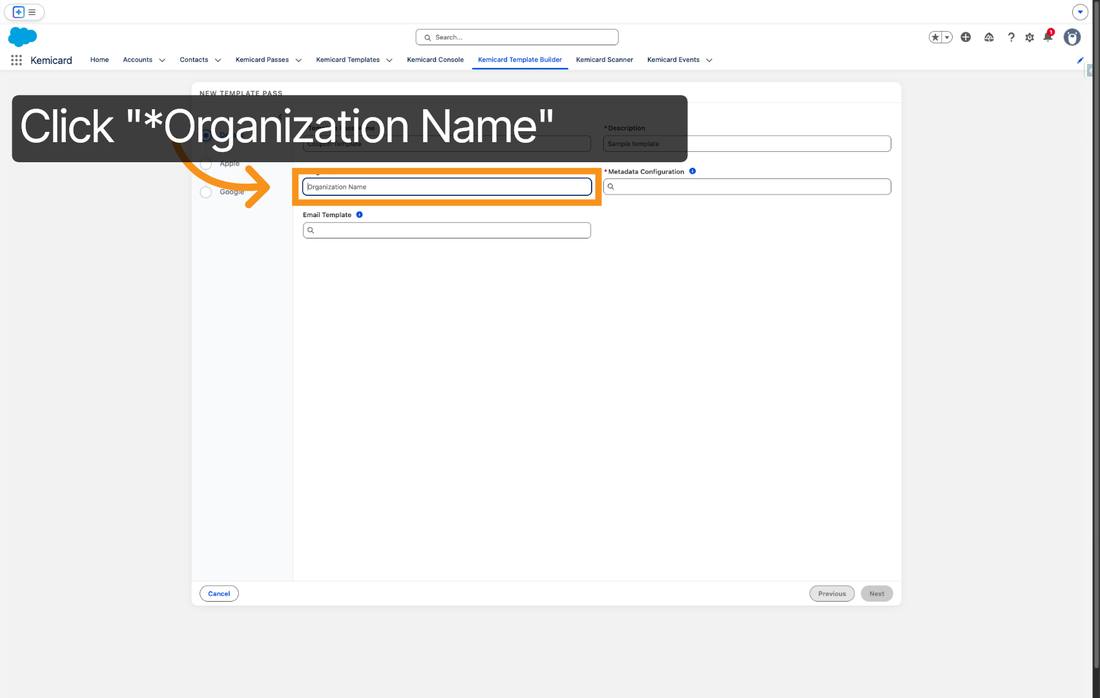
- Open the Kemicard Templates tab and start the guided template flow (don't create records directly with the raw New button — the guided flow sets required structure).
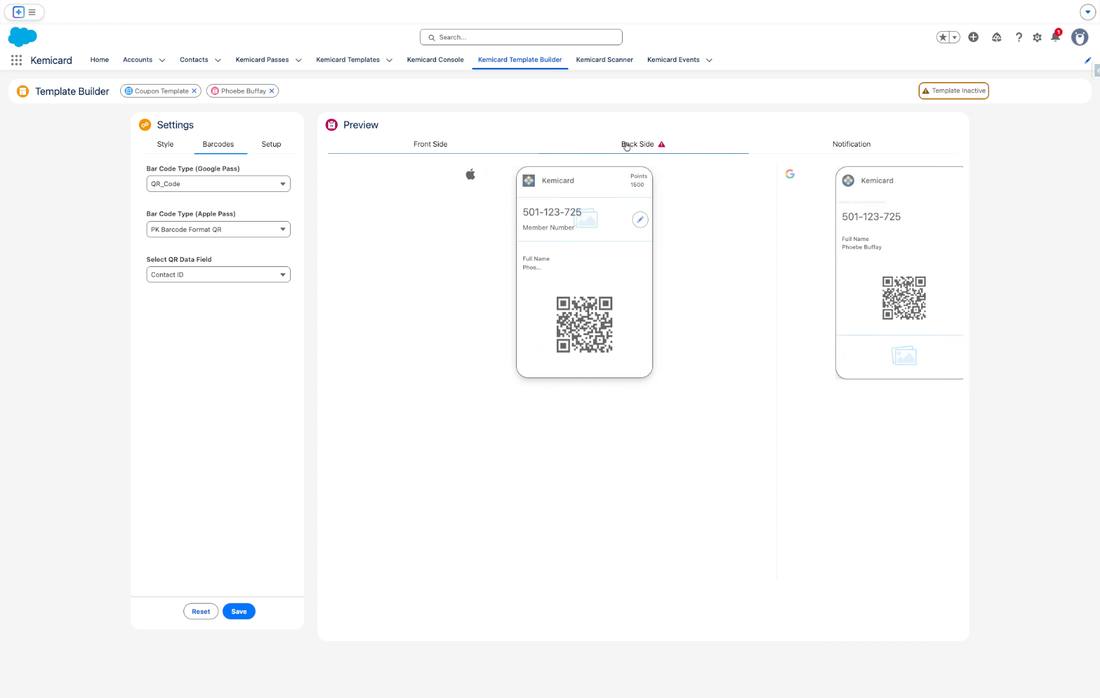
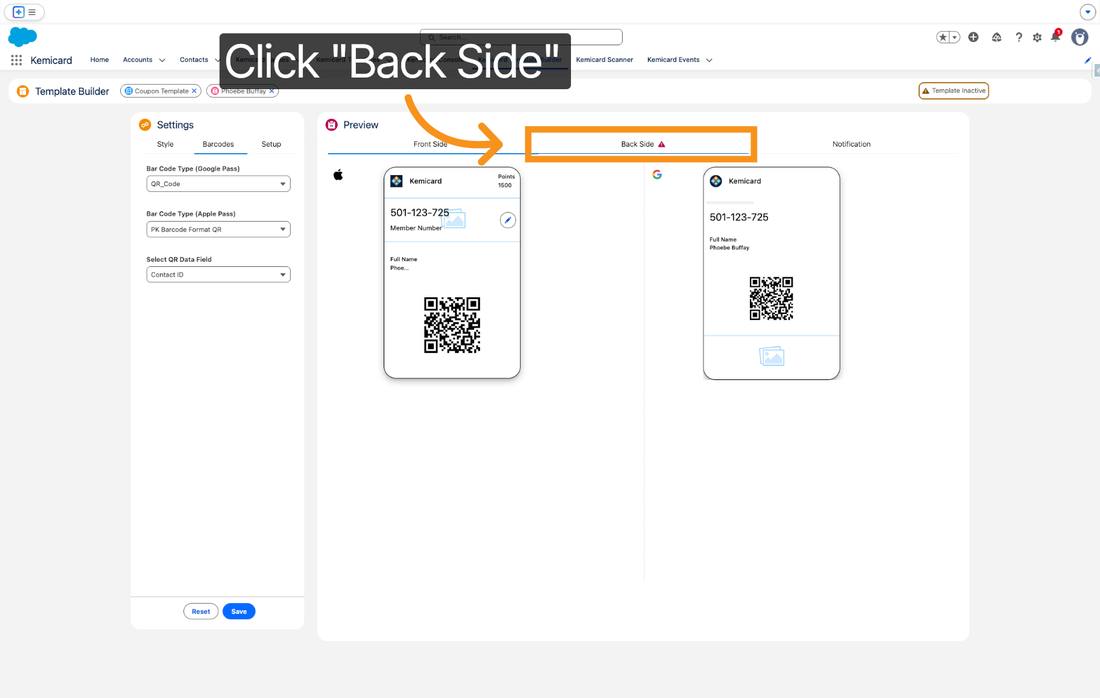
- Choose Contact as the driving object. Sample records power the live preview; if a sample record lacks a value the builder shows
(empty). - Set the Display Header Field (required), brand colors, logo, and strip image.
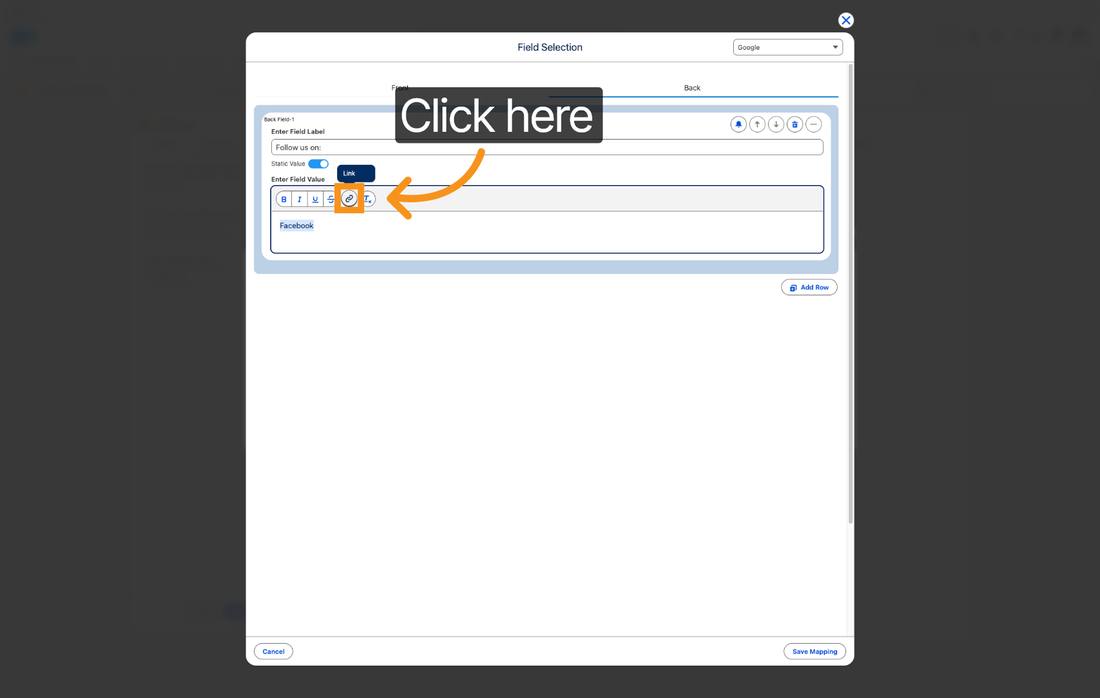
- Map fields: member name, member ID, tier, expiry, and the barcode value field.
2. Generate a pass
Open a Contact and use the Generate Pass action. Kemicard creates the pass record, calls the backend, and writes the add-to-wallet URL back to the record.
Contact record → Generate Pass → template: "Demo Member"
→ Pass URL field populates within seconds
Open the URL on a phone: iPhone offers Add to Apple Wallet; Android offers Save to Google Wallet — same link, device-detected.
3. Send the enrollment email
Configure the Kemicard email template (branding, copy, layout) and set it on your Configuration. The email carries the wallet download link, with an option to attach the pass file.
4. Make a live update
- Change a mapped field on the Contact (e.g., tier from Silver to Gold).
- Watch the installed pass refresh on the phone — typically within seconds, via the real-time event pipeline.
5. Send a push notification
From the pass record (or a Flow, or Bulk Actions), send a custom message. It lands on the lock screen on both platforms.
6. Automate with Flow
Wrap the same actions in a record-triggered Flow so passes issue themselves:
Record-Triggered Flow on Membership__c
  WHEN Status changes to "Active"
  → Action: Kemicard Generate Pass (template by tier)
  → Action: Send enrollment email
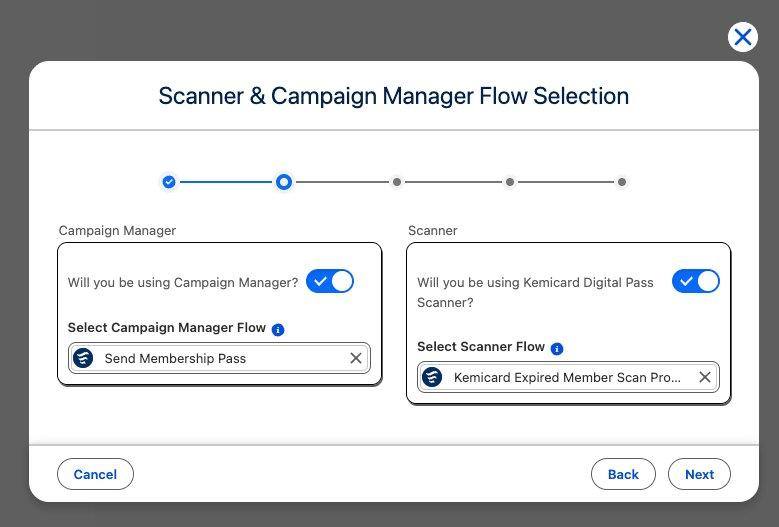
Five sample flows ship with the package (with the Sample Data option): Send Membership Pass (core), Send Membership Pass From Checkbox, ContactMessagingScreenFlow, Update Contact Google and Apple Wallet URL, and Kemicard Expired Member Scan Processor. Clone and adapt them — the full breakdown is in the Flow Integration guide.
Where to go next
- Template Builder guide — tiers, cloning, import/export, dynamic images.
- Bulk Actions — roll out to your whole base.
- Notifications & geofencing — engagement patterns.