
Step-by-step: create a Loyalty template in Salesforce Lightning Experience — template details, field mapping, and barcode settings.
1. Create the template & enter details
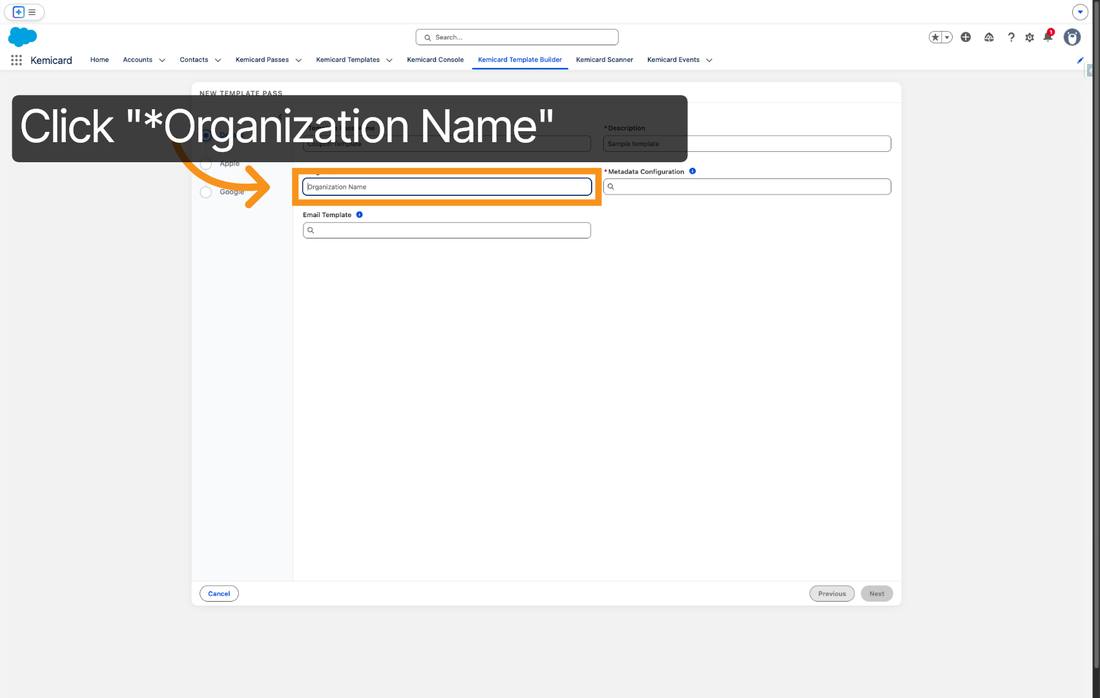
- Open the Kemicard Template Builder and click New Template.
- Template Pass Name — enter a name that identifies this Loyalty template.
- Description — e.g., "Sample template", for context.
- Organization Name — links the template to your company or group.
- Metadata Configuration — enter
Contactand select Kemicard Configuration · Contact to associate contact data with the template. - Click Next through the wizard steps, then Save to store your progress.
2. Map fields (static + dynamic values)
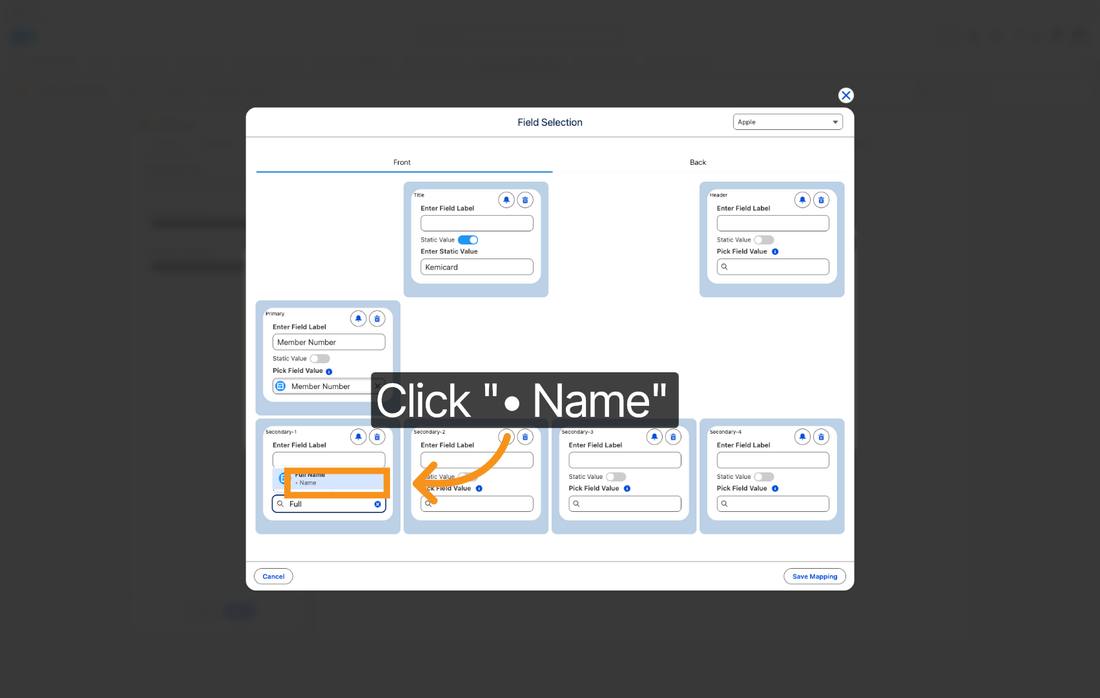
Loyalty templates mix static values (fixed text like your organization name) with dynamic field values pulled from Salesforce records:
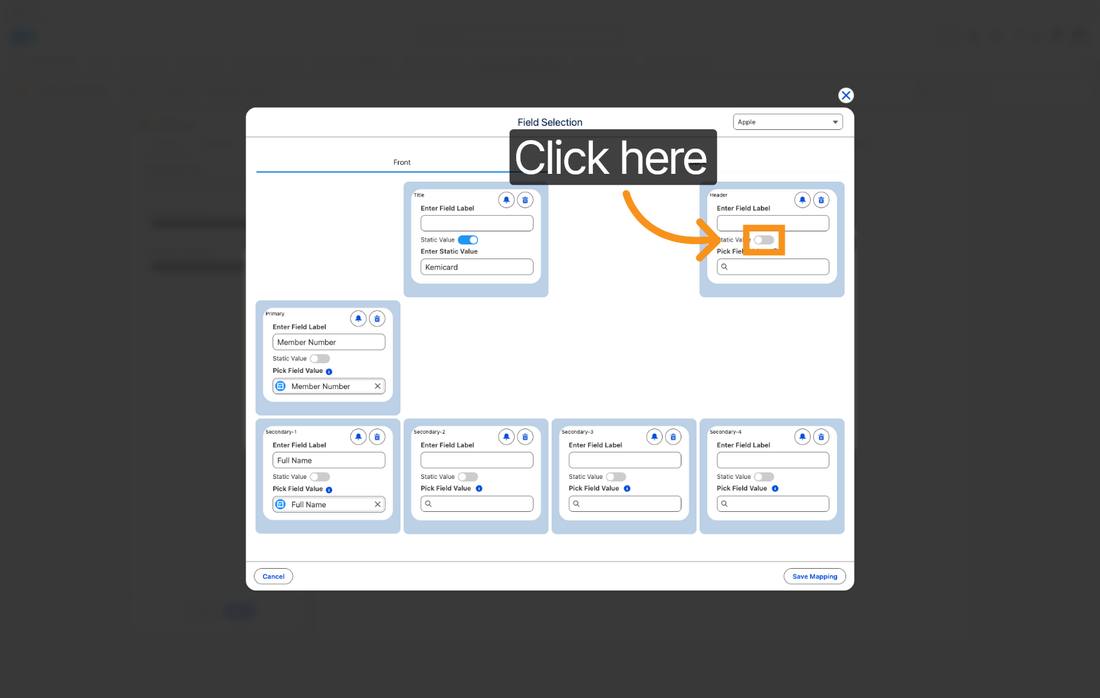
- Add Static Value — e.g., your organization name displayed on the card, or a fixed starting balance such as
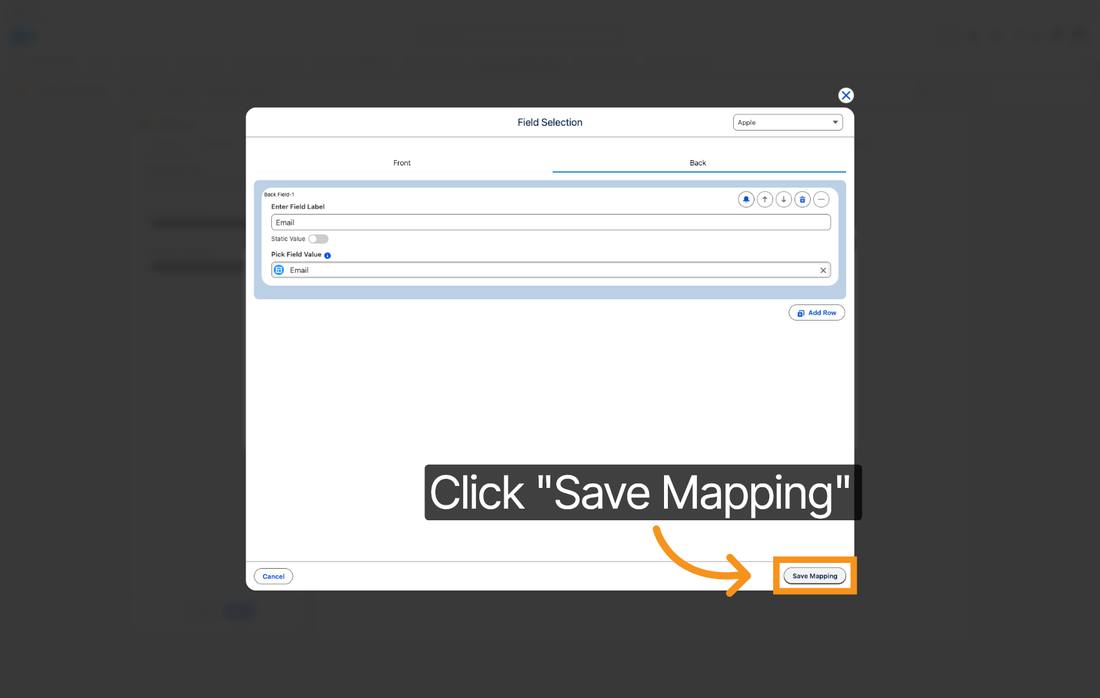
1500points. - Pick Field Value — search and map dynamic fields: Member Number (the member's unique identifier), Name (full name), and Email.
- Label the points field (e.g., Points) so the balance reads clearly on the pass.
- Click Save Mapping to store the field mappings you configured.
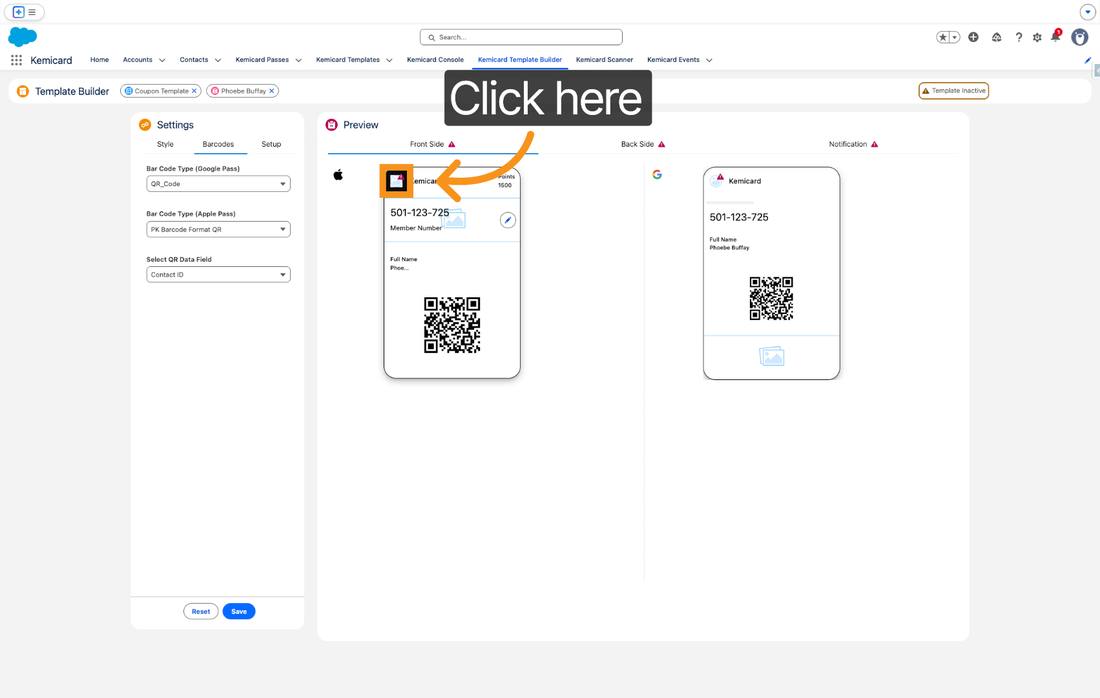
3. Customize barcode settings
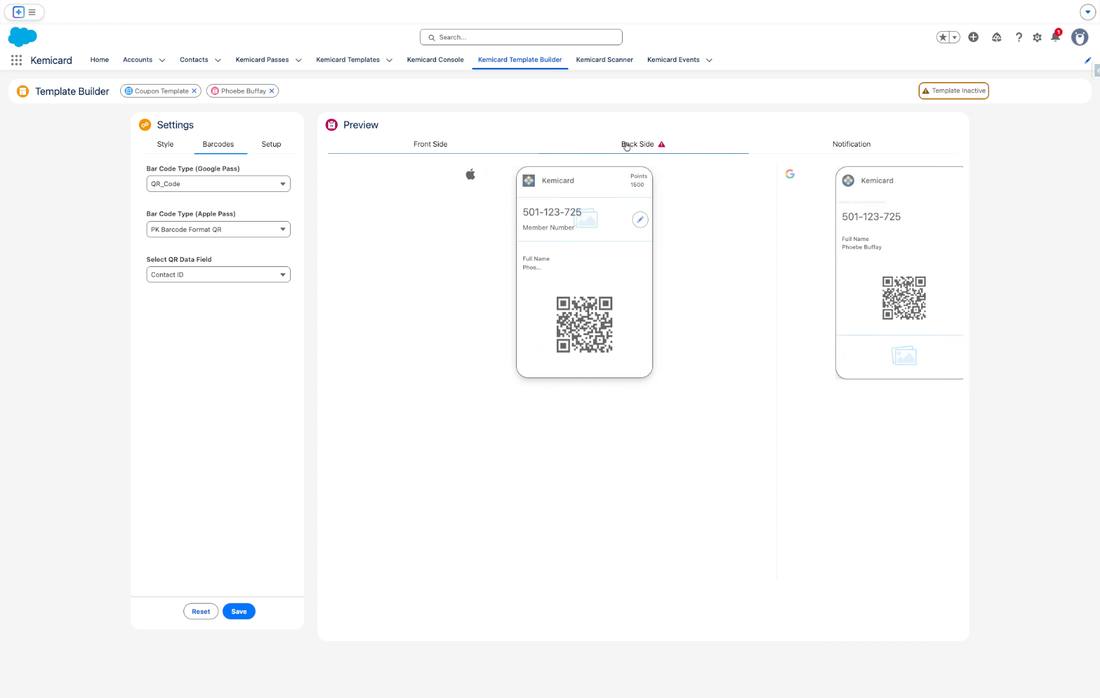
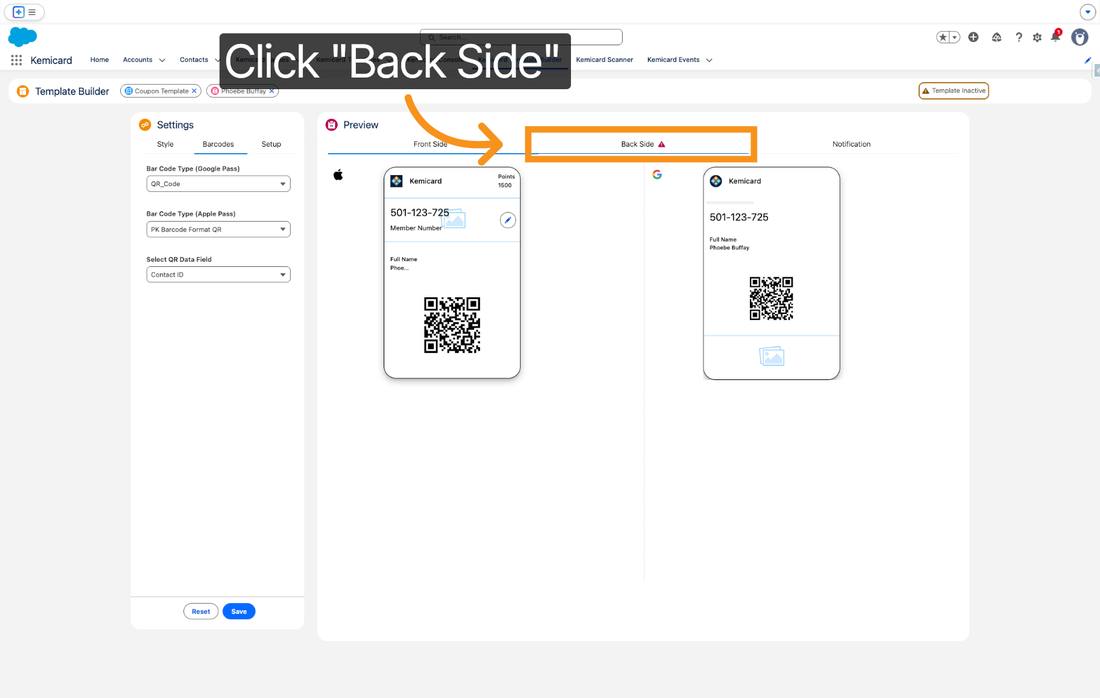
Enable barcodes for the template and choose the barcode type (QR recommended), then map the barcode's source field — typically the member number — so every card scans back to the right Salesforce record.
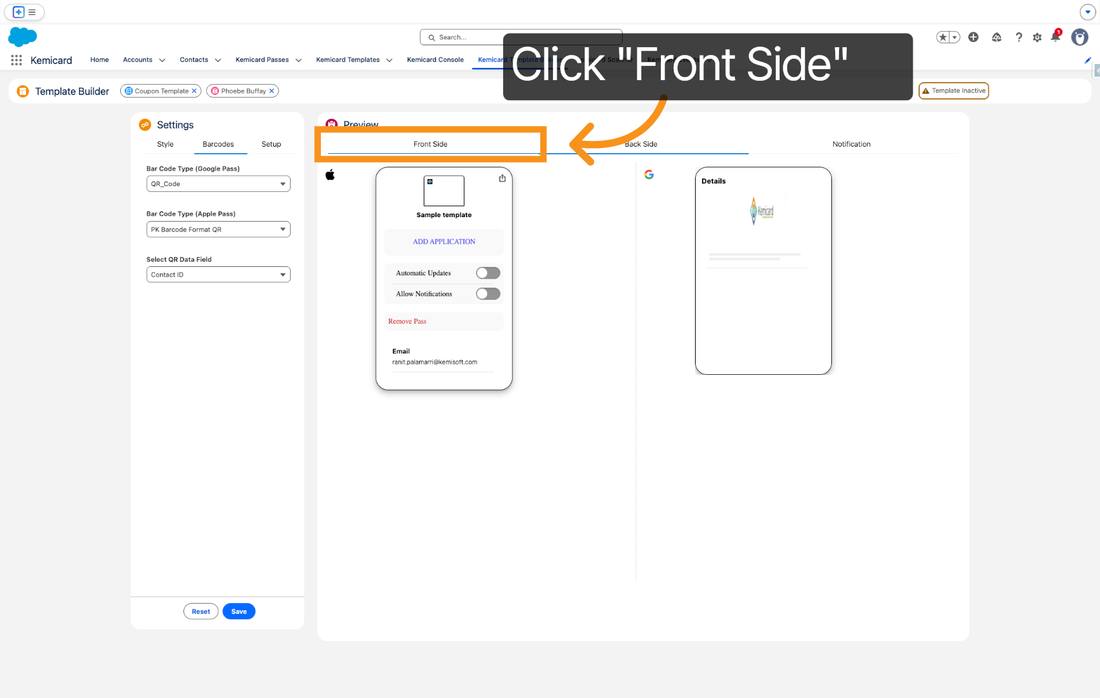
Before you publish: check the image requirements (logo 150×150, strip/hero 1125×294, all under 100 KB) and the mandatory fields per platform.
Related: Template Builder guide · Event templates · Updating templates